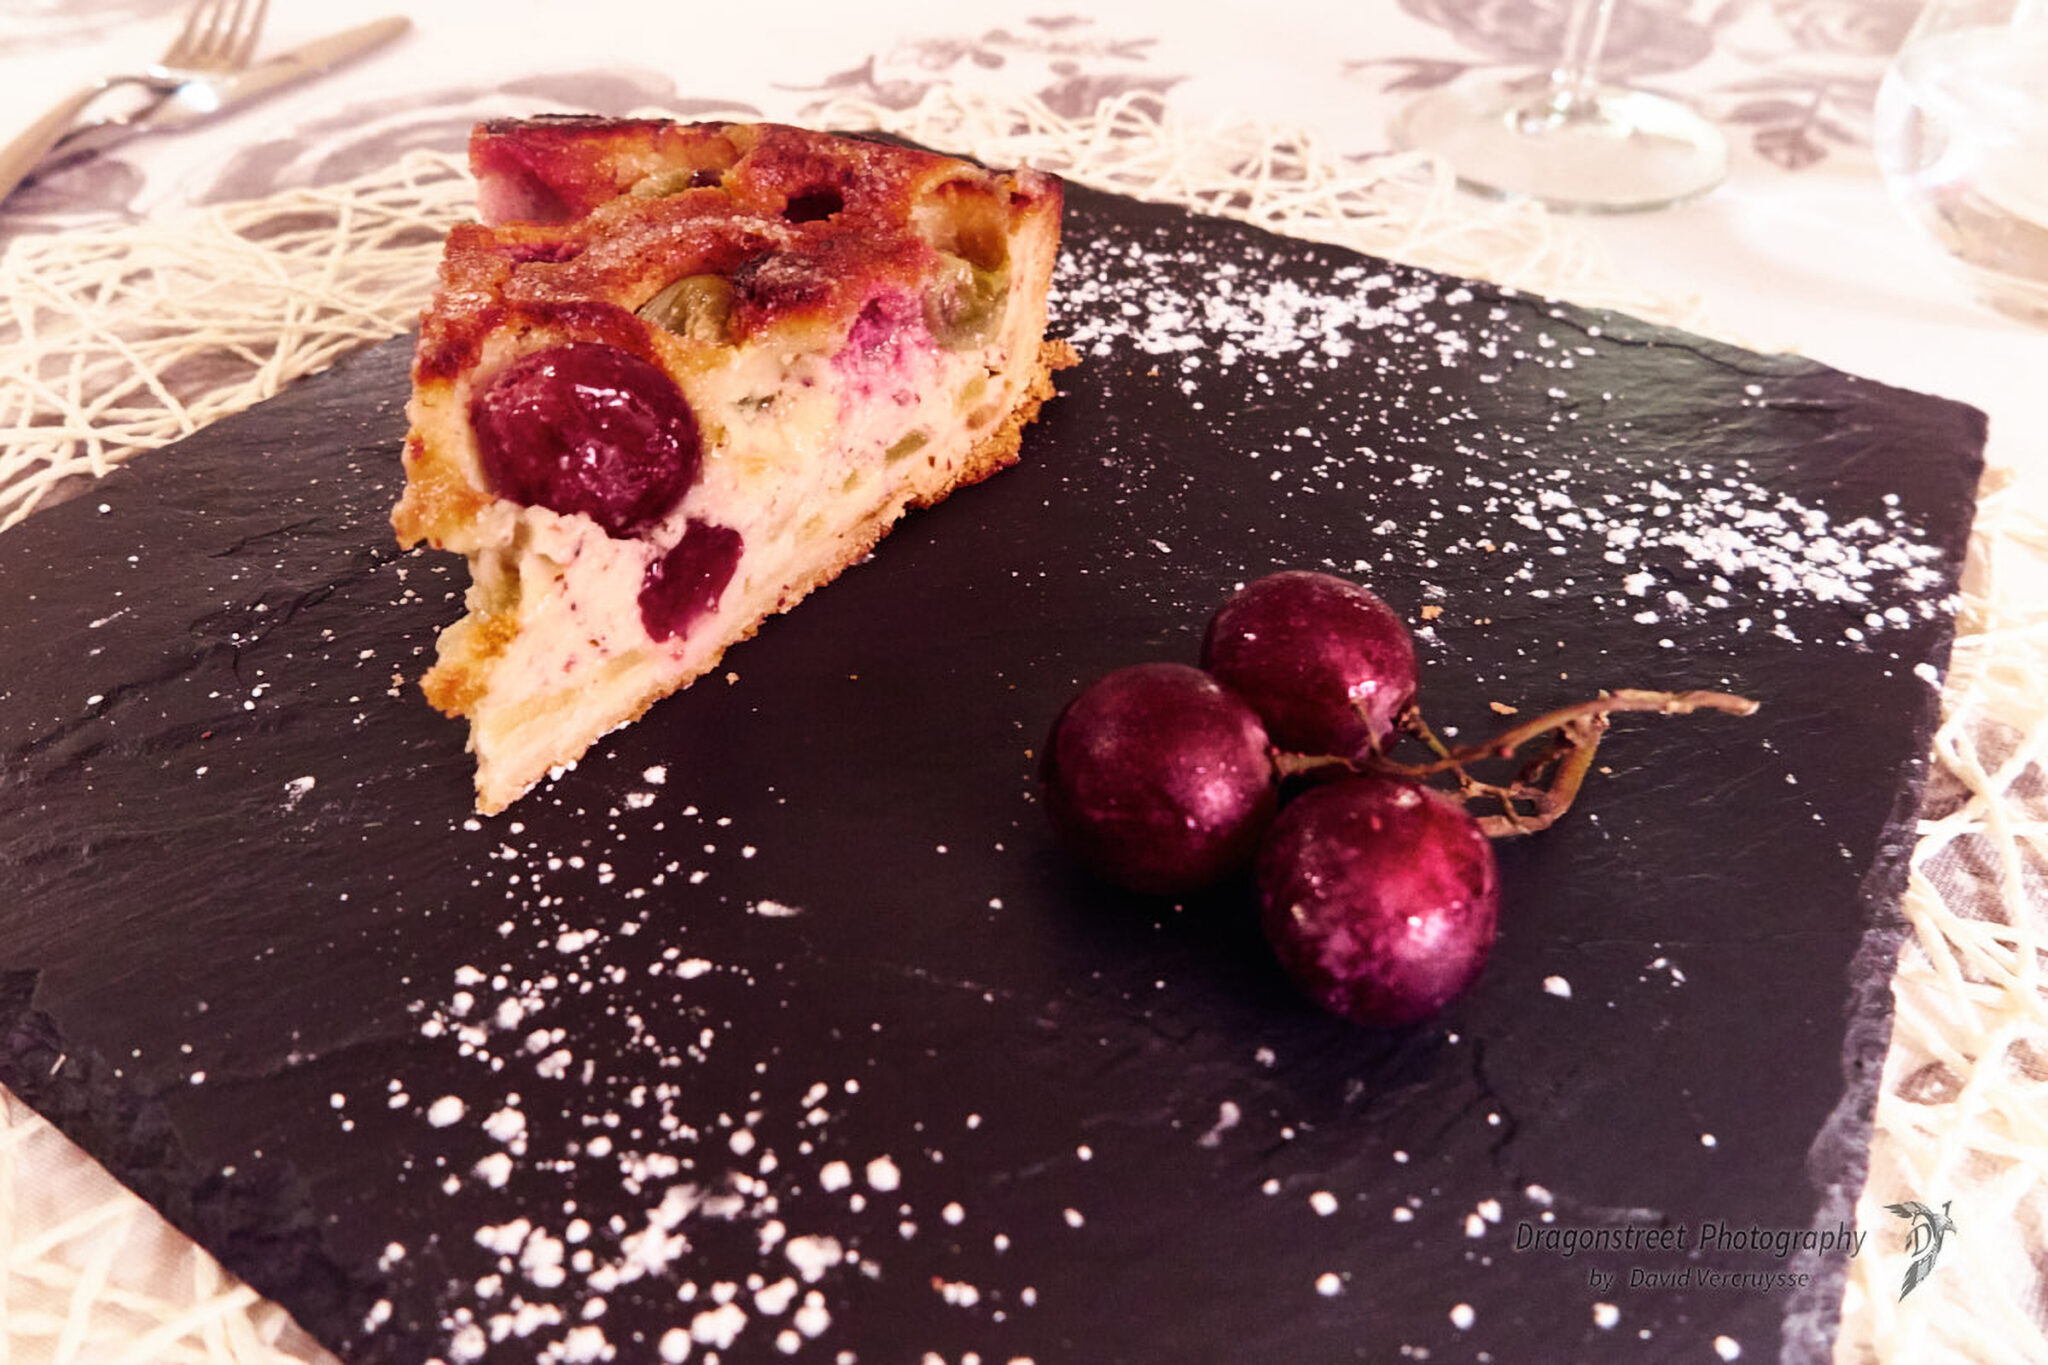
Food photography is becoming increasingly popular these days. Here are a few tips on how to improve your food photography.
1. The most important thing in food photography is light!
The ideal location is close to a source of strong but soft light, i.e. diffuse light. For example, near a window, natural light in the morning, or possibly at the end of the day, is diffuse enough to avoid excessive contrast between shadows and highlights. Shadows that are too harsh should be avoided. Otherwise, you will need to use a diffuser between the window and your subject. If you don't have a diffuser to hand, a shower curtain or greaseproof paper can do the trick!
That's it, now the main lighting is installed.
2. Unblocking the shadows
Following on from point 1, good lighting is essential in photography: unburnt highlights, as well as shadows that aren't too dark!
(especially as having to open up the shadows a lot during development generates digital noise, you know that horrible speckled grain!)
Shadows can be filled with small reflectors, sold in photo shops, but many photographers make their own. A piece of white 'feather' cardboard or cardboard covered in aluminium foil works perfectly well.
3. The colour
Depending on the light, the colour in your photo will depend on the quality of the light used. Lighting that is too strong will wash out the colours.
Beware of certain artificial lighting which can give a very white and hard appearance, sometimes bluish (so a cold sensation) or even greenish (a generally unpleasant sensation in photography). As the eye adapts and neutralises these dominant colours, you can't see it, but the camera can!
Neutral to slightly warm (yellowish) light will work much better.
For the artistic presentation of a dish, the use of complementary or opposing colours creates a pleasing sensation. Example: A few sprigs of green parsley on a yellow purée.
If it's pleasing to the eye, it will obviously stimulate the desire to taste the dish... isn't that the primary aim of culinary photography?
4. Working with contrasts
It's something you don't necessarily think about, and varies according to the style or personality of the photographer or the purpose of the photograph.
Some photographers like dark backgrounds to make light dishes stand out, while others prefer light backgrounds for light dishes, playing on the colours...
It's up to you to decide what you prefer, sometimes it's worth it and sometimes it isn't. You just have to try it out...
5. The angle of the shot
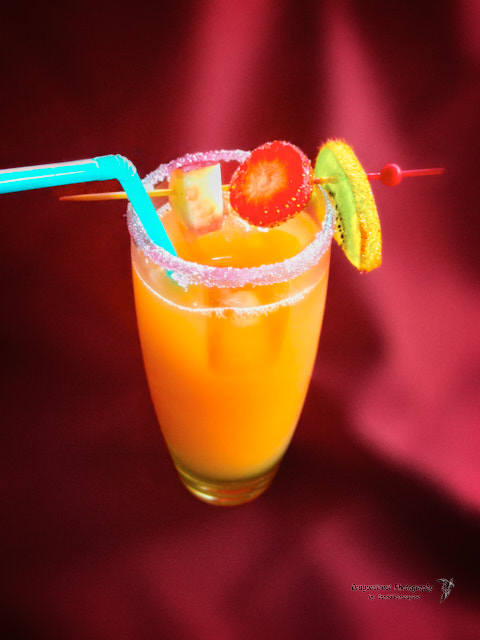
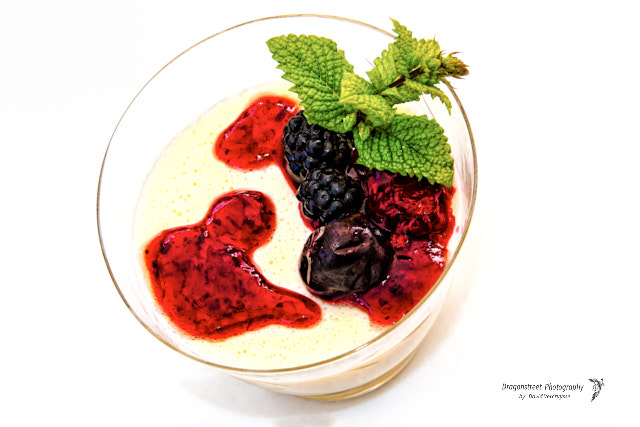
This can be a personal choice. If the photo is intended for the consumer (advertising, menus, etc.), having an angle of view that puts you in the place of the consumer sitting at a table seems natural to me. Now, if the final destination of the photos is to appear in a cookery book, for example, the photos will be less of a "real-life setting" and more of a "top-down" shot to get an overall view of the finished dish, and the same goes for the ingredients!
It all depends on what you want to say with the photo!
6. Composition
This completes the 3 previous points. The overall composition will play on the rendering of light and colour, creating depth or not, in fact generating a reading path for the viewer to understand the message.
Leaving empty space in a photo doesn't always have the best effect, and can create an imbalance! Take the time to frame your shot and look at your camera's LCD screen.
7. Choose your objective according to your message
A macro lens will allow you to take close-ups, so you can get very close to the subject and draw the eye to a texture or part of a dish. On the other hand, the depth of field will be short, in other words the zone of sharpness will be very short, and the background will quickly become blurred!
A 'standard' lens will give you a more global view of a dish or a work situation (cook in action, waiter in motion, plate on a table, etc.) with a greater depth of field.
The 70-200mm tele-zoom can also be used, but it's more difficult because you need to stand back to focus, and as food photography is done indoors, you don't always have the ideal working space, but it can open up a whole new world! In fact, why do you always take food photos indoors? If the weather is good, take advantage of it!
8. Be creative, set the mood
It's not that easy, and it's quite subjective! So far, we've determined the quality and quantity of light, the colour, the contrast and the composition, but it's possible to be even more creative by working on the staging! Working on the background, adding props, even blurring conveys the context of a situation, and therefore contributes to the message of the photo.
This allows you to express a rustic, modern or refined style...
Don't hesitate to draw a diagram with pencil and paper to set out your creative ideas.
Spray droplets of water on a drink or fruit to express cold or freshness... use oil to add shine or reflection... etc... Take a look at blogs by food stylists.
9. In food photography, taste what you photograph!
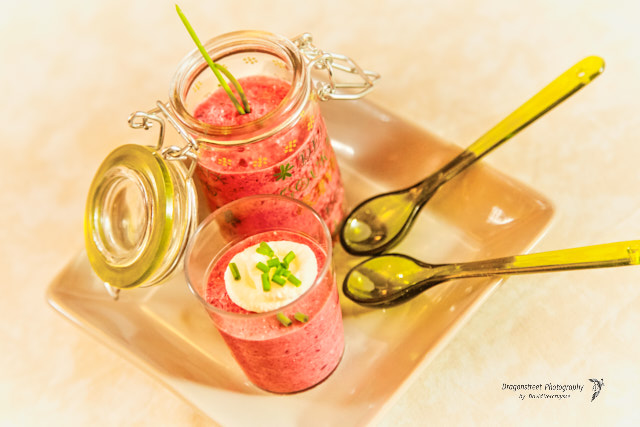
I like to think that by tasting, you can appreciate the dish, and the photo will be all the better for it. You'll be more likely to convey the emotion you felt, the texture, the creaminess, so you'll be better able to convey the taste to the viewer of the photo, and so on.
10. Shooting in Raw
If you can, if your camera has this function, take your photos in Raw format. The Raw format, which is different for each manufacturer, is the equivalent of a digital negative. You will need 'de-rawing' software to convert it into a final file. (This will allow you to develop your photos according to your taste: white balance, colours, tones, etc.
Possibly minor cleaning touch-ups, invisible in real life but clearly visible on the photos, such as fingerprints, dust, etc., using a pixel editor (photoshoppixelmator, affinity photo etc...)
To find out more about post-production, click here, or capture techniques over there,
Here's a quick trick to improve your photos!! bon shoot à tous !
David


