📸 How to get the best family photos for unforgettable memories?
Successful family photosthat's what everyone wants during the holidays. end-of-year festivities or duringimportant opportunities such as birthdays, weddings and family gatherings. These precious moments deserve to be captured with care to create quality souvenirs that will stand the test of time...
🎞️ Memories that leave a lasting impression: more than just snapshots
It's not just about taking photos, it's about capturing key momentsand genuine emotionsand portraits that you'll want to frame and display proudly in your home. These images become witnesses to your history, living memories that we love to share and rediscover over the years.
Here are a few tips on how to improve your family photos and get the best possible shots.
1. Always be prepared : capturing the moment at the right time
It may seem obvious, but in photography, you always have to be ready. Keep your camera (or smartphone) close at hand, with the well-charged batteries and the space available on your memory card. The idea is to be ready to draw as soon as necessaryThe reason for this is that certain moments can never be repeated in the same way.
The spontaneous expressions and natural emotions are often the most beautiful to capture. And with children, it's even truer: it's impossible to recreate a burst of laughter or a knowing glance once the moment has passed!
Not everyone is a model and feels comfortable in front of the camera. That's why it's essential toanticipateof be discreet and keep a close eye on what's going on around you. The best photos often come from these unexpected moments, captured on the spot. 😜
Being ready means being quick to seize the moment, without rushing, without stress, so you don't "miss" the shot.

2. Location and position creating the perfect atmosphere for your family photos
The choice of location is essential to the success of your family photos. Select a location that tells a story and adds value to your image. A good location doesn't just serve as a backdrop, it contributes to the emotion and narrative of your photo.
To give depth to your shotsIf you're interested in a foreground and a background. This creates a richer visual effect, especially when the photos are to be printed on paper, where the dimension of depth can easily be lost.
💡 Technical tips :
In short, choose a location that makes sense for your photo, control your position in relation to the light, and play with depth to get shots that are at once aesthetics and narratives.
3. Displaying your family photos the key to a quality image
L'exhibition is one of the most important technical elements in making a success of your family photos. Even if today's digital tools make it possible toclarify ordarken a photo in post-processing, there's nothing better than a correct exposure as soon as you take the shot. The better the exposure of your photo at capture, the greater its final quality will be higher, and the more room for manoeuvre to make adjustments when editing.
Why is the exhibition so important?
A bad exposure can go unnoticed on small prints or screens, but if you're looking to make large printsdefects will quickly become visible:
💡 Tips for displaying your photos properly
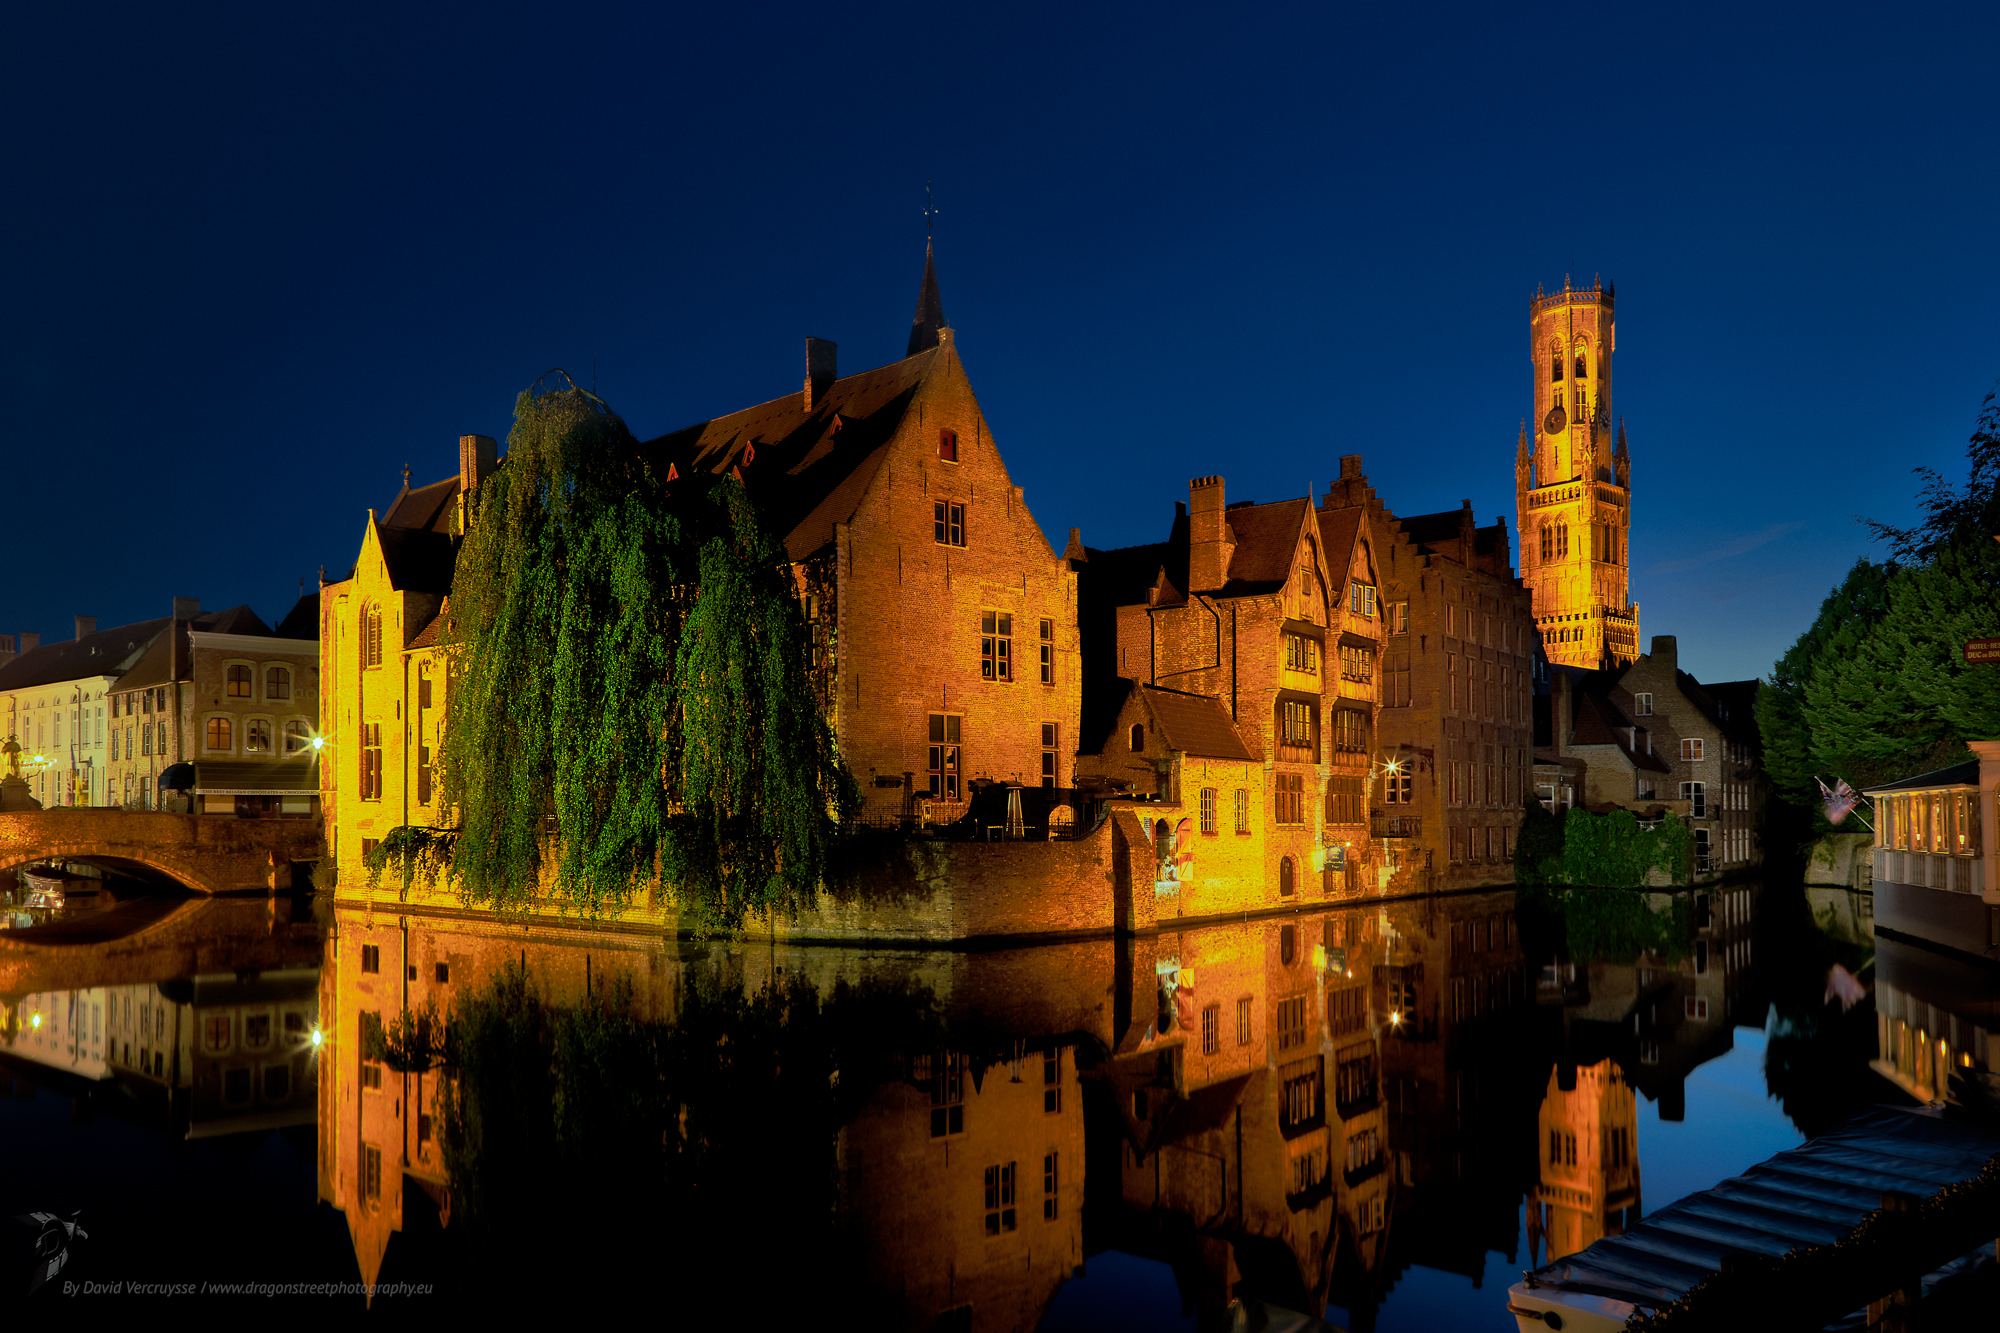
By controlling exposure, you not only improve the technical quality of your photos, but you're also making it easier for post-processing. A good base for the shot guarantees memories that will stand the test of time, even in large format.
4. Avoid vaguenesssharp photos for clear memories 😜
Le blur is often the enemy of photography... except when it is used intentionally for creative effects such as bokeh or the blurring of artistic movement. But when it comes to family photosThe aim is generally to obtain sharp images to capture every detail and every emotion.
🔍 Why are your photos out of focus?
There are many reasons for vagueness, but two main ones stand out:
💡 How can these problems be corrected?
1️⃣ If you move :
To avoid blurring caused by your own movements, here are a few solutions:
If you want to go into more detail about the settings, I invite you to read this detailed article on camera settings.
2️⃣ If your subject moves :
When your subjects, especially children, can't stand still, here are a few tips:
By mastering these techniques, you'll be able to capture photos that sharp and preciseeven in dynamic shooting conditions. So your memories will be as vivid as the moment you experienced them!
5. Composing well give meaning to every detail of your family photos
La composition is a key element in the success of your family photos. As the Anglo-Saxons say, "Fill the frame : fill in the box ! This means that every element in your photo must have a purpose, contribute to the story you're telling, and enhance your main subject.
🎯 How do you compose your photos?
💡 Practical tips for better composition :
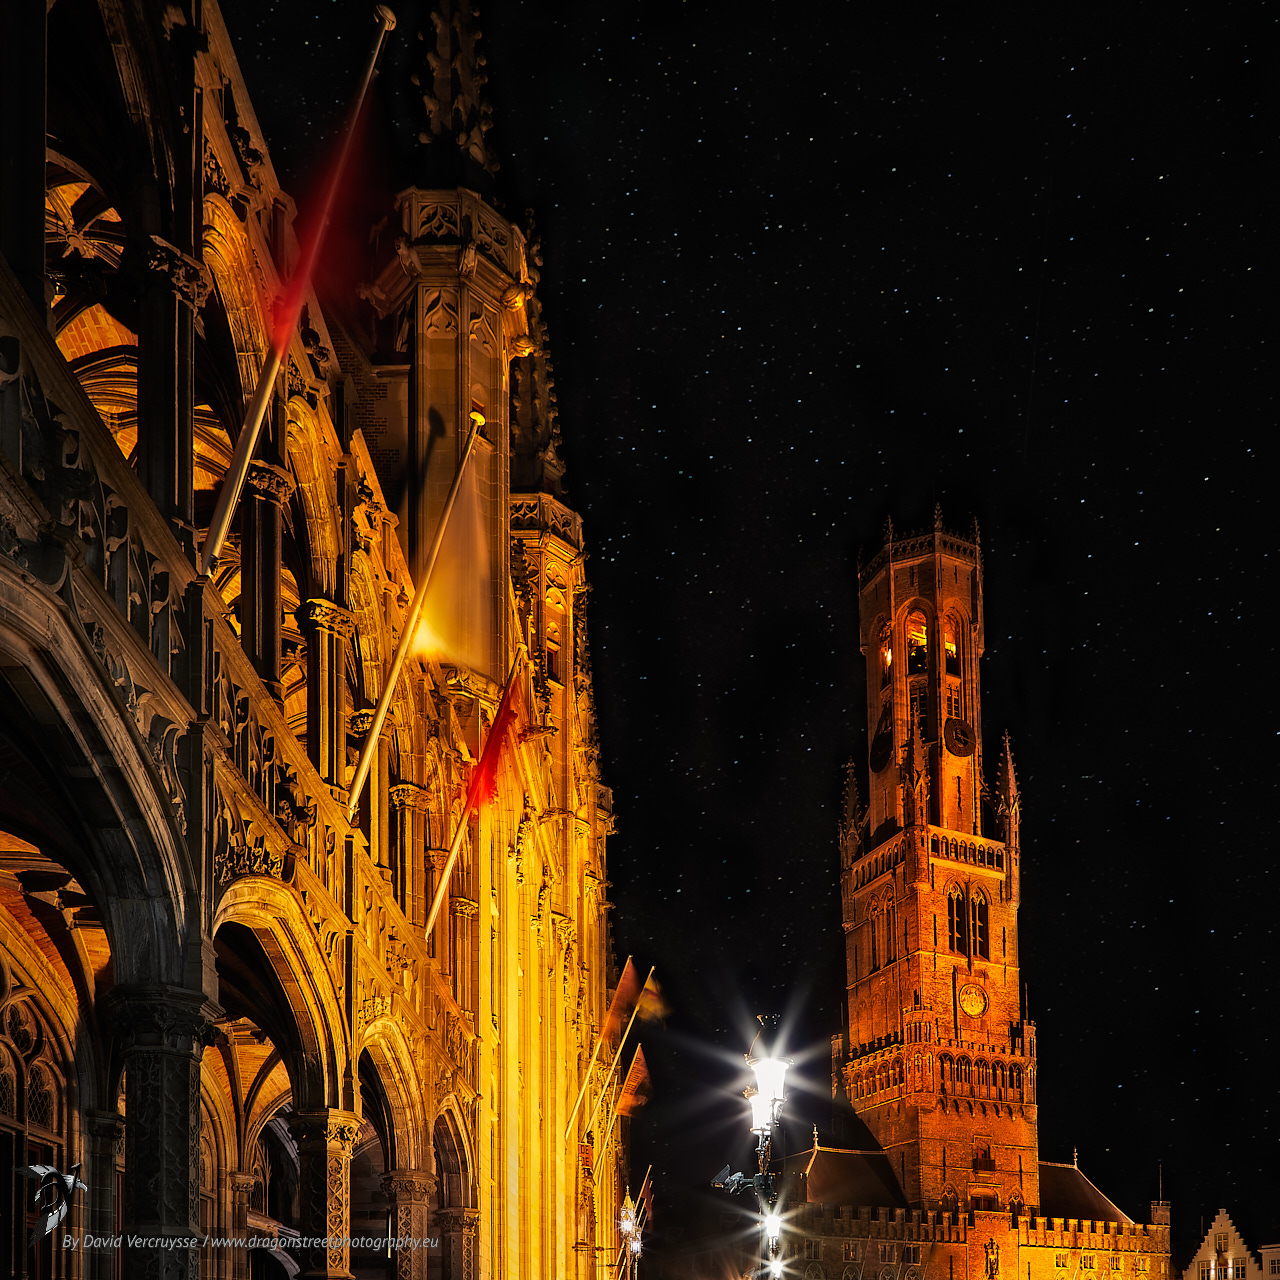
By carefully composing your photos, you can tell powerful visual stories and capture meaningful images that are both aesthetically pleasing and rich in emotion.
6. Being creative with your family photos bring your memories to life
La creativity is what turns a simple photo into a unforgettable memory. The more you practise, the more you'll develop your own style and be able to capture unique and expressive images. The experience will allow you to explore new approaches and to telling visual stories that will leave a lasting impression.
🎨 A few tips to stimulate your creativity :
📅 Tell a complete story: before, during and after
Think of your photos as a story in three acts :
📸 Technical tips for creative photography
By giving free rein to your creativity, you can transform your family photos into real works of art. personal works of artrich in emotions and memories. Don't be afraid to experiment: the best surprises come from trying new things!
7. Conclusion : capture your moments with creativity and precision
So much for this quick tour of the 6 tips that I wanted to share with you at the end of the year. By applying these simple but effective tips, you'll be able to capture unique family photosfull of emotion and authentic memories.
Whether you're always ready to seize the moment, taking care with your composition or giving free rein to your creativity, every detail counts in telling a story. strong visual story. Remember: practice is your best ally, and every photo is an opportunity to learn and improve.
For more tips and tricks on capturing photos, visit this page,
Browse through my online galleries and take a trip down memory lane.,
Well photographed,
David

