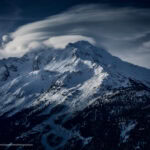
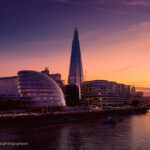
Today I'd like to talk about creativity in photography. As you may have guessed from the title, one of the creative aspects of photography that appeals to me most is textures. I find that textures can be a real 'creative' bonus for certain photos.
1. Why texture your photos?
In my personal vision of photography, texturing an image is an additional creative contribution. Texture lends relief, a certain depth, in other words a three-dimensionality to images. This is one of the main reasons why Photoshop photomakers and retouchers use textures, it unifies an image, giving it realism and a 3D effect for the viewer.
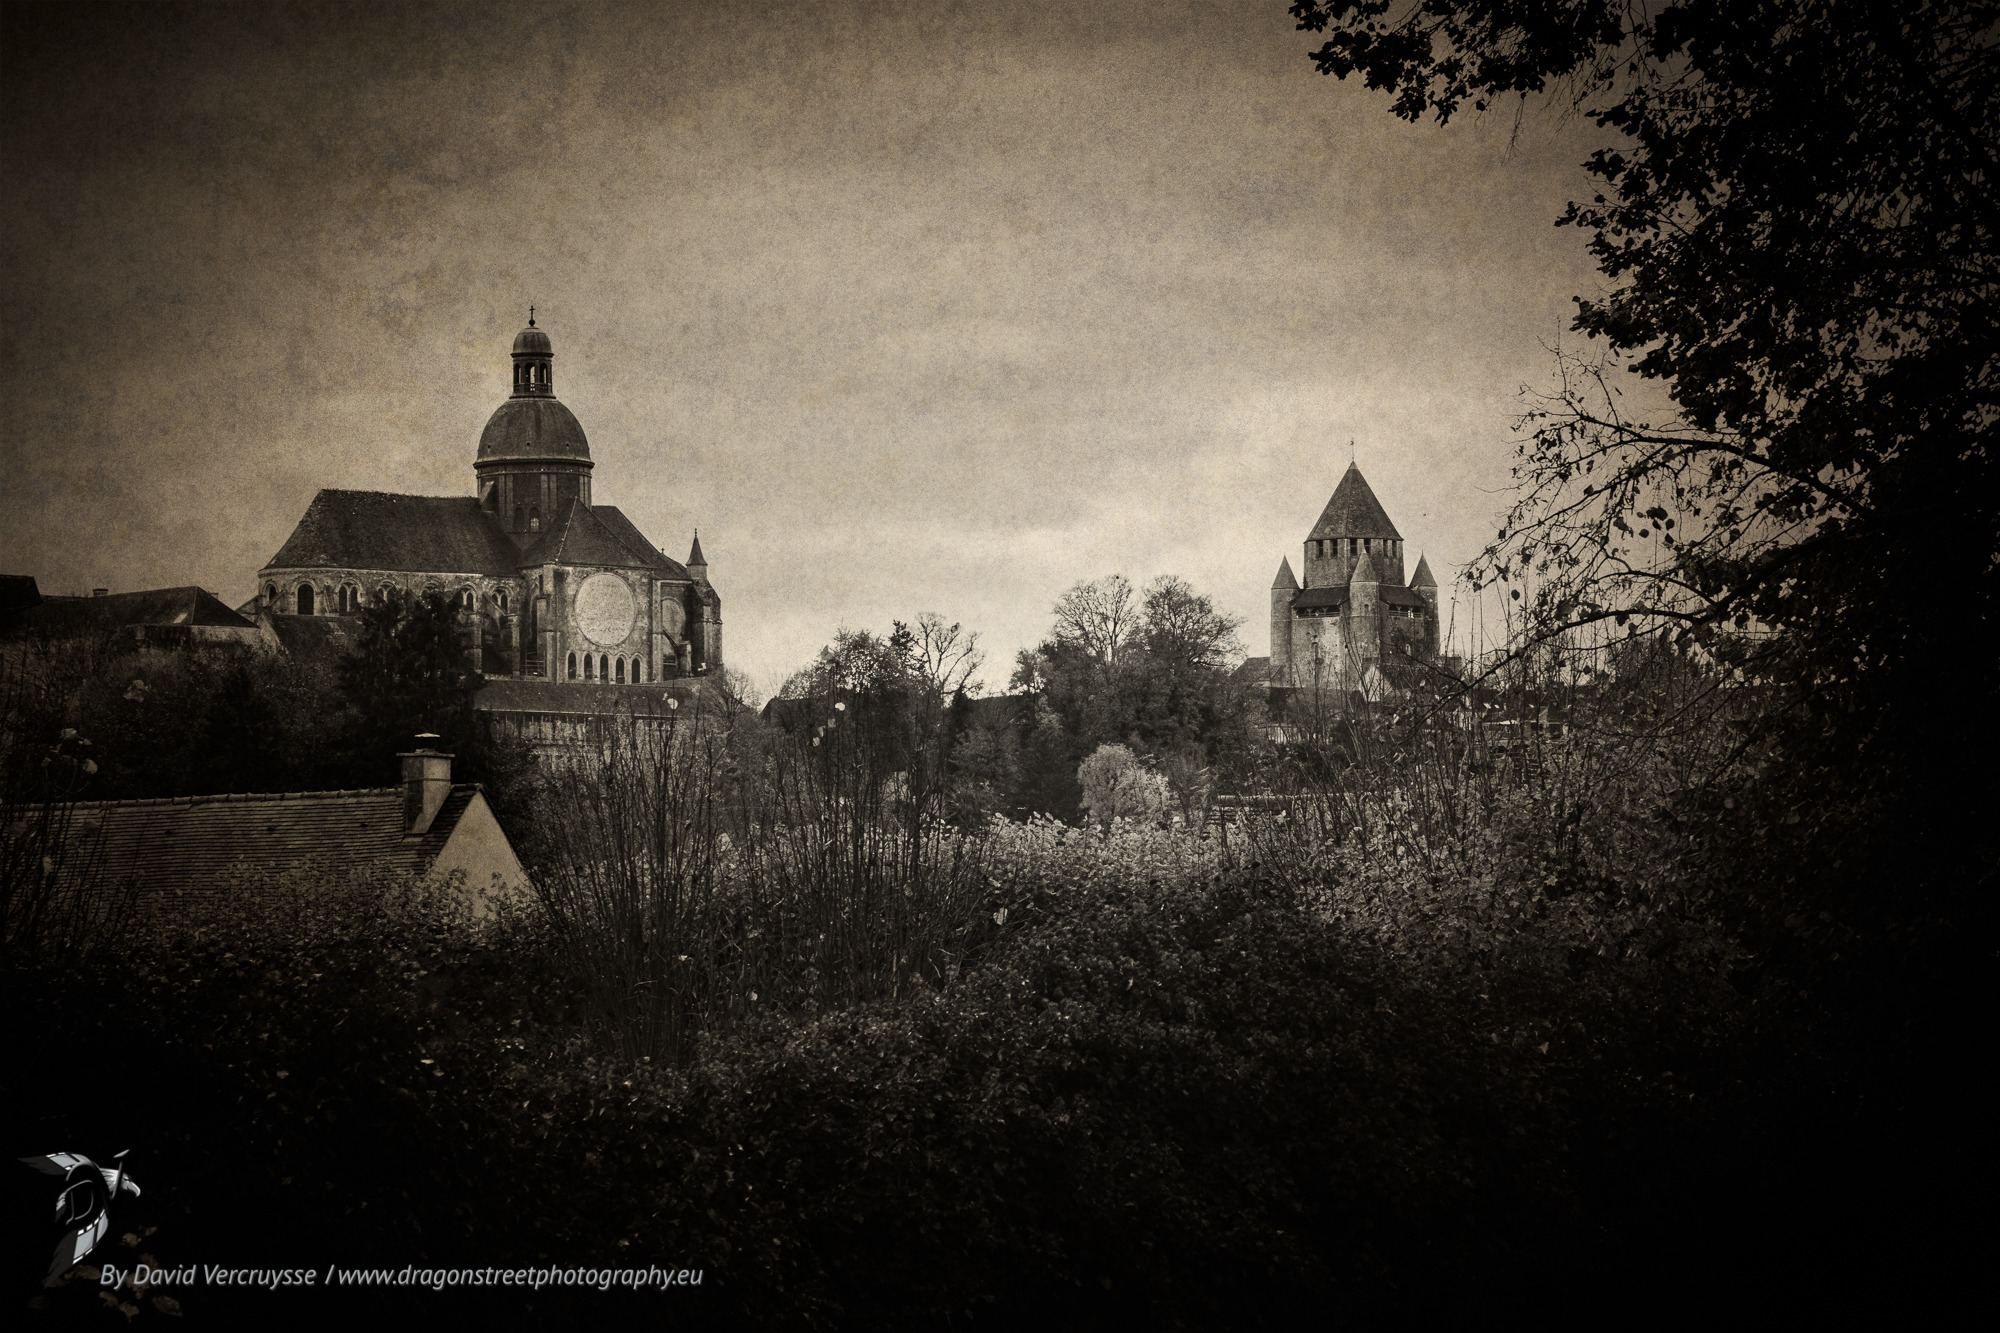
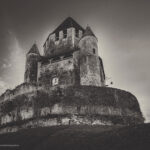
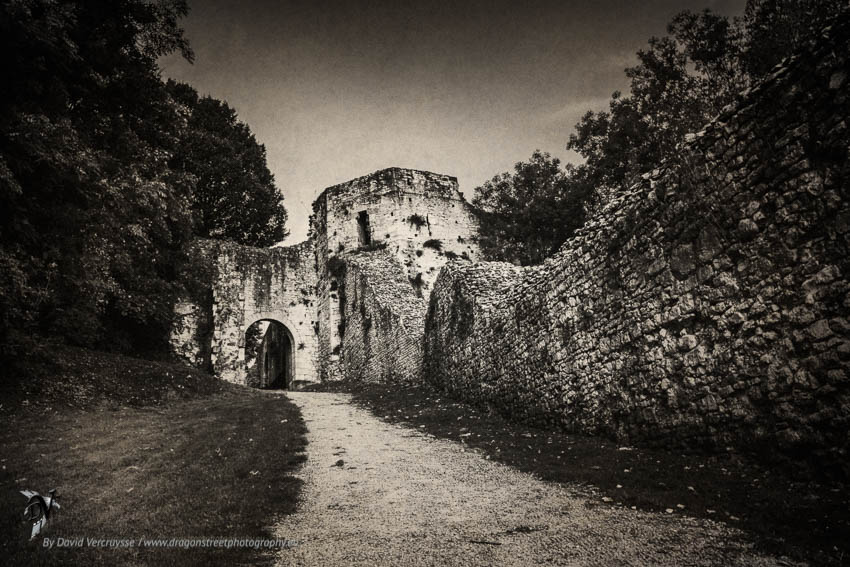
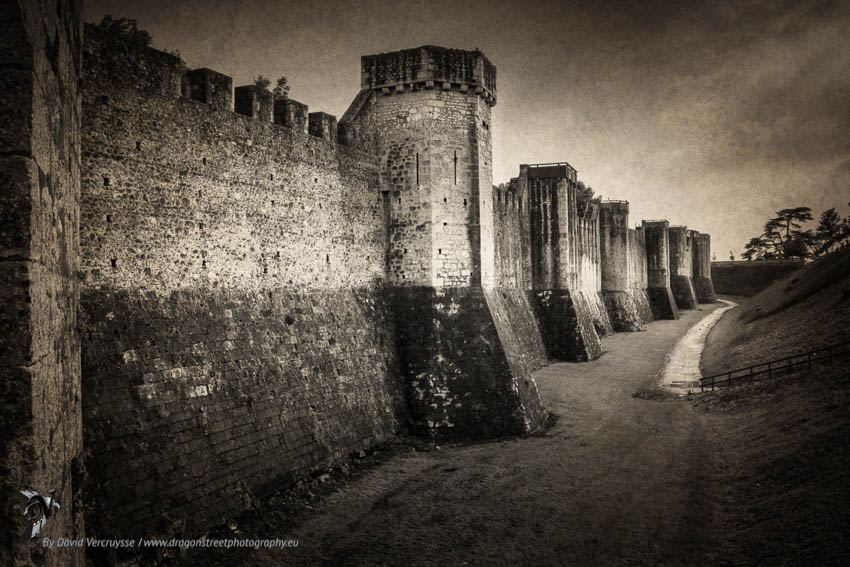
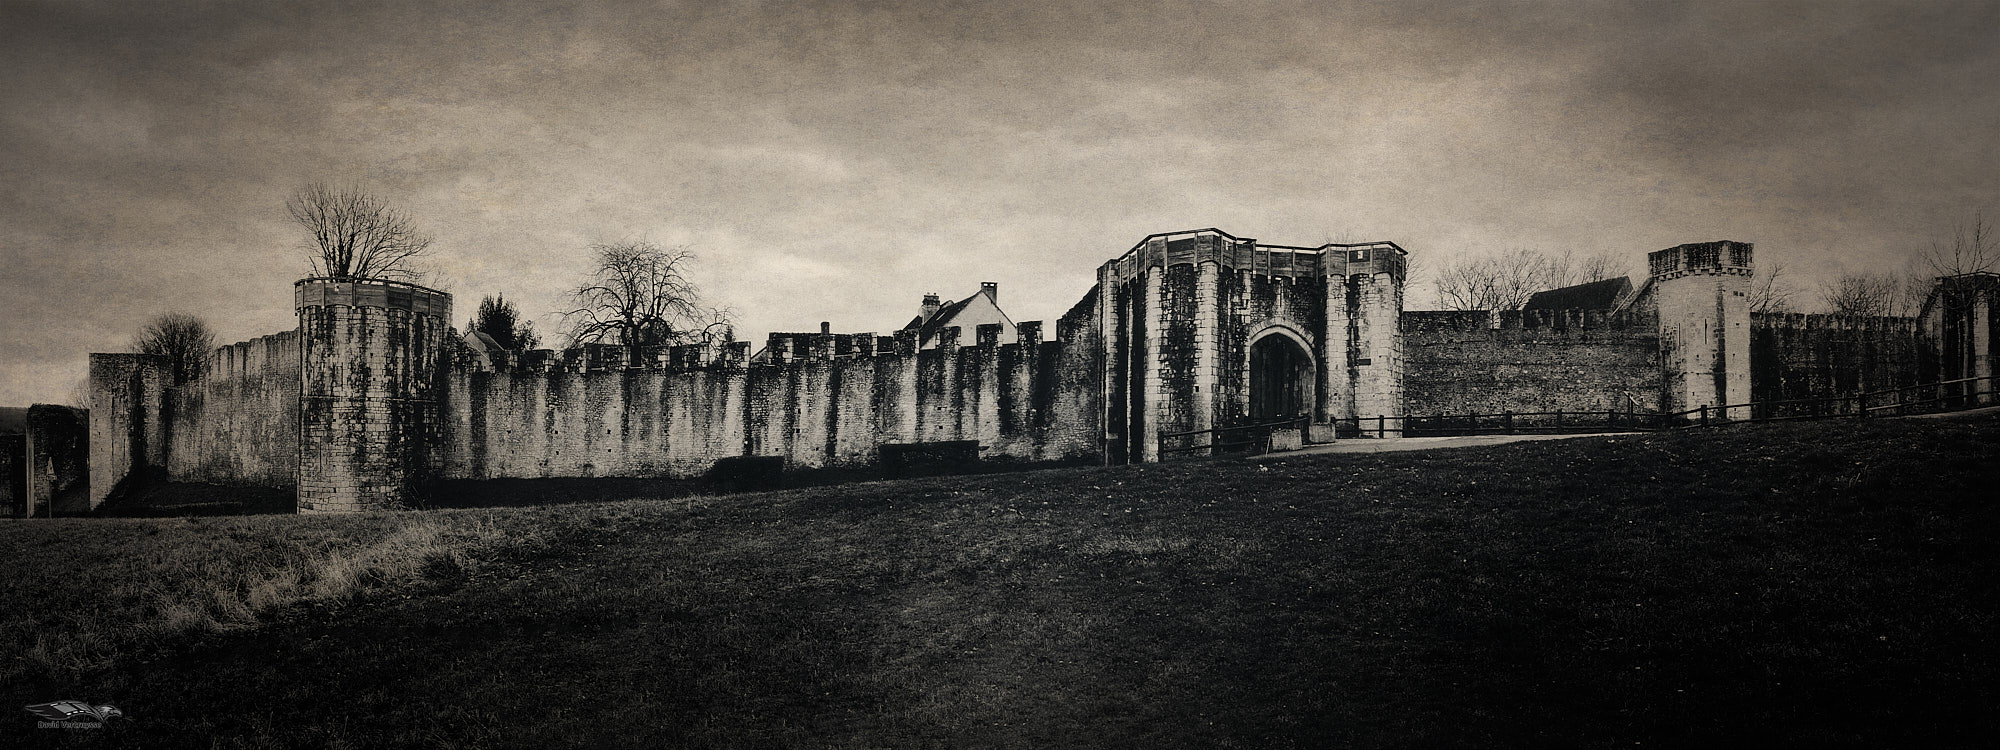
But that's not all! There are lots of different textures, and each texture has its own purpose. In the photos in this article, I added texture to my images of the medieval town of Provins to give them more authenticity, style and character..
To immerse the viewer in an imaginary medieval world, whether through the subject of the photo, the drama offered by the contrast of the texture or the effect of old period paper. The result is a uniform image in an antique, monochrome style. I feel that this adds more realism to my photographic message.
I've used this series of photos as an example, but it's possible to go much further with textures:
2. Find or create textures
Create your own textures
I think this is the simplest and most practical: make your own textures! There's nothing difficult about it: when you're out and about, as you already have your eye open in "photo framer" mode, add the texture detector to your internal photographer's programme. ! 🤓 Shoot all the textures you come across and over time you'll have created your own texture library. The advantage of this method is that your textures will have the same dimensions and quality as your photos and so you'll get very good quality textured final images.
That said, we don't always have the ideal texture in our library, and it may be necessary to buy a few textures;
Buy textures
There are lots of photographers who share their textures, sometimes a few for free, sometimes large packs for a few euros. This method can be useful to complete your library for certain texture categories. If this is the case, be careful about the dimensions of the textures (don't choose them too small, because if you have to stretch them a lot you'll lose image quality) and also pay attention to the rights of use. Depending on the intended use, make sure you have the necessary licence.
3. Choosing the right texture
There's no secret to choosing the right texture - you just have to try. The more you try, the more experience you'll have, the quicker you'll choose the right texture - it's just like taking the shot itself, you have to practise!
Now it will be all the easier if you retouch in a specific style, if you have quality textures and above all, I would add, if you have in mind where you want to take your image, or rather exactly what message you want to get across by adding that texture. This is an important pre-selection.
Nevertheless, it's important to take the time to experiment, to test again and again - it's very good for stimulating our artistic and creative brains. 😉.
4. How do you texture your photos?
In fact, it's simpler than you might think. Use a pixel editor such as Photoshop, ( or On1 Photo Raw for example) then import and apply your texture as a layer. (For those of you who have my On1 Photo Raw training course you have a dedicated video on how to use the texture filter).
Then you can play around with the layer blending modes. Product" merge mode in dark modes often gives good results, you can also try the contrast modes "inlay or subdued light" or, even more rarely, test the brighten mode, in some cases the result can be very pleasing.
At this stage most of the work is done, although there's plenty of room for improvement. In my workflow, the first thing I usually do after choosing the blend mode is to adjust the opacity of the layer, then balance the contrast of the texture and/or my image, correct the exposure and/or mid-tones. More rarely it's necessary to fine-tune the colour settings.
Don't forget ✌️, as I explained above, each texture has its own purpose, which means you can add textures together if necessary. Don't limit yourself to just one! Test and experiment - after all, you can never do it enough...
I think you've got the essentials here for getting started with texturing your photos.
As art and creativity have no limits, it is of course possible to go much further. Some photographers only create textured images.
If you'd like to find out more about retouching, I suggest these articles ... and I also invite you to visit my photo gallery on the medieval town of Provins, all in texture of courseDon't hesitate to share your opinions and techniques in the comments below,
See you very soon, and enjoy your photos,
David

