Landscapes are everywhere we go, each more magnificent than the last. Capturing their beauty through photography is quite an art, and if you're not much of a traveller and love photography, you've come to the right place!
In this article, I'm going to share with you my 5 photo accessories for successful landscape shots. These tips will help you get the shots you need of your favourite destinations. So get out your camera and get ready to capture some landscape. Let's go 😅!
1. Use a tripod
Despite the fact that cameras are getting better and better at high ISOs, allowing us to capture images ever faster, a tripod is still the accessory you need to guarantee sharp images. It will help you avoid the notorious motion blur that can result from micro-movements of which we are sometimes not even aware. You can even be fooled despite checking your camera screen, if you don't check carefully while zooming in at 100%.
By placing your camera on a solid, stable tripod (obviously), you'll be sure of the final sharpness and eliminate the risk of accidental blurring, and you can concentrate on all the other elements of your shot (like composition, for example). You can further improve stability by using the self-timer or shutter release, which will allow you to lower the shutter speed, and get sharp landscape shots and why not while we're at it, take nice long breaks.
2. Use a polarising filter (circular)
For me, it's the essential filter for the nature and landscape photographer that I am 😜! If there's one filter you should always have with you, it's a circular polarising filter. It will give your photos a bit of saturation and contrast while reducing or eliminating harsh reflections on clouds, leaves, water ... in other words, surfaces that reflect the sun's rays a little too much.
However, there will be a slight loss of brightness.
3. Use ND (Neutral Density) filters
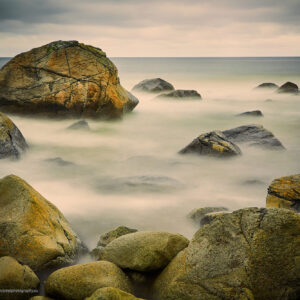
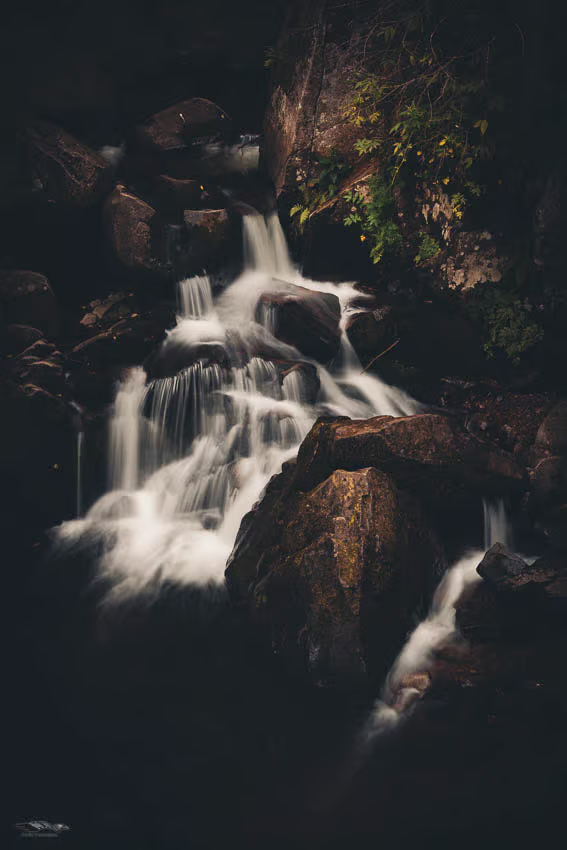
They are used to limit and reduce the amount of light hitting your camera's sensor. ND2 ND4 ND1000 etc ... depending on their opacity, the amount of light reduced will be that much greater, allowing you to slow your shutter speed considerably. The advantage of these filters is that they allow long exposures. Widely used for waterfalls, rivers, seashores, skies etc...
This "long exposure" effect gives a sensation and an impression of movement to a static image, as well as a softer effect.
Personally, I use 3 filters, ND2 DN4 and ND1000, which are enough for me. It's quite possible to combine them together to accumulate light filtration. Long exposures in the middle of the day are perfectly feasible with one ND1000 plus another.
You can also close your shutter more or less, which allows you to fine-tune the light reduction, to lengthen or shorten your shutter speed a little. fine-tune your long exposure rendering. (very smooth or not too watery, for example)
4. The right objectives
How do you translate a splendid landscape into a photo? What would be the ideal lens? I think all photographers have asked themselves this question and will continue to do so 🤓 !!! I would answer that it all depends on what you want to communicate in your photo (or photos via your style).
With a wide-angle or ultra-wide-angle lens you can create and communicate space, dimension and depth. But beware if the landscape is already very large and spacious, the interesting subject or subjects in the photo could become so many small details (ultimately invisible) that it can ruin the photo.
The advantage of these lenses is that they give you a wide field of vision, allowing you to take photos closer to the subject or subjects, and to get a sense of size.
Choosing the right lens isn't always easy! The best choice for landscape photography is the 24-70mm. All the brands do it, and for travellers and landscape photographers the 24-105mm f/4. I personally have the sigma, version Art which is excellent. The depth effect will be less, and you'll be able to take excellent landscape photos with the security of not losing yourself in the depth of a wide-angle lens on the subject or subjects. It's by playing a little more with guidelines and perspectives that you'll achieve depth with these lenses.
Otherwise, a telephoto lens isn't useless for landscape photography either! A 70-200mm lens, for example, can be practical, not too heavy and obviously allows you to get closer to your subject. Telephoto lenses, unlike wide-angle lenses, compress the image. This can be very useful for capturing part of a landscape or when it is impossible to really get the right angle or to get close up (in the mountains or forest, for example). A zoom lens and a tripod are the essential duo for a good photo.
I personally used a sigma 70-200mm F/2.8 for a long time.
5. Your smartphone
Yes, it's 2024 and the smartphone has become indispensable for everything! Even photographers can't do without them 😋. And there are several reasons for this:
1. topography
As the title of the paragraph mentions, for topography. You have a map on which you can zoom in and out, with roads, paths, altitude, measure distances etc... Applications such as Google Map, Google Earth, the walking applications are very practical !
2. The weather
The weather is both a photographer's friend and enemy. It's true that it's possible to get good photos in all weathers, but since we all have our own style and preferences, it's the weather that will tell us whether or not or when our "photo moment" will be at a particular location! You'll be able to anticipate and know the right time to capture a photo in mist, fog, after a thunderstorm etc...
The photos are immediately more dramatic and captivating.
3. Timing
Indirectly presented in the previous paragraphs, the smartphone will also tell you when to take the photo. Know how much walking you'll have to do, how difficult it will be given the topography, and what the weather will be like!
But even more important for your planning, determining where the sun will be and at what azimuth, in order to determine the blue or golden hour for your stage. Whether on location or days or months in advance! The application I use for this is Photopills. This app is absolutely brilliant! I'll let you read the linked article to get an idea if you're not familiar with it.
4. Test your framing and choose your lens
And that's what smartphones can do too! It's not smart for nothing 😁 ! For those who have several lenses on their phone by consulting the manufacturer's manual or on the internet you will have the equivalent in mm of your lenses.
You can use your smartphone in wide-angle, standard or zoom mode to see the framing and decide whether you like it or not. Using your phone in this way means you can find the right location, the right guidelines, the right distance from the subject, and probably the right lens! It's not bad at all, and more practical to carry around than the camera, change the lens 2 or 3 times in the field and move it all around with the tripod. With just the smartphone in your hand, it's actually quicker and more comfortable, isn't it?
So that's my top 5 practical photo accessories to take with you wherever you go, and what are your favourite accessories?
See you soon on Dragonstreet Photography,
David

