1. Creating luminance masks ...
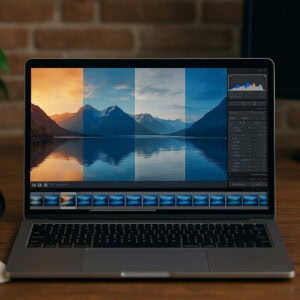
To kick off the new year, I'd like to talk a bit about technique. More specifically, Photoshop and luminance masks.
These masks allow you to select specific tones in an image and modify them at will. They can be used to correct tonal values recorded by the digital camera or tones that may have been altered during image manipulation. Luminance masks allow you to develop your interpretation of light and make the captured light incredibly malleable, thus enhancing your photographic personality.
As you can see, I'm one of those people who still think Photoshop is a very useful tool for photographers.
For the more experienced or professionals who spend all day on Photoshop, this may be 'déjà vu', but for others it could significantly change their workflow.
As a prerequisite, I'm going to assume that you're comfortable with the way Photoshop's masks and layers work, as well as with the RGB layers in an image. (I'll be devoting an article to this in the near future if you're interested)..
2. Presentation by Tony Kuyper
Tony Kuyper has been a photographer for over 20 years, with a particular passion for the Colorado plateau and its desert landscapes. Every year, he explores different areas with his camera, and each time he is surprised by the beauty of the light he finds there.
At first, he looked for well-known locations to take his own versions of photos he had seen in books or magazines, but this rarely turned out as planned.
As a result, over the years Tony has stopped looking for 'the light' and has instead given free rein to the unpredictable and allowed himself to be caught by the light. His favourite moments are when the light appears in an unexpected way, in an unexpected place. These are intense moments, so much so that you have to be quick and rush to capture the light. This is mainly what you'll find on its website The light reveals the natural beauty of a desert.
Despite the power and quality of today's digital cameras, Tony was disappointed by the way the photos came out looking rather flat, without the emotion he had felt in front of the real scene. That's why he looked for a way to sculpt the light, to render the colours, the tones, to bring back the realism and the original emotion through his photos. That's when he realised that Photoshop and luminance masks would be indispensable.
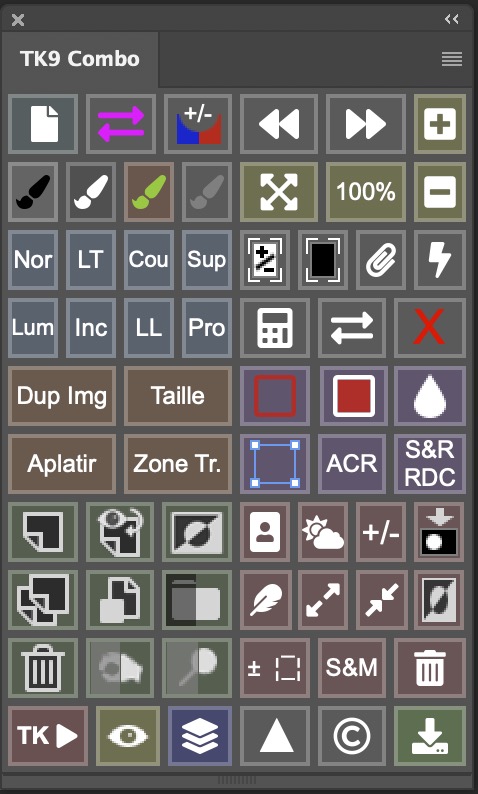
Tony Kuyper and his colleague and friend Sean Bagshaw have worked hard to develop the concept of luminance masks, and have produced numerous tutorials (written and video), as well as workshops.
Tony has been offering a Photoshop panel dedicated to luminance masks for several years now, and the latest version is very advanced (in fact it's a dual version: one for small portable screens and another for large desktop screens). Several versions are still available: Photoshop CS6 and of course CC and CC2014 (Photoshop having changed its technology).
Now that the introductions have been made, let's get back to our famous luminance masks.
3. Principle of the luminance mask
Luminance masks are nothing more than selections based on the luminance values of the image.
On the Mac we use the Cmd or Apple key, on Window the Ctrl key.
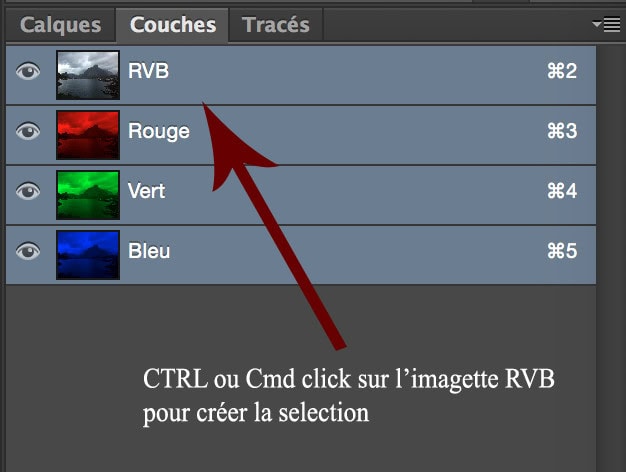
Go to the RGB layers panel. Hold down the Ctrl / Cmd key and click on the RGB layer thumbnail. Usually the bright dotted lines define a selection in the image.
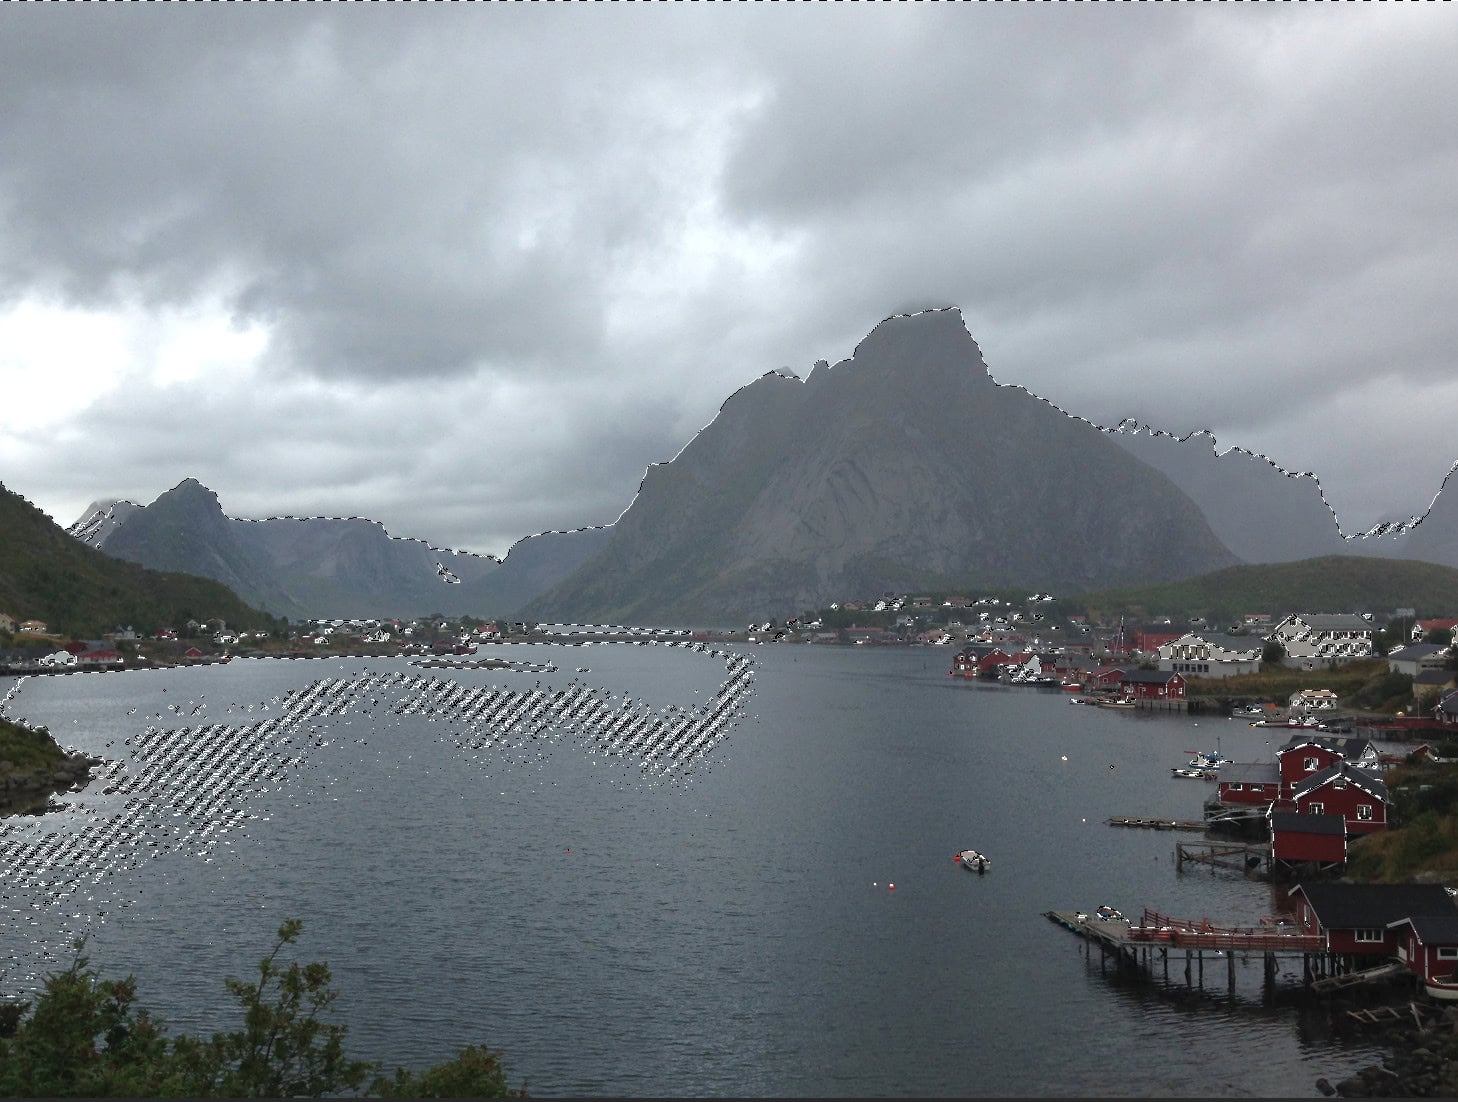
The bright dotted lines only appear around pixels whose luminance is equivalent to a grey of 50 % or lighter. In short, tones below 50% of grey can be selected, but these tones will not appear as selection dots.
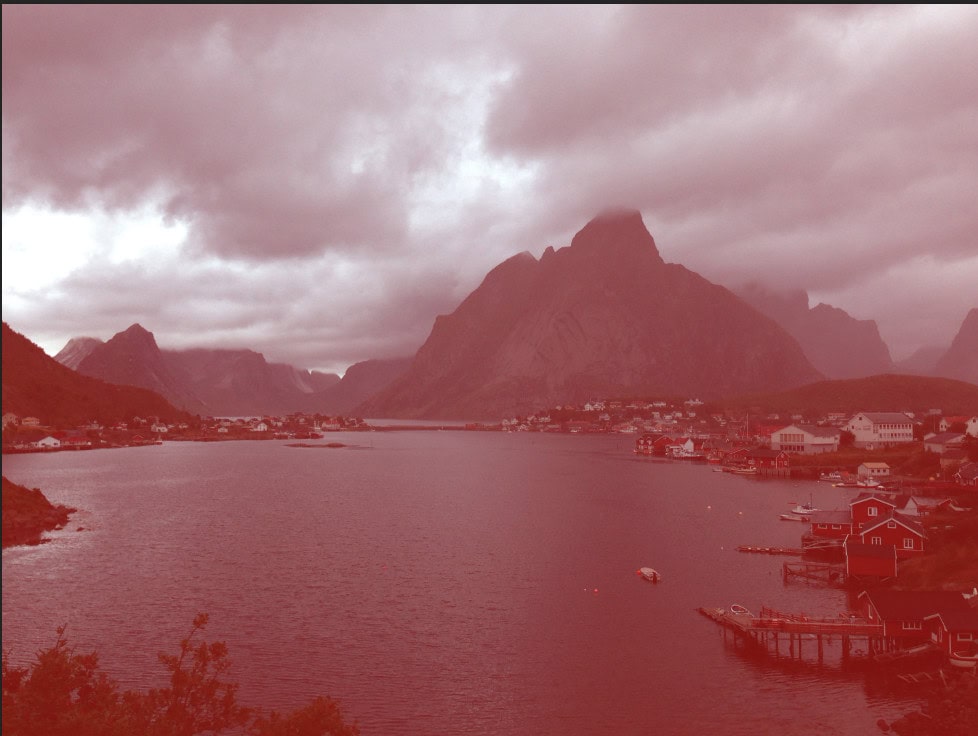
To get a precise view of the selection, switch to mask mode (shortcut Q on your keyboard) to get an exact "red (default)" preview of your future mask. The opacity of the red corresponds to the intensity of the selection.
Here is the selection with the dotted lines, and in mask mode :
Once you have created the selection of light areas of the image, you need to save it. To save it, we're going to create our layer, called alpha 1 by default in Photoshop.
4. Creating the alpha layer
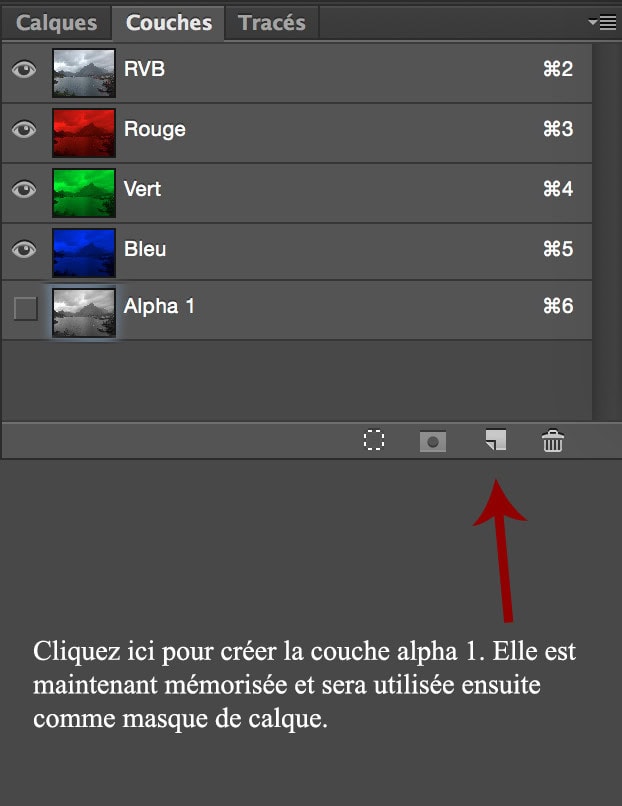
Click on the button to save the selection as an alpha layer at the bottom of the layers palette. A layer called "Alpha 1" will appear in the list of layers.
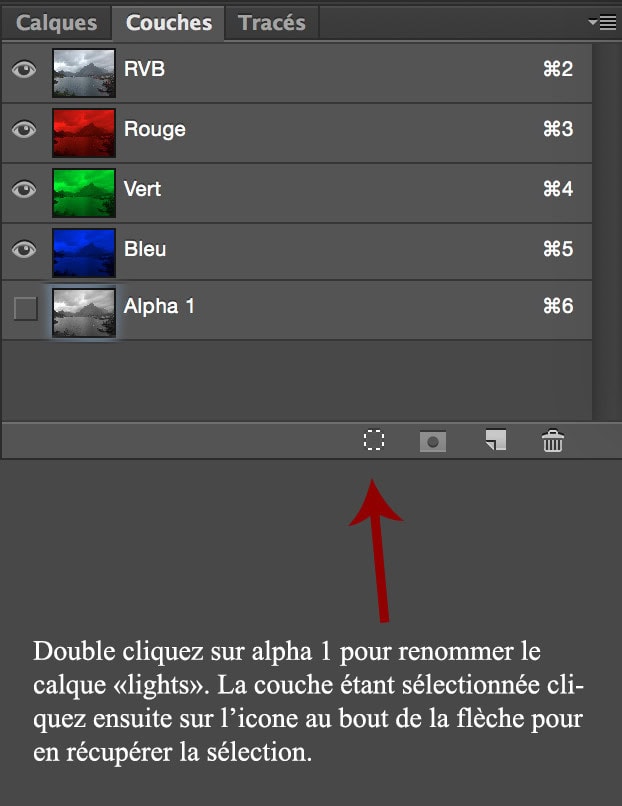
Double-click on the name "Alpha 1" and rename it ("lights" for example) then confirm by pressing Enter. Click on the RGB layer to make it active and restore the coloured view of the image. Type Cmd or Ctrl D to deselect the pixels.
There you have your first luminance mask representing the light areas of the image. It all sounds a bit complicated, but it's really very simple to use.
Technically speaking, what has been created is a selection of pixels materialised in an "Alpha" layer. This alpha layer will only become a mask when it is applied to a layer in the layers palette. By double-clicking on the word alpha 1, you can rename the layer: here we'll call it "lights" (you'll understand why later).
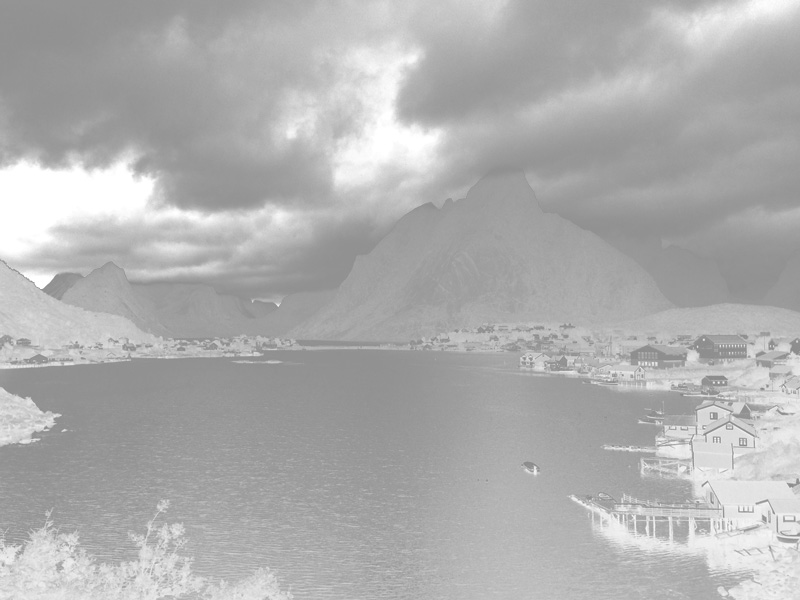
Now, by clicking on the thumbnail of the 'Lights' layer, the mask appears on the main image in Photoshop. You can see that it's a perfect, positive greyscale of the image that appears, containing very little pure black and white. The mask is made up of shades of grey that perfectly reflect the estimated luminance of each pixel in the image.
Consequently, when this mask is applied to an adjustment layer, it will reveal its effect proportionally more as the pixels become lighter (white reveals), and less as the pixels become darker (black hides).
5. Greyscale mask
The effect on the image will be obvious, but there will be no way of telling where the effect begins and ends. There will be no sharp edges, as the luminance mask has been created from the shades in the image itself, there is a perfect gradation of shades and each pixel will be affected in exact proportion to its luminance.
6. Use the alpha 1 or light mask
To use the "light layer" as a mask, you need to retrieve it as a selection: there are several methods for doing this:
Hold down the Cmd or Ctrl key and click on the layer we have called light, or click on the layer and then on the dotted circle icon.
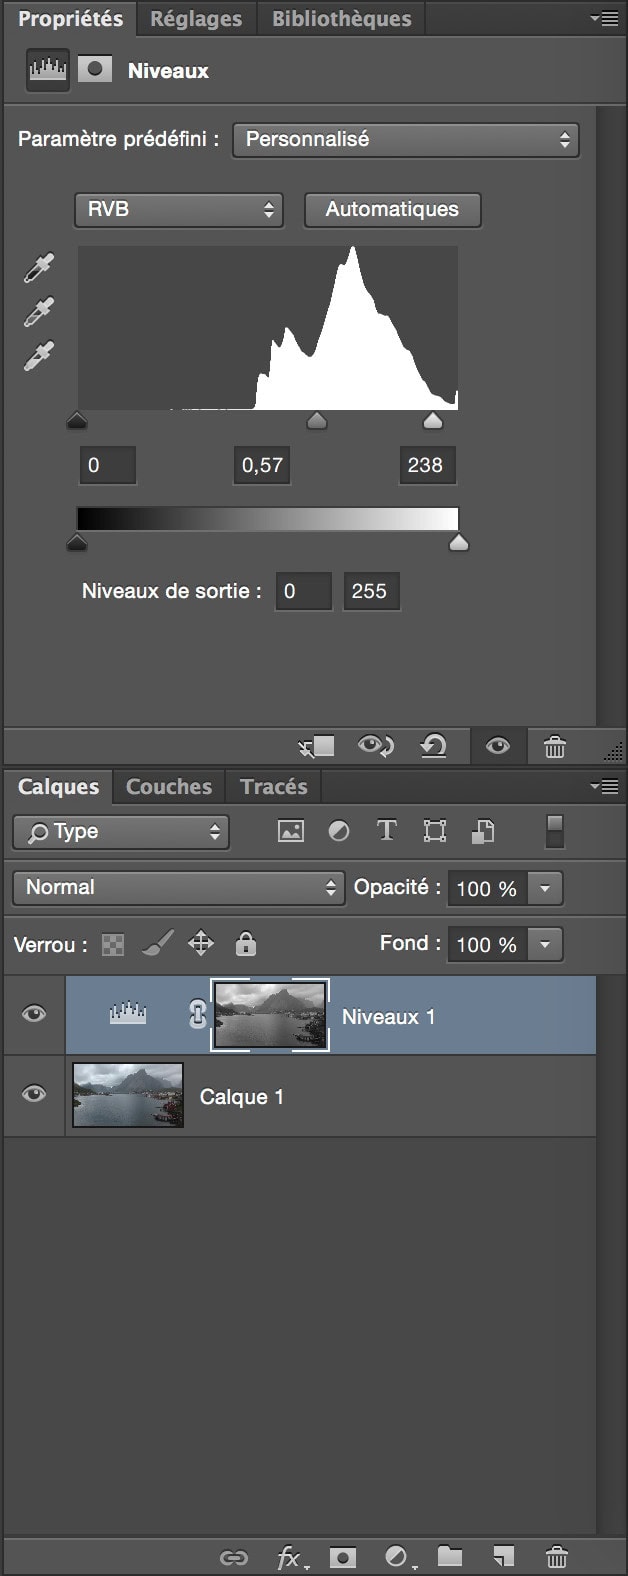
Once the luminous dots are flickering, return to the layers palette. At the bottom of the layers palette, click on the button symbolised by a half-black, half-white circle, entitled "Create an adjustment layer". Choose "Level..." from the pop-up menu that appears.
A new layer immediately appears in the layers palette with a merge mask corresponding to the application of the selection defined by the "Lights" mask. At the same time, the level dialogue box appears.
Adjust the slider on the level panel to fit your photo. The white areas of the mask reveal and ensure that the adjustment takes place mainly in the lighter areas of the image. The black areas conceal, moderating the effect of the mask, in the dark areas of the image which will be affected little or not at all.
7. Different masks for different tones
The luminance masks are incredibly useful, and the selections are perfect and effortless.
There's no need to zoom in to make sure that all the necessary pixels are included in the desired selection, and no need to touch up the edges of a selection once the adjustment has been made. The luminance mask takes care of all that.
The "Lights" mask is just the starting point. Tony Kuyper's Photoshop panel automates all this with just 1 or 2 mouse clicks.
From the basic 'Lights' luminance mask, a large number of additional masks can be produced to target other luminance levels in an image. I'll describe all the possible mask variations in a second dedicated article and how to create them.
To find out more about Tony's action panel, visit his page here..
Buy and download the action panel by Tony Kuyper.
David
More ... Luminance masks #2

