As someone who loves photography and nature, here are 5 basic tips for photographing plants. These tips should enable you to obtain simple, beautiful photographs of plants and reduce post-production work.
1. Good lighting
As everyone in photography knows, to photograph plants, lighting is essential, and depending on where you're going to take your photos, you'll need to prepare for it and take great care.. By playing with light, you can achieve some very pretty effects. But first you need to be aware of your surroundings.
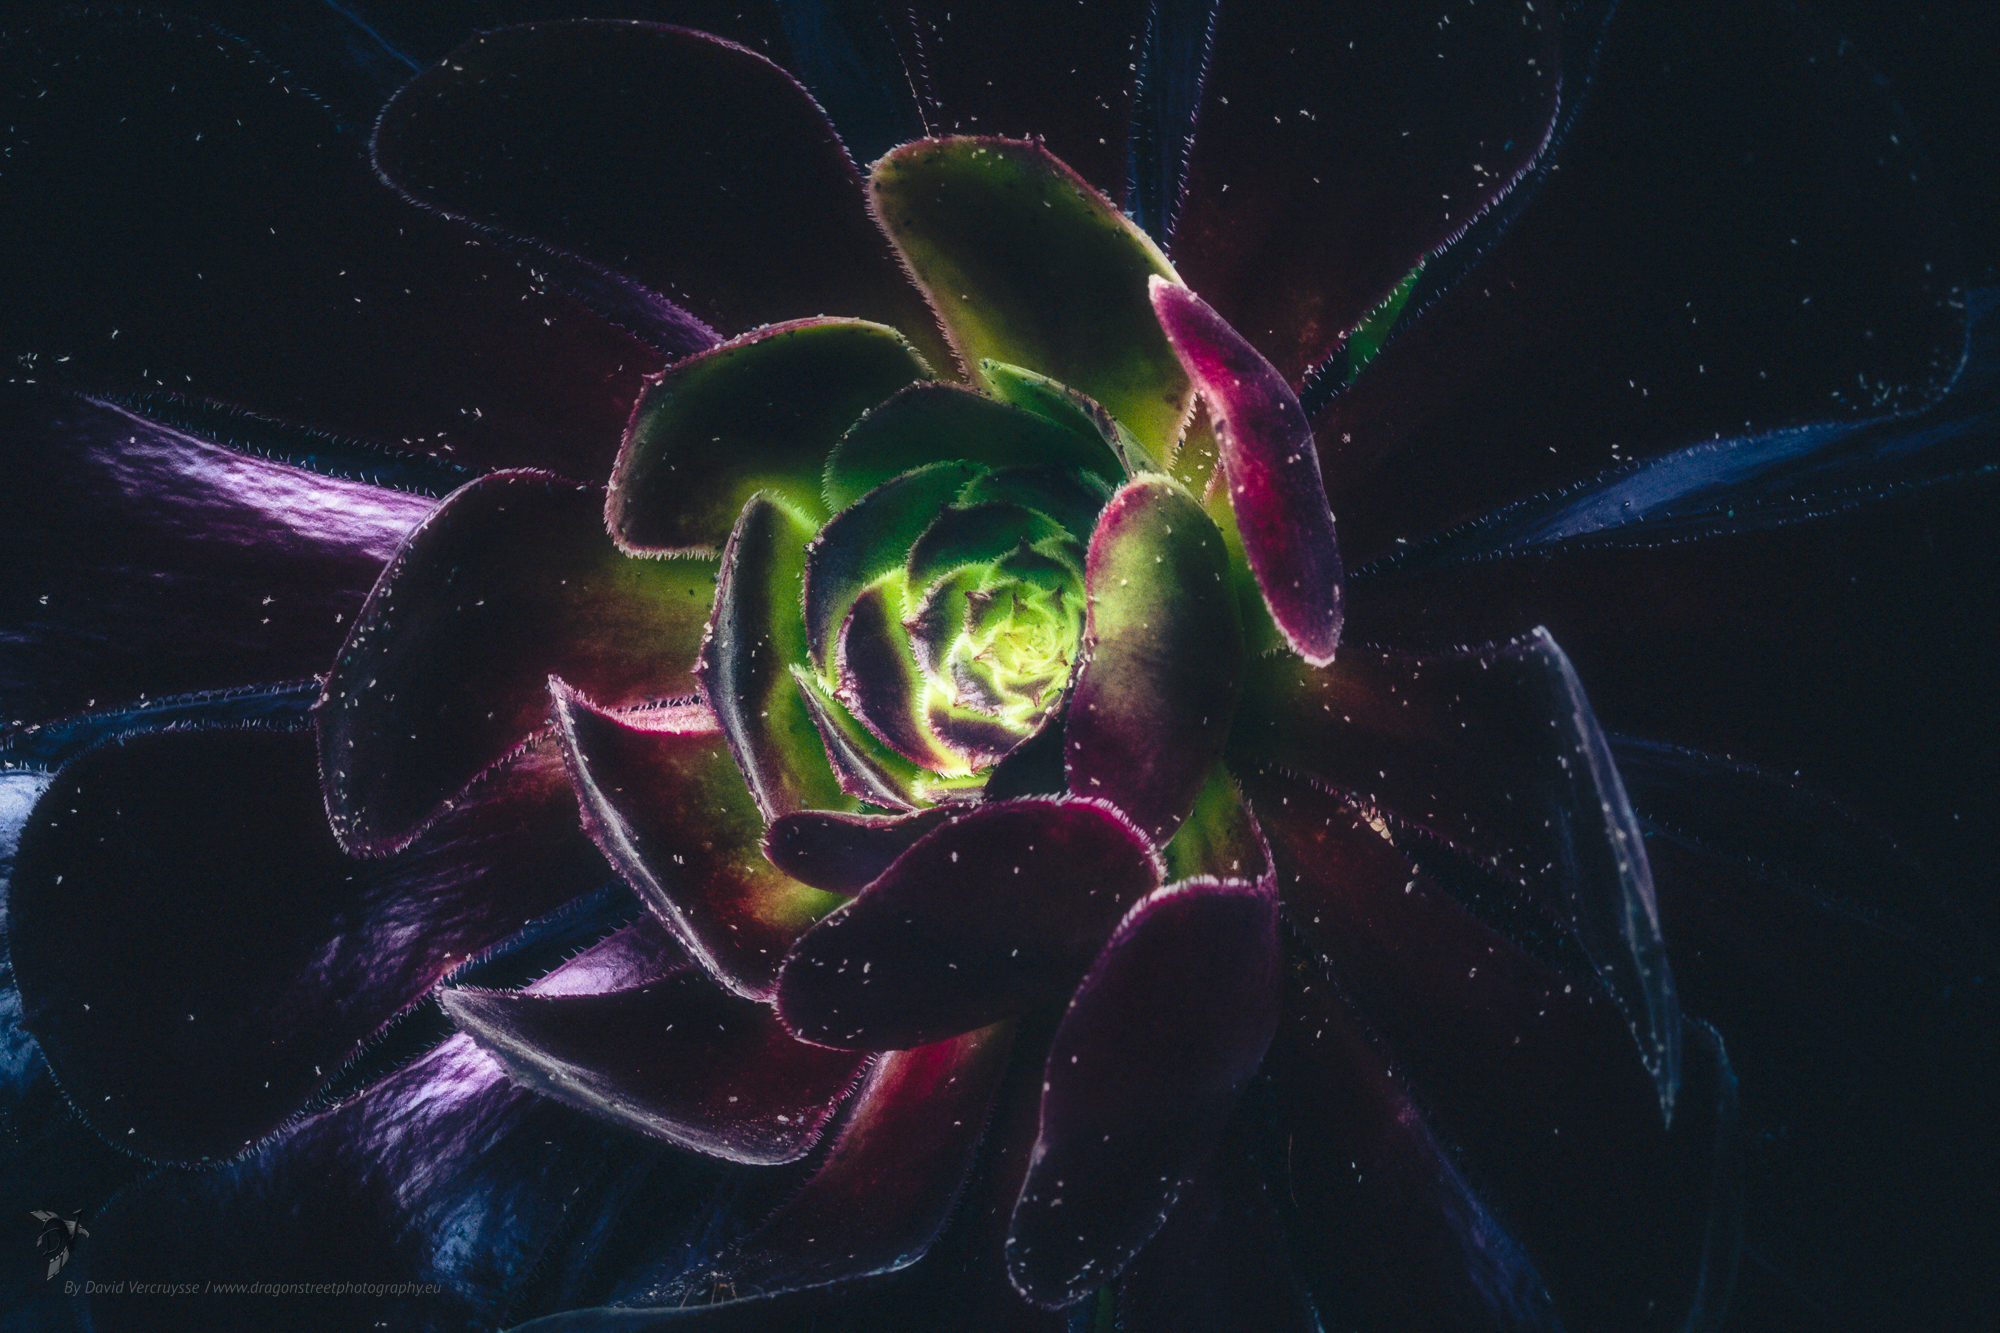
If you photograph in a botanical garden, for example, as I did with the Roscoff botanical and exotic gardenThere will be no particular problems, as the garden is quite open to natural light. Even when photographing succulents in the greenhouse, the translucent greenhouse regulates the light perfectly, so there are no violent 'direct' rays of sun or even harsh shadows.
So it's a pretty practical place to train after all.. You won't really need any additional accessories, unless you need to increase the sensitivity of your camera.
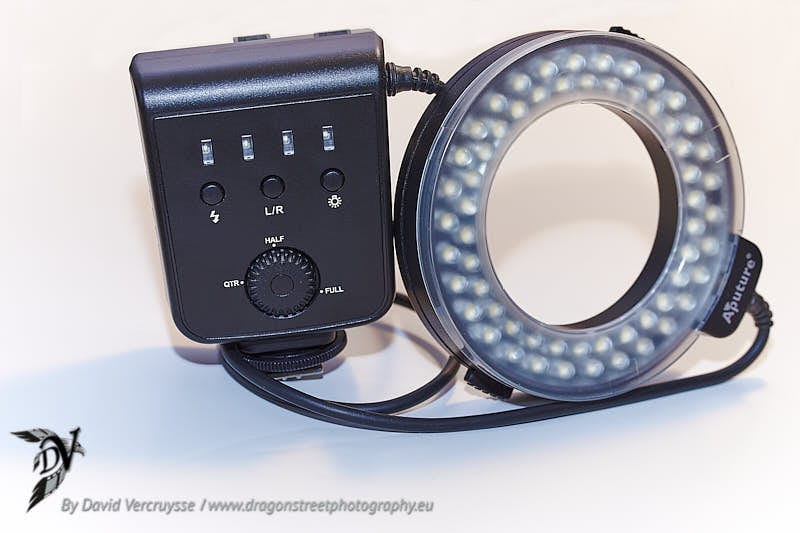
In this case, it is preferable to use a flash (with diffuser) or, better still a ring-shaped LED light that you clip onto your lens. Personally, this is what I use. You can adjust the intensity of the light and the temperature. You can see the results in real time.
However, things will be very different if you decide to go hiking in the forest and undergrowth. Not only will the light be poor (even though our eyes are very good at adapting and seeing "clearly" 😅 ), but you'll also have to be very careful not to let the light get in the way. there will be a grey-green tint to all the photos taken. White balance will be totally distorted.
You might say that if you shoot in Raw, it's not a problem; when you import the image into the de-rawing software, you apply a hue and temperature correction and that's it. In fact, it's perfectly possible. After that, it's perfectly possible to adjust this directly on your camera. That doesn't mean you can't fine-tune it in post-production.
A small reflector disc can also be very useful for balancing your light.
2. Frame tightly to photograph plants
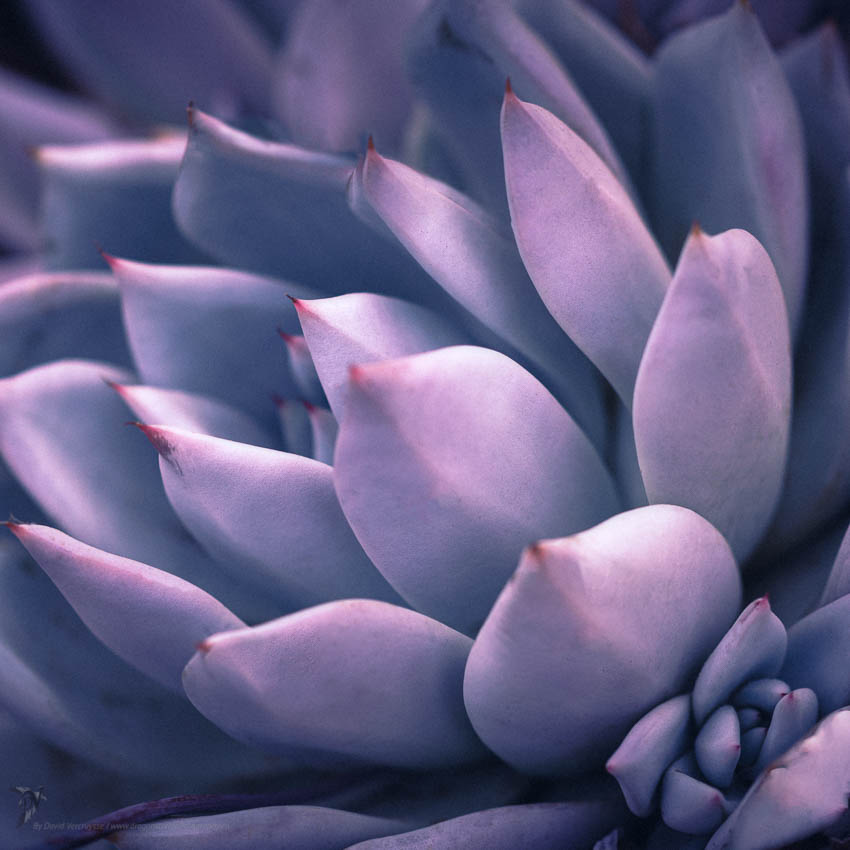
It's not an absolute law, but Personally, I find that in plant photography, you're looking for detail and texture.. As if you could touch it and feel it. Plant photography should appeal to the senses....
It will then be quite natural to frame tightlyAnd to photograph up close. Maybe even very, very close up. With that in mind 😉 and if you do a lot of plants or flowers, a macro lens will be very useful and practical with a focal length of up to f/32, for example, which will give you good control over depth of field (very short or deep background blur).
Unless you have a macro lens, you can use alternative solutions such as extension tubes which will move your sensor away from the lens and allow you to get closer and magnify your subject. It's simple, practical and cheap. The only problem is that you lose light.

But there are 2 other possible alternatives for photographing plants or flowers Using a smartphone, a bridge or a top-of-the-range compact camera.
In fact, these days, a good smartphone makes it possible to take quality photos. Some smartphones have so much definition and sensor/lens quality that nothing can stop you. Focusing distance can be very shortThis can be very useful for close-up shots. With a few accessories to optimise lighting, an application to generate Raw files and you're all set. ! And it's light!
Bridge cameras and compact cameras can be used just as well, as they can also focus very close to the subject. Bridges have specific options for macro or proxi-photography. Compact cameras are a bit like smartphones in that they can shoot up close. I'd advise you to check whether they can capture images as Raw files so that you can develop them to your liking later on. (You should also check that yourrawing software supports your camera).
3. Focus
That goes without saying, macro photography or proxi-photography, perfect focus and excellent sharpness. For this, of course Raw development software such as DxO PhotoLab 5 can be very useful, there's also the plugins solution with DxO PureRAW.
That being said, when the shot is of good quality, the rendering is nickel on most software. (Lightroom, Capture One, On1 Photo Raw, Luminar Neo... to name but a few). And of course, macro lenses are excellent for this. Qualitatively, it might be a little more difficult with the alternative solutions, but if you intend to do a lot of macro photography, it's worth the investment.
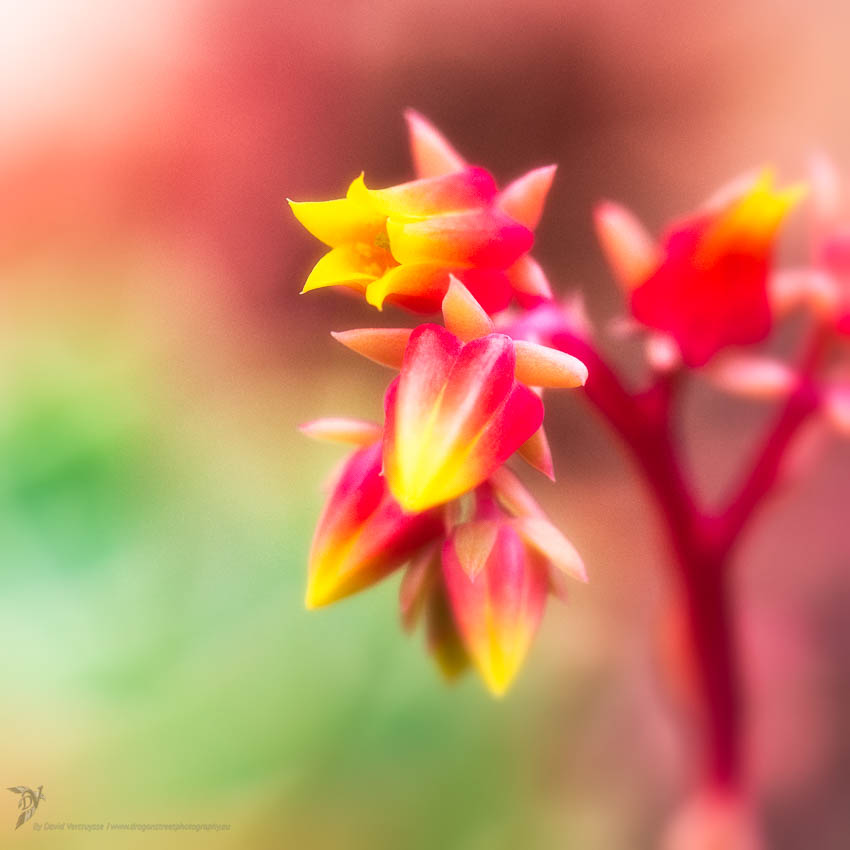
You will of course need to focus on your subject, in the area where you want to catch the viewer's eye. In opposition (complementary) the depth of field (the blurred area) will give your image atmosphere and context. It's only after having gone through the zone of sharpness that the observer will go round the blurred zone and take in the whole picture. It is thanks to this play of "greater or lesser fields" of blur and sharpness that you will be able to convey the first emotion.. The rest will be done in post-production.
4. Composition
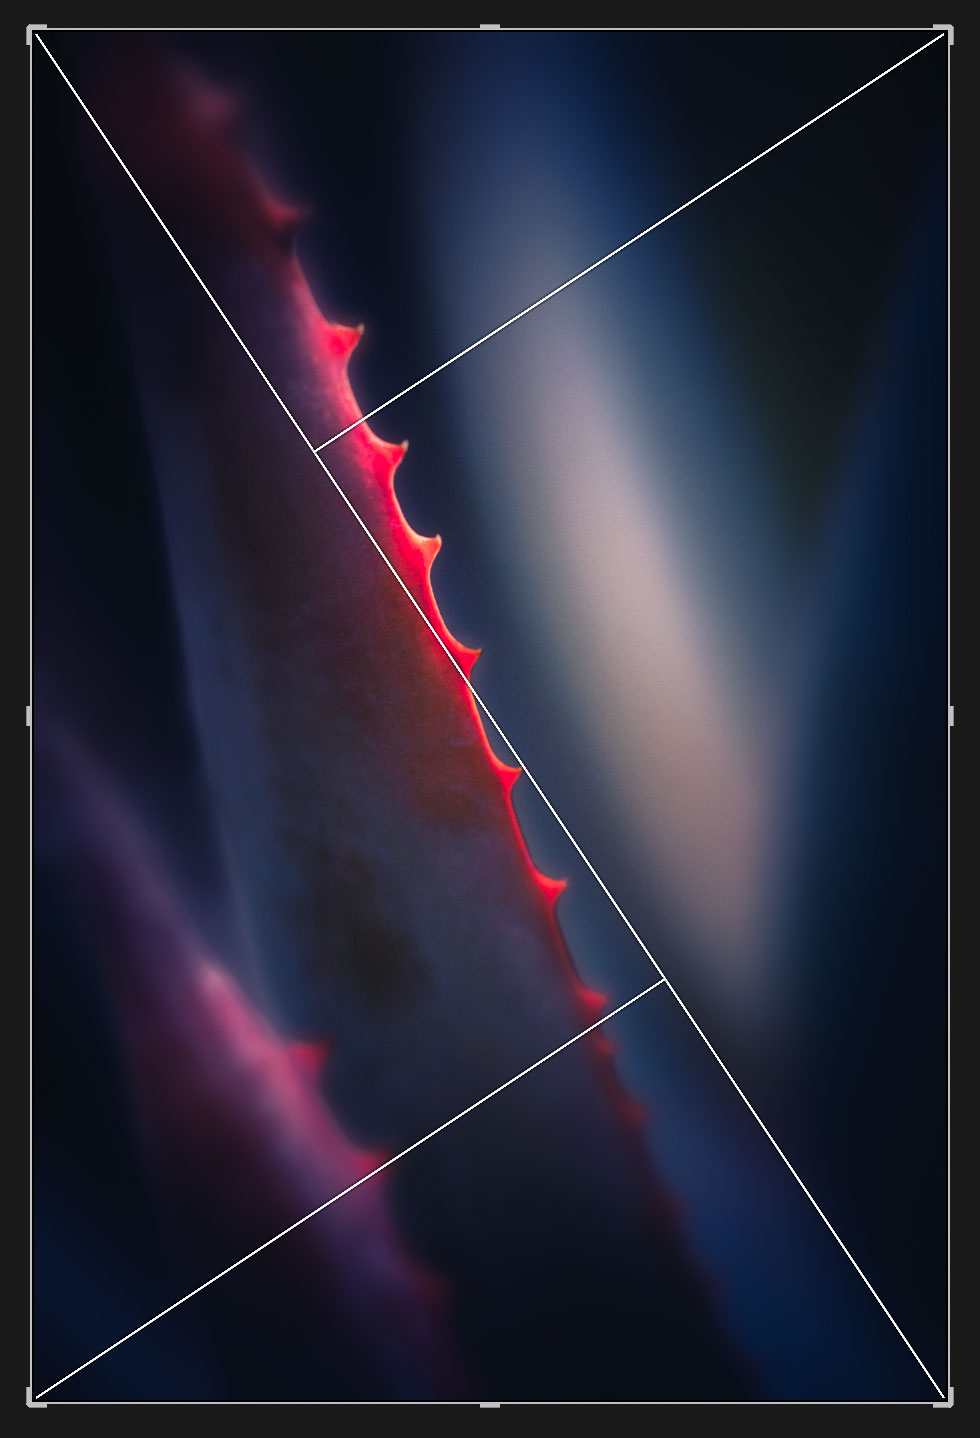
After talking about framing and focus, we couldn't avoid talking about composition. This is a very important element, which in my opinion comes immediately after depth of field. With today's digital technology, it's very practical to be able to play around with the different cropping/composition tools in software, to switch from landscape to portrait mode, etc.
It's easy to do, undo and redo until you get a satisfactory result, by varying the composition tool, such as the rule of thirds, the Fibonacci spiral and so on. There's no end to the things you can do and try out... take advantage of this to find the ideal composition for your style and the emotion you want to convey.
5. Use a polarising filter
So far we've talked about photographing in soft, diffused light, without direct sunlight, in the shade of a forest. But what to do in bright daylightin a fairly exposed garden? Couldn't we use rays of light in the background, in the blur of the photo, to create an effect, a context?
That's where the usefulness of the polarising filter comes in. Why this filter? "the filter which allows you to limit, eliminate or, I prefer to say, control reflections and use them to your advantage to progress in your art.
Shutter speed can be increased to reduce exposure during capture, it also allows you to take photos with your hands raised but sometimes that's not enough, when plants and flowers have a shiny surface texture or hairy. Reflections will persist, and this is where it will be essential to use a polarising filter on your lens.
The advantage of this filter is that it eliminates reflections while increasing the contrast and intensity of the colours a little too. Which is not insignificant in certain situations. What's more, it will make us lose a little light, which is just perfect in the context of hard lighting. we're talking about here.
These are the 5 tips I wanted to share with you in this article. I hope they will help you to optimise your photos and develop your photographic art,
If you would like to visit my gallery of images on the subject you pass by here,
see you soon
David

