As I mentioned in the article " Capture One styles "Styles can be very practical and useful both in terms of workflow and for finding inspiration during those slightly empty periods 🥲!
Here I propose to discuss how create your own Capture One styles and make them as useful as possible. In this way, you'll create styles that correspond directly to your sector of activity or your photographic art.
REMINDER: Styles vs presets in C1
These are pre-recorded adjustments. You might say, ah yes, presets.
But be careful 😱 , Phase One has its own terminology. In Capture One they are called styles because pre-settings or presets are tool recordings!
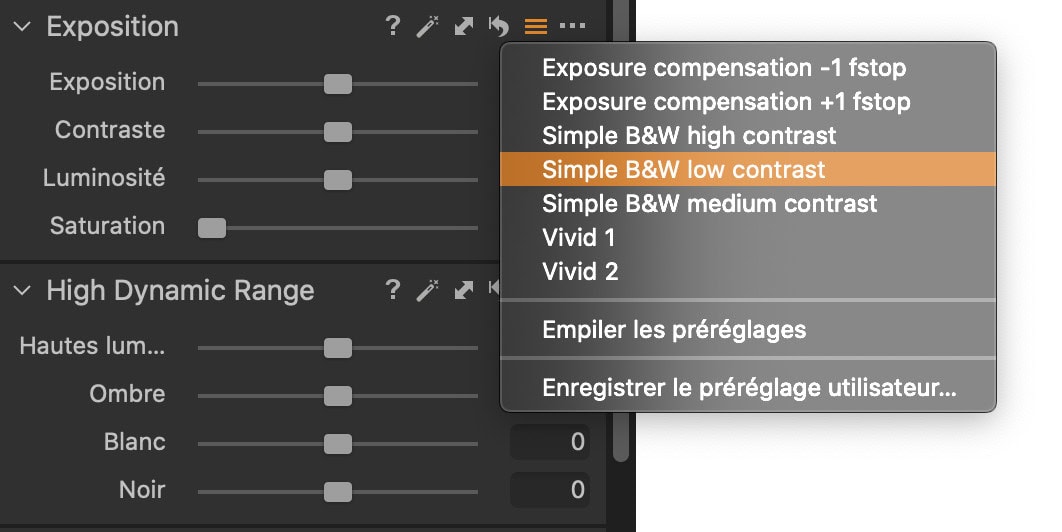
To sum up, we have presets for each of C1's tools, and styles are pre-registrations of a set of presets or tool adjustments..
Prerequisite: working with good photos
It may sound silly, but a style won't make up for a bad photo! Nor will a style alone suffice for a photo.
Let me explain: sometimes a style is perfectly suited to a photo, but that's still an exception - you'll always have to make changes to the adjustments to the applied style, no matter how small!
What's more, you need a good medium to create well, and in this case that means good photos. Here I'm just talking about good photos, at least in terms of the technical aspect (and not the artistic aspect, which is up to each individual).
A photo that is technically poor at the outset will only get worse as it is developed and retouched. Overexposed and burnt areas will remain so, as will black areas, noise will increase, and if the tonalities are poor when the photo is taken, the contrast in the colours will create artefacts etc... in short, you get the idea, it will be a massacre 🤣 !
Ultimately, this means knowing what you want to capture, and what the end result will be when you take the shot. You can read my article on the subject: "10 tips for improving your travel photos
Which tools to include in your Capture One styles
As you may have guessed, not all tools need to be included in a style.
Creating your styles in Capture One Pro should correspond to your needs, your sensibility, your photographic style and even your workflow! A style that suits you, responds to the tones, exposure, etc. that you like to capture. to your photos.
I'd advise you to include fairly general, all-purpose adjustments in your styles!
Basic development adjustments
Personally, I always include my favourite tool in C1; the levels. With levels alone, many parameters are managed, such as contrast, mid-tones, white and black points. What's more, in Capture One, by using levels with RGB layers, you can correct the dominant colour. That's not bad with just one tool, and this will be your correction, according to your own judgement not an automatic correction!
Of course, you can do the same thing with the curves.
So, depending on your camera, your strengths or weaknesses, and whether you tend to underexpose or overexpose a little, the High Dynamic Range will help you. In general, we all have our own habits when it comes to taste, and tonality is one of them. So correcting flaws a little and adjusting tonalities are generally almost always done in the same way, in line with our artistic signature. It seems logical to include them in the styles.
The same applies to contrast, and above all clarity and structure. Each of us appreciates different contrasts, and regularly makes close adjustments. Including them in the styles remains consistent.
The same goes for colour balance. Some photographers like to bring out the warm colours of autumn, for example, while others like to play with different skin tones. In short, tastes and colours, as they say, are everyone's own 😄. In the meantime, we can modulate the colours as we see fit in our styles with the colour editor.
As far as I'm concerned, that's all I use for my basic photo development settings.
I'm also adding a few artistic adjustments (to be adapted according to each person's signature)
In artistic terms, many of us tend towards warm colours in highlights and/or cool colours in shadows and blacks. An effect that's easy to achieve with Capture One's colour balance tool.
Two other artistic touches I'd recommend are the addition of a vignette, and silver grain.
To sum up, here's what I include in my Capture One styles:
- Levels
- Curves
- High Dynamic Range
- Contrast
- Clarity and Structure
- Colour editor
- Colour balance
- Vignette
- Silver grain
Which tools to exclude in Capture One styles
Of course, while certain tools seem indispensable in the styles, others will have no place. Generally, because these adjustments will be specific to each image processed. However, that doesn't mean we can't automate things a little. We'll see about that in the next paragraph 😉
I exclude the following tools:
- The exhibition
- White balance
- Reframing
We could also add colour labels and image notation.
Using C1 styles in your workflow
Because we all have different workflows, I'm going to tell you how I do things and give you some ideas for using it, but it's up to you to adapt it to your workflow.
I use and create my styles according to my objectives, i.e. by series of photos. For example, the colours depend on the seasons, a cold rendering for northern countries, a warm rendering for sunsets etc...
I also like to separate tonal adjustments on one layer, colour adjustments on another, and artistic effects on another layer. This principle then allows me to play with the opacity of each layer to mix the power of the layers together. In other words, you can modulate the intensity of the applied style! Not to mention the fact that you can mask each layer as you wish using the brush, linear and radial gradients, or even better, using luminance masks with 'luma range'. In short, the power is enormous!
Earlier, I told you to avoid adding certain tools to styles, but there's nothing to stop you using the presets! You can then speed up your workflow by using one or more styles (stacked or not) as your first intention, and you can finish your treats image by image using the tool presets. The user experience is excellent on C1, and as with the styles, when you hover your mouse over the list of tool presets you can instantly see how they look on the image. Pretty brilliant!
Conclusion on Capture One styles
In conclusion, creating your own styles in Capture One Pro (and tool presets for that matter) can not only greatly speed up your development workflow, but can also help you find inspiration (when you run out of work)!
The power of application lies in the use of layers, masks and opacity.
You have 2 options: or buy some from Phase One to save even more time analysing their construction or creating your own styles (and presets) yourself.
In the latter case, the investment you make in creating your styles will be repaid many times over by the time you save afterwards, as well as by the speed of your developments.
Have you already created your own styles on C1? In what way?
Feel free to leave your suggestions and ideas in the comments section,
Photographically yours,
David

