Photography, as exciting and magical as it is, captures a real 3-dimensional scene in a digital or paper image that turns out to be 2-dimensional! It's a shame, you lose the depth, you could say the image flattens out and becomes blander! 🤨
How can we create a 3D perception for the observer? How do artists, painters and of course photographers achieve greater realism? In this article, I propose to share the various tricks and techniques, such as light modelling, for achieving maximum 3D realism.
1.Depth through leading lines and perspectives
I'll start with this point, because I think it's the easiest to understand and apply. That said, en nature and landscape photographyIt's not always easy, or possible, to find guiding elements or perspectives in an image.
Existing lines or perspectives
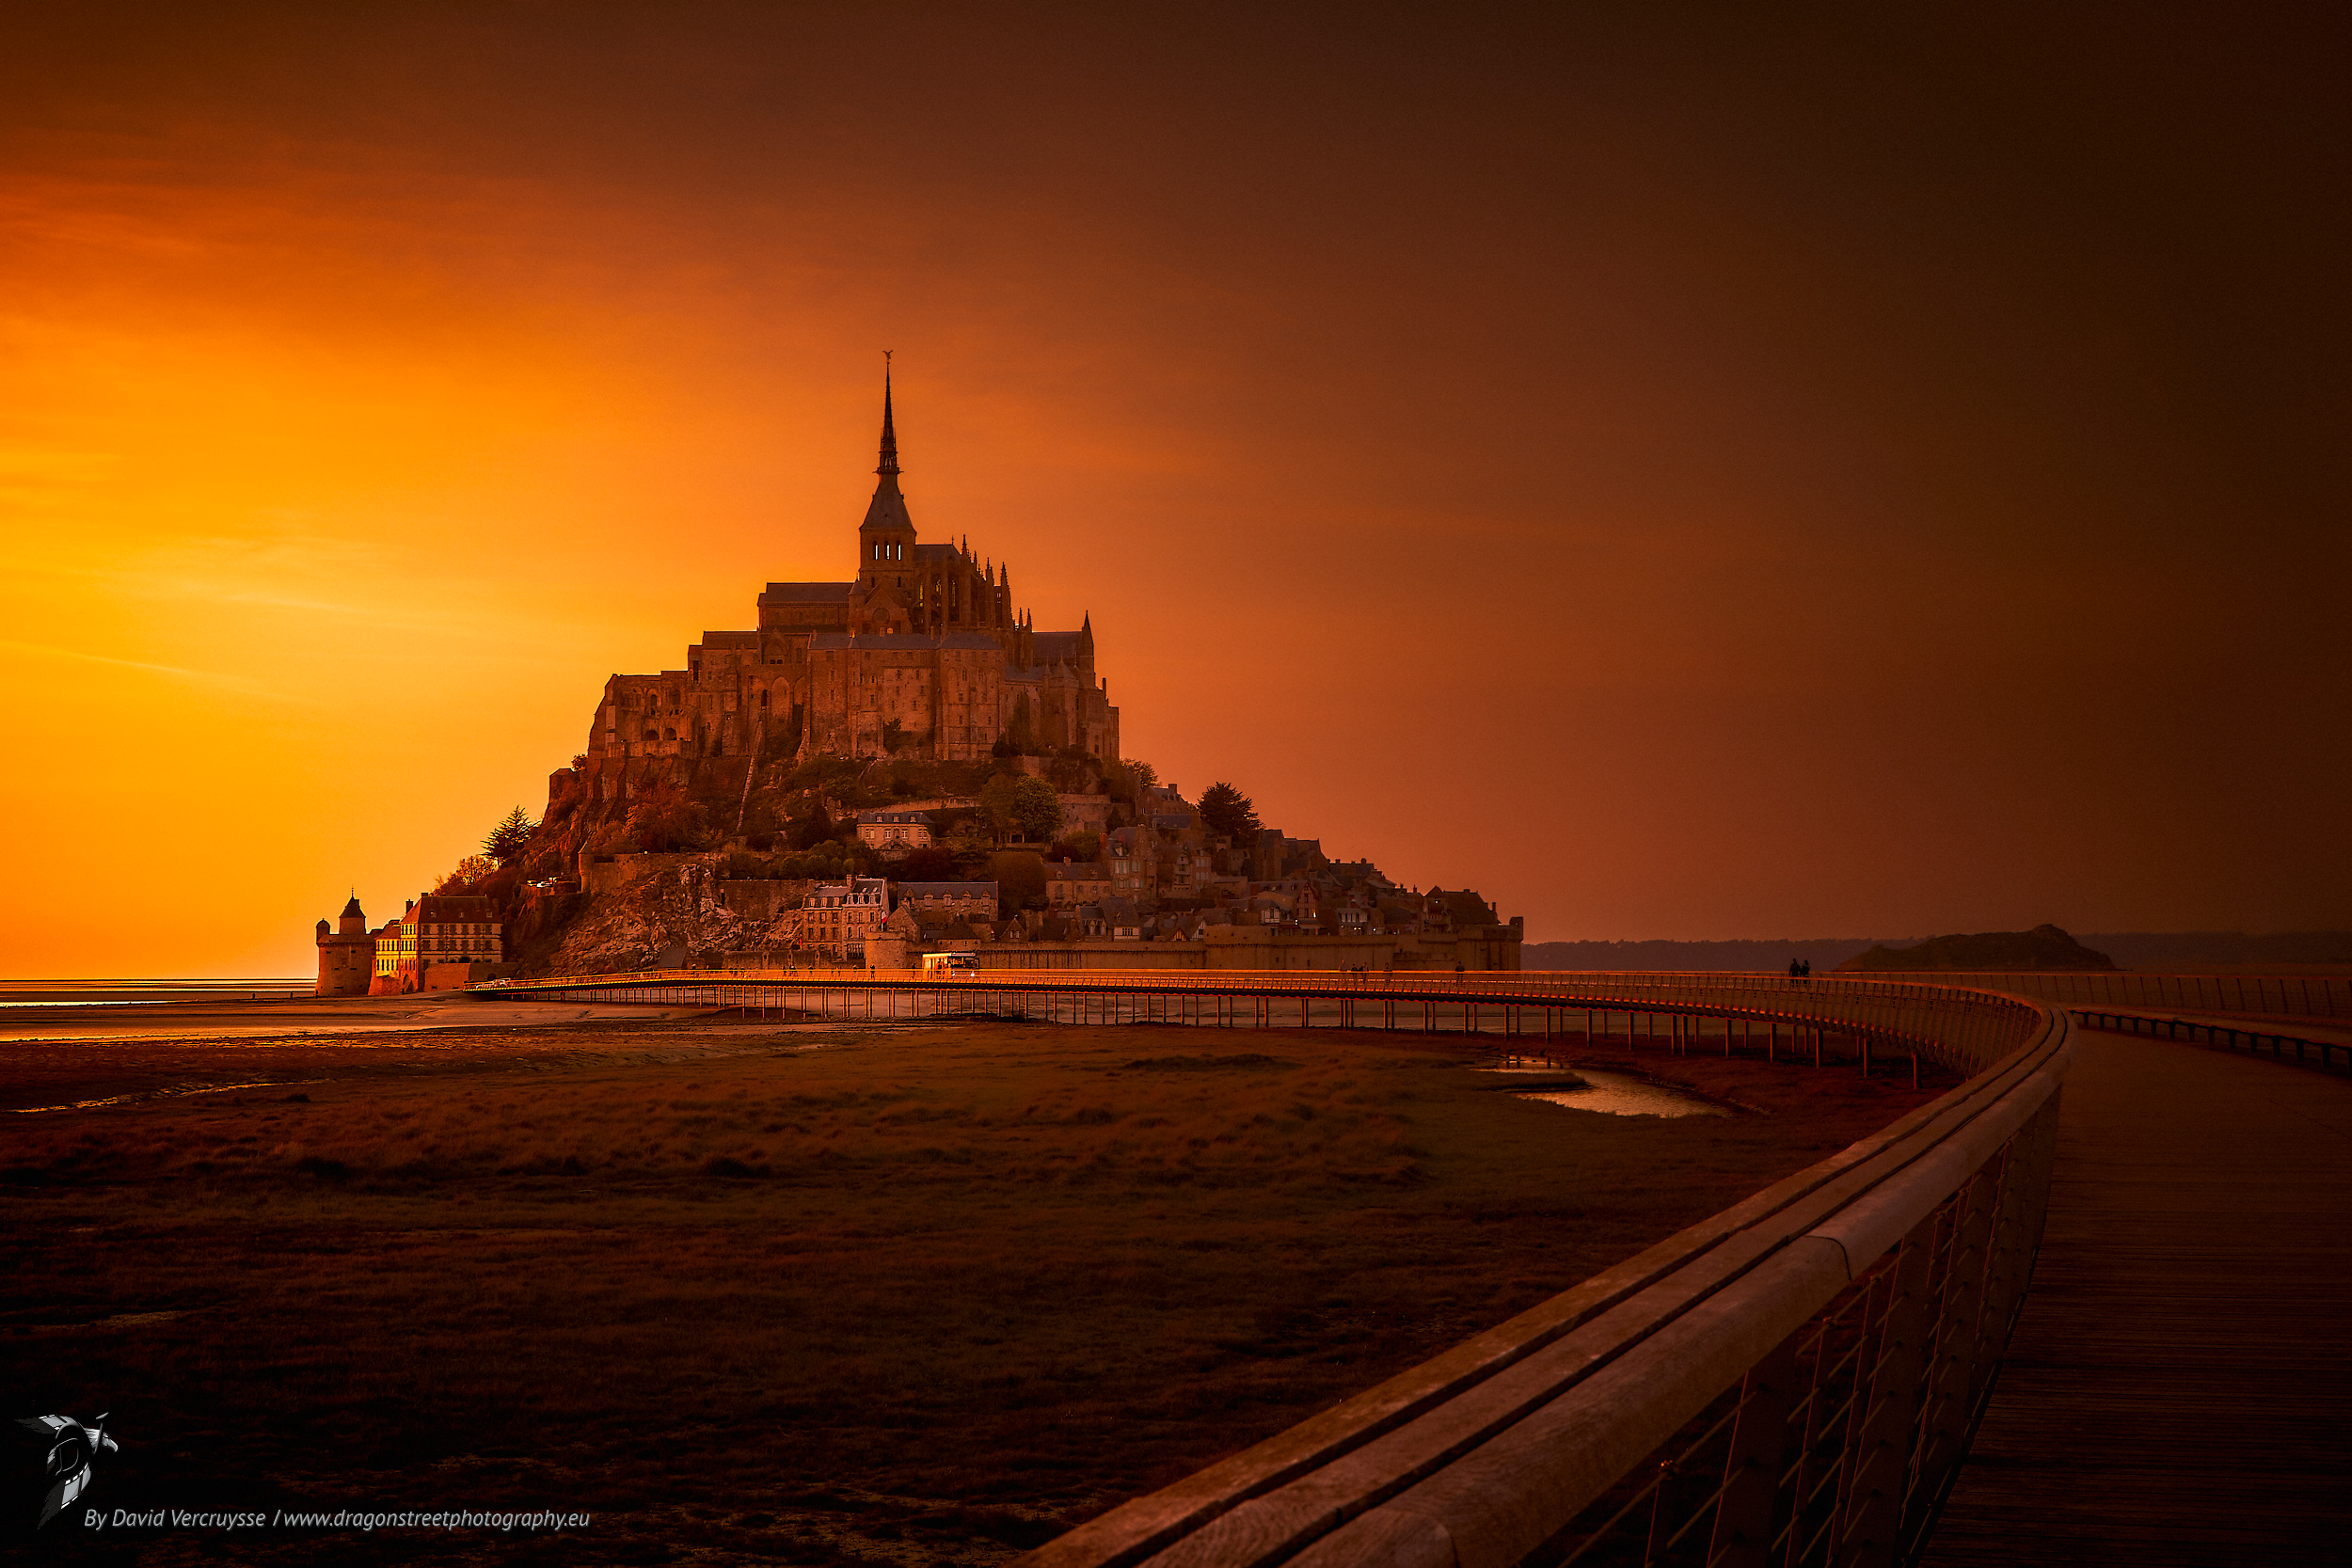
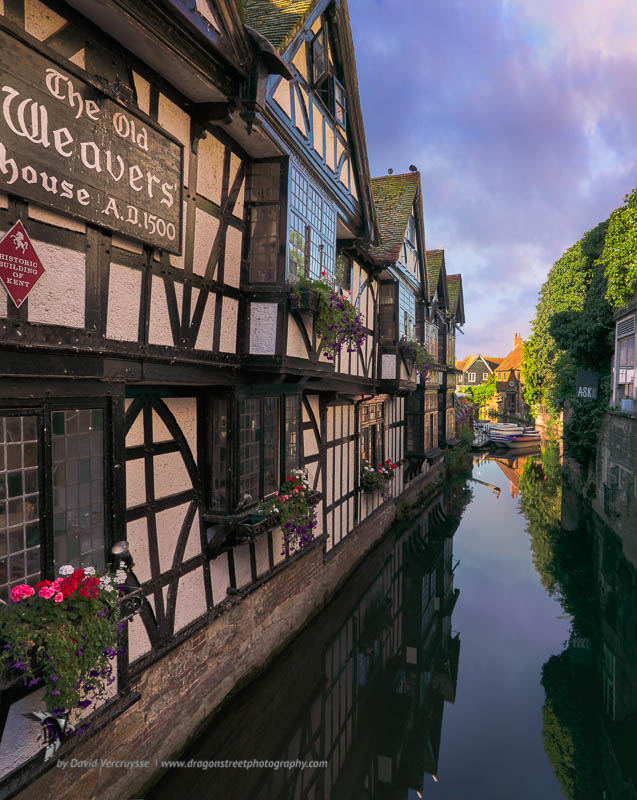
In the best of cases, when you're out in the field you can come across a situation where one or more guidelines are available to you, and that's really handy! 😍 Like this image of Mont St Michel and a Canterbury pub.
The most common elements we can play with in photographs are theeaches, tree trunks or shapes, rivers or streams, roads, building edges, shadows, etc. and so on. In fact, we need a somewhat graphic visualisation - geometric in this case, to guide the observer's eye.
Unfortunately it's not always that easy, and you have to find other ways, other landscape elements to achieve depth. So what are the alternatives?
What are the alternatives to non-existent lines?
Well, that's that, you have to change your way of thinking, and think in terms of a plan. You need to find a foreground and background element. This is usually followed by a medium shot. In minimalist photography, we'll see later how to create shots of a single element.
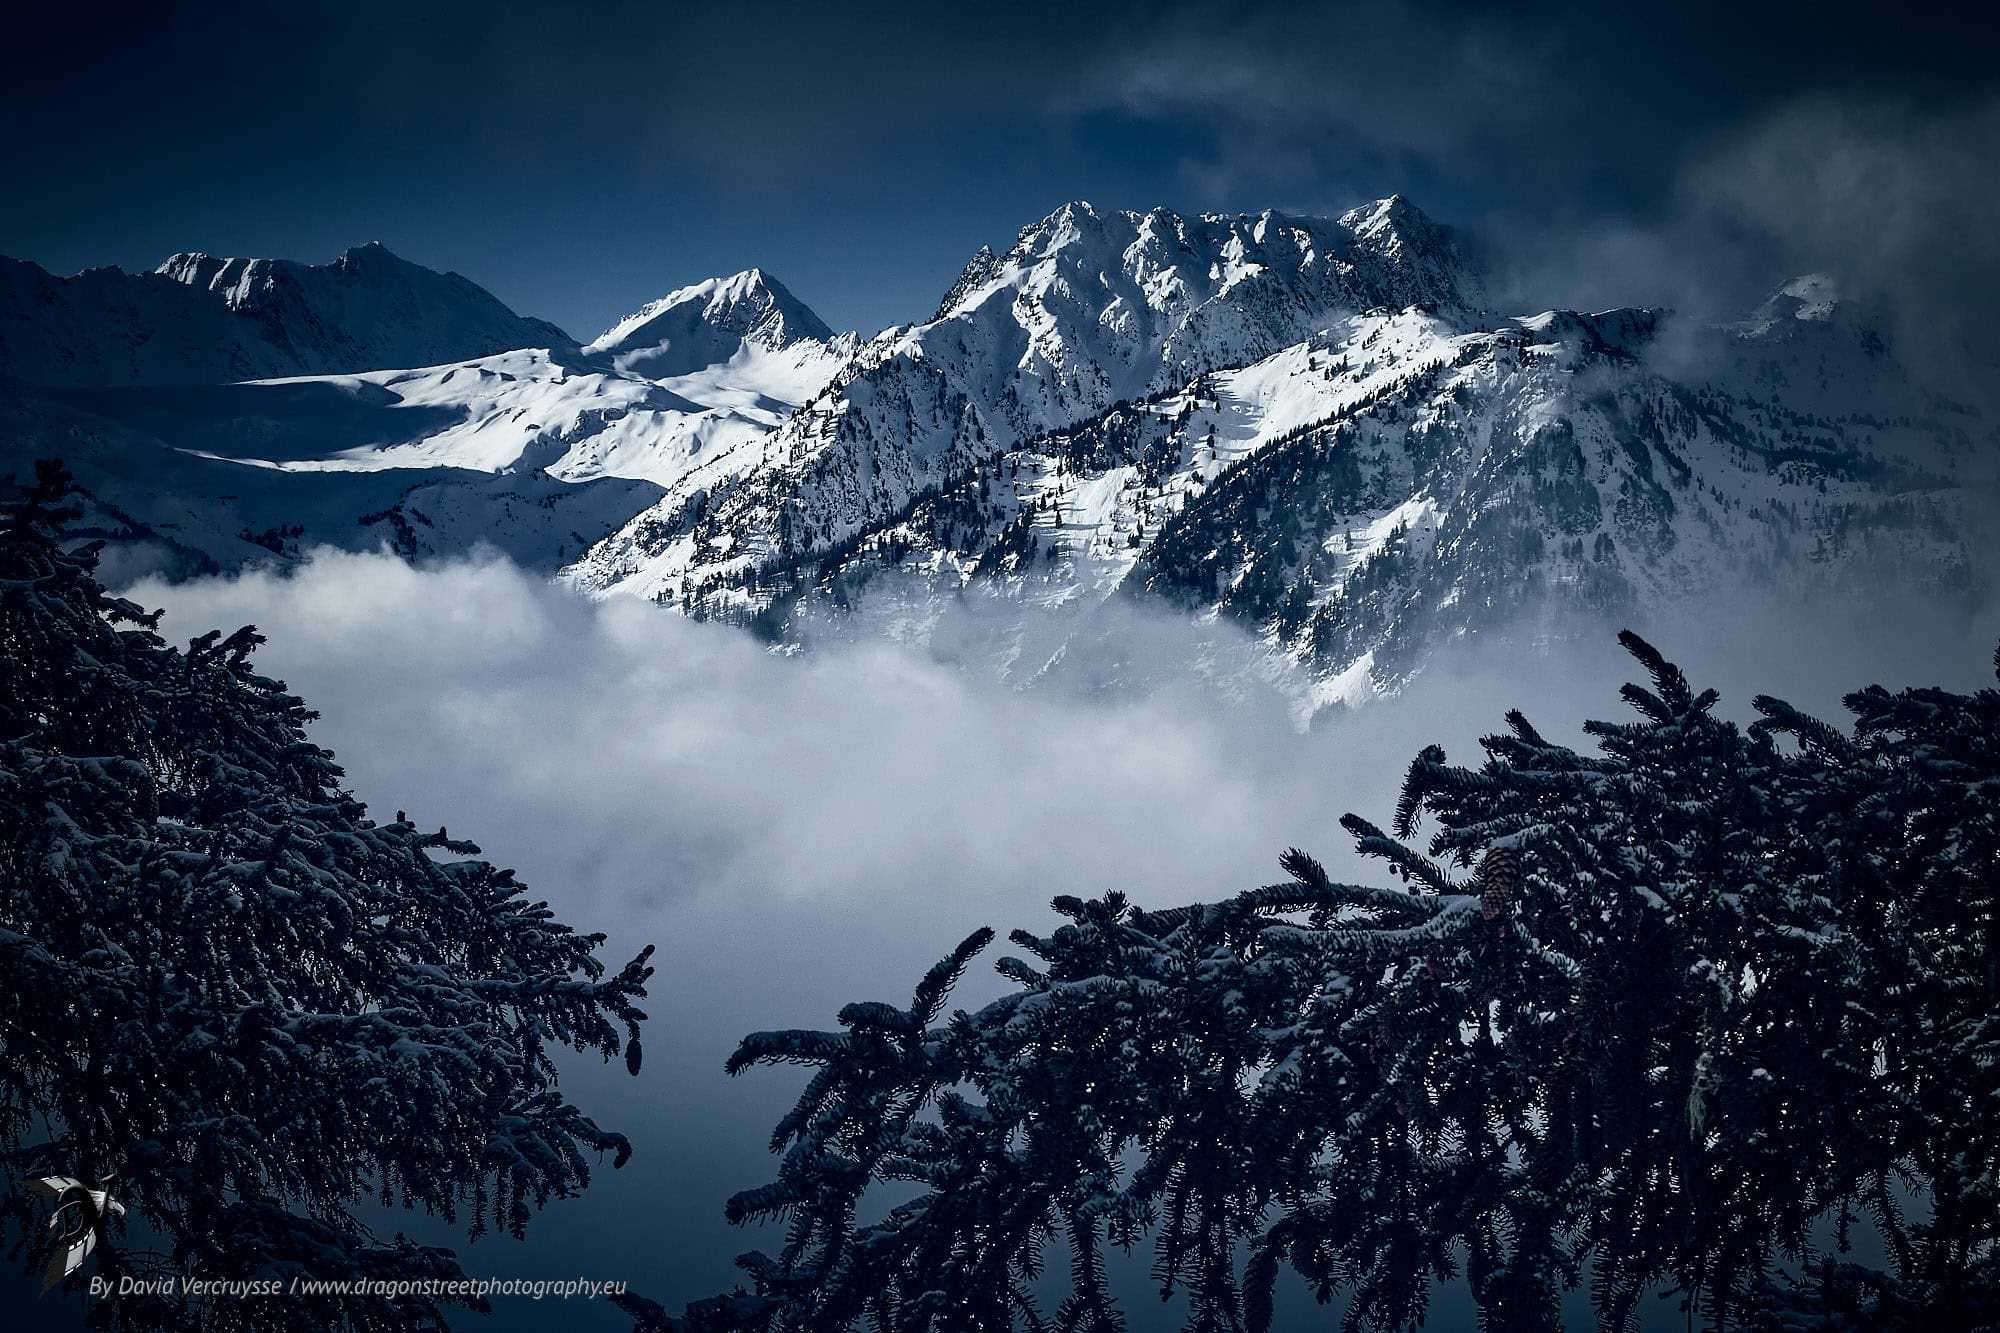
In concrete terms, the foreground element may be a rock, a reflection or a plant (flowers, trees, etc.) that will be close to you when you capture it, while framing for the main subject in the background (for example). The idea is to be able to divide your image into 2 or 3 shots.
2.Other Creative Possibilities
Photography being an art, there are always different creative ways of doing the same thing. In the spirit of creativity, you can also try to use movement to create a perspective line, such as the movement of a metro, a train, a car in long exposure, and the line will create your depth.
3. A quick reminder
A quick reminder of optical principles; a wide-angle lens will tend to magnify the elements in the foreground and move elements away from the background. And that's pretty cool, because this type of optic will naturally offer depth. But be careful, overdoing this effect will put the background too far away. As a result, if your background is a mountain, for example, it will be so far away and lightened that it may no longer be the main subject! So be careful with this balance.
4. Adding more depth to your photos through light
Light, again and again. Here we go again, how can you use the most important element in photography - light - to create depth in a 2D image?
If you haven't already done so, in connection with this paragraph I urge you to read my article on Dodging and BurningThis is one of the technical ways of creating depth in photographs. In landscape photography, the ambient lighting is provided by the sky, so elements close to the observer, in this case the photographer, will be a little darker than distant elements, which will be lighter.
This effect is not naturally present in a 2D photo captured in RAW, I invite you to recreate it by using the linear gradient tools at the top and bottom of your image, very discreetly lowering the exposure or mid-tones.

Remember to use presets, because this is the kind of thing you do repeatedly in post-production.
In the same way, using a little vignetting, more or less slight, well blended into the image can create a tunnel of light through the light and guide your viewers.
This is always done with the areas of the photo closest to the light source. clear, and parts away from the light darker. No matter what type of photography you do. In other words, you need to subtly play with and work on the contrasts and gradations in an image. The light areas should be bright without being burnt out, the dark tones should be black enough, and the mid-tones should be well graded.
5. Adding more depth to your photos through color
Like light, colour can be a great help. This principle is much used in cinema and animated films, where colour can be used to produce an effect of depth.
There are 2 simple principles,
The first is to use colour temperature. A foreground with a tendency towards warm colours, set against a background of cool colours, will deepen a photo with a rather dark background. The opposite will be true: cold colours in front and warm colours behind if your background is very bright will create depth.
The second principle is a continuation of the previous paragraph on tonal contrast, here it's the colour contrast. Slightly desaturate the shadows and proportionally saturate slightly more where you want to attract the eye (the eye is not attracted to the dark but to the light 😉 ).
6. And what about depth of field?
Yes, here we are! Previously I told you that it was create depth in your photos with a single element ! The answer is here, is depth of field.
For macro photographers, portrait photographers, product photographers and I'm sure many others, it's essential to have depth in your photos. Otherwise, it won't catch the eye of the viewer/consumer at all. A good portrait is one that is as realistic as possible - everything we talked about earlier - developed with as much finesse as possible to make the image sublime.
And of course this applies to nature and landscape photography. Sharp areas will catch the eye, whereas blurred areas will not. This effect can be achieved via the optics at the time of shooting by using a wide aperture (which I recommend) or possibly during post-production.
The blurred background gives the effect of distance, while the blurred foreground gives the effect of proximity. A bit like the human eye, when it looks at a subject, the background is not in focus but in peripheral vision, as are very close elements. In this zone of peripheral vision, we only have a global view without the precision and sharpness of detail. (I invite you to browse through this gallery of nature images where there is little depth of field).
Here are a few tips for the start of spring that I hope will help you improve your photos.
Of course, this article is incomplete, there are other points that can help give depth to your images, but I think I've summed up the main points.
Thank you for following along, and don't hesitate to share your tips with me in the comments below,
Photographically yours,
David

