1. What is a photo?
Taking a photo means capturing the light that will be translated into a digital or paper image. When you want to develop a film or digital photo, you interact with the light in the future image. It becomes logical and necessary to want to modulate the light and/or colour information in your images in order to express your artistic style.
This is exactly what luminance masks allow you to do, in a powerful, simple and effective way. What's more, we're not stopping at just luminance masks, since we can also create colour, saturation or vibrance masks, as well as combining them. (especially in the latest version of Tony Kuyper's Photoshop plugin: the TK8)
2. The principle of luminance masks
This involves using the luminance, colour and saturation information in an image to create selections. These selections allow you to adjust your image to the nearest pixel.
Creating a layer mask in Photoshop is generally done using the standard selection tools, such as the quick selection tool, the magic wand, the lassos, the feather etc... While these tools are very practical and useful when it comes to making selections based on contours and/or contrast, they are not very effective if you want to generate selections based on the brightness or colour of your image.
Those of you who know Photoshop well will tell me, but why not use the colour range tool, which lets you create selections and/or layer masks based on light, medium and dark tones, adjust the tolerance and range of tones, or use the selector of the following 5 colours: yellow, red, blue, cyan, green and magenta, which can be selected using this tool.
3. The advantages of luminance masks
The answer is quite simple: this tool, however good it may be, lacks flexibility and artistic naturalness. Photoshop's colour range tool can create masks or a selection, but only in 8 bits. This is a lack of precision when it is possible to obtain luminance masks in 16 bits. In fact, in 8 bits the gradations will be scaled over values from 0 to 255 but in 16bits it will be from 0 to 65535. In practice, this means that the contours of a selection will be much smoother and more progressive, and adjustments to an image will be much more flexible and the final result will be more natural in terms of both tones and colours.
Another advantage is that luminance masks based on colour can be adjusted according to the luminosity of the colour, in other words it is possible to create several luminance masks from a single colour (all in 16 bits).
Even better, luminance masks can also be based on the saturation of an image. This means that you can create several luminance masks depending on the degree of saturation or rather non-saturation of the colours in an image. This means that you can adjust the vibrancy of very slightly saturated colours with a 1st mask, the vibrancy of moderately saturated colours with another mask, and so on. Conversely, it is of course possible to desaturate certain colours that are too bright using a mask that you have created specifically for this purpose.
4. Conclusion
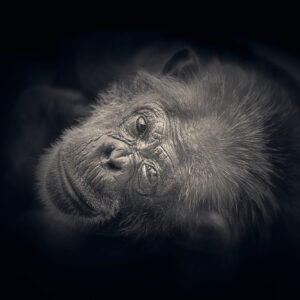
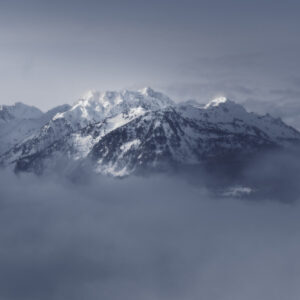
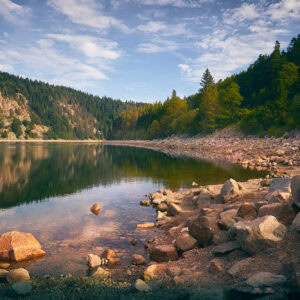
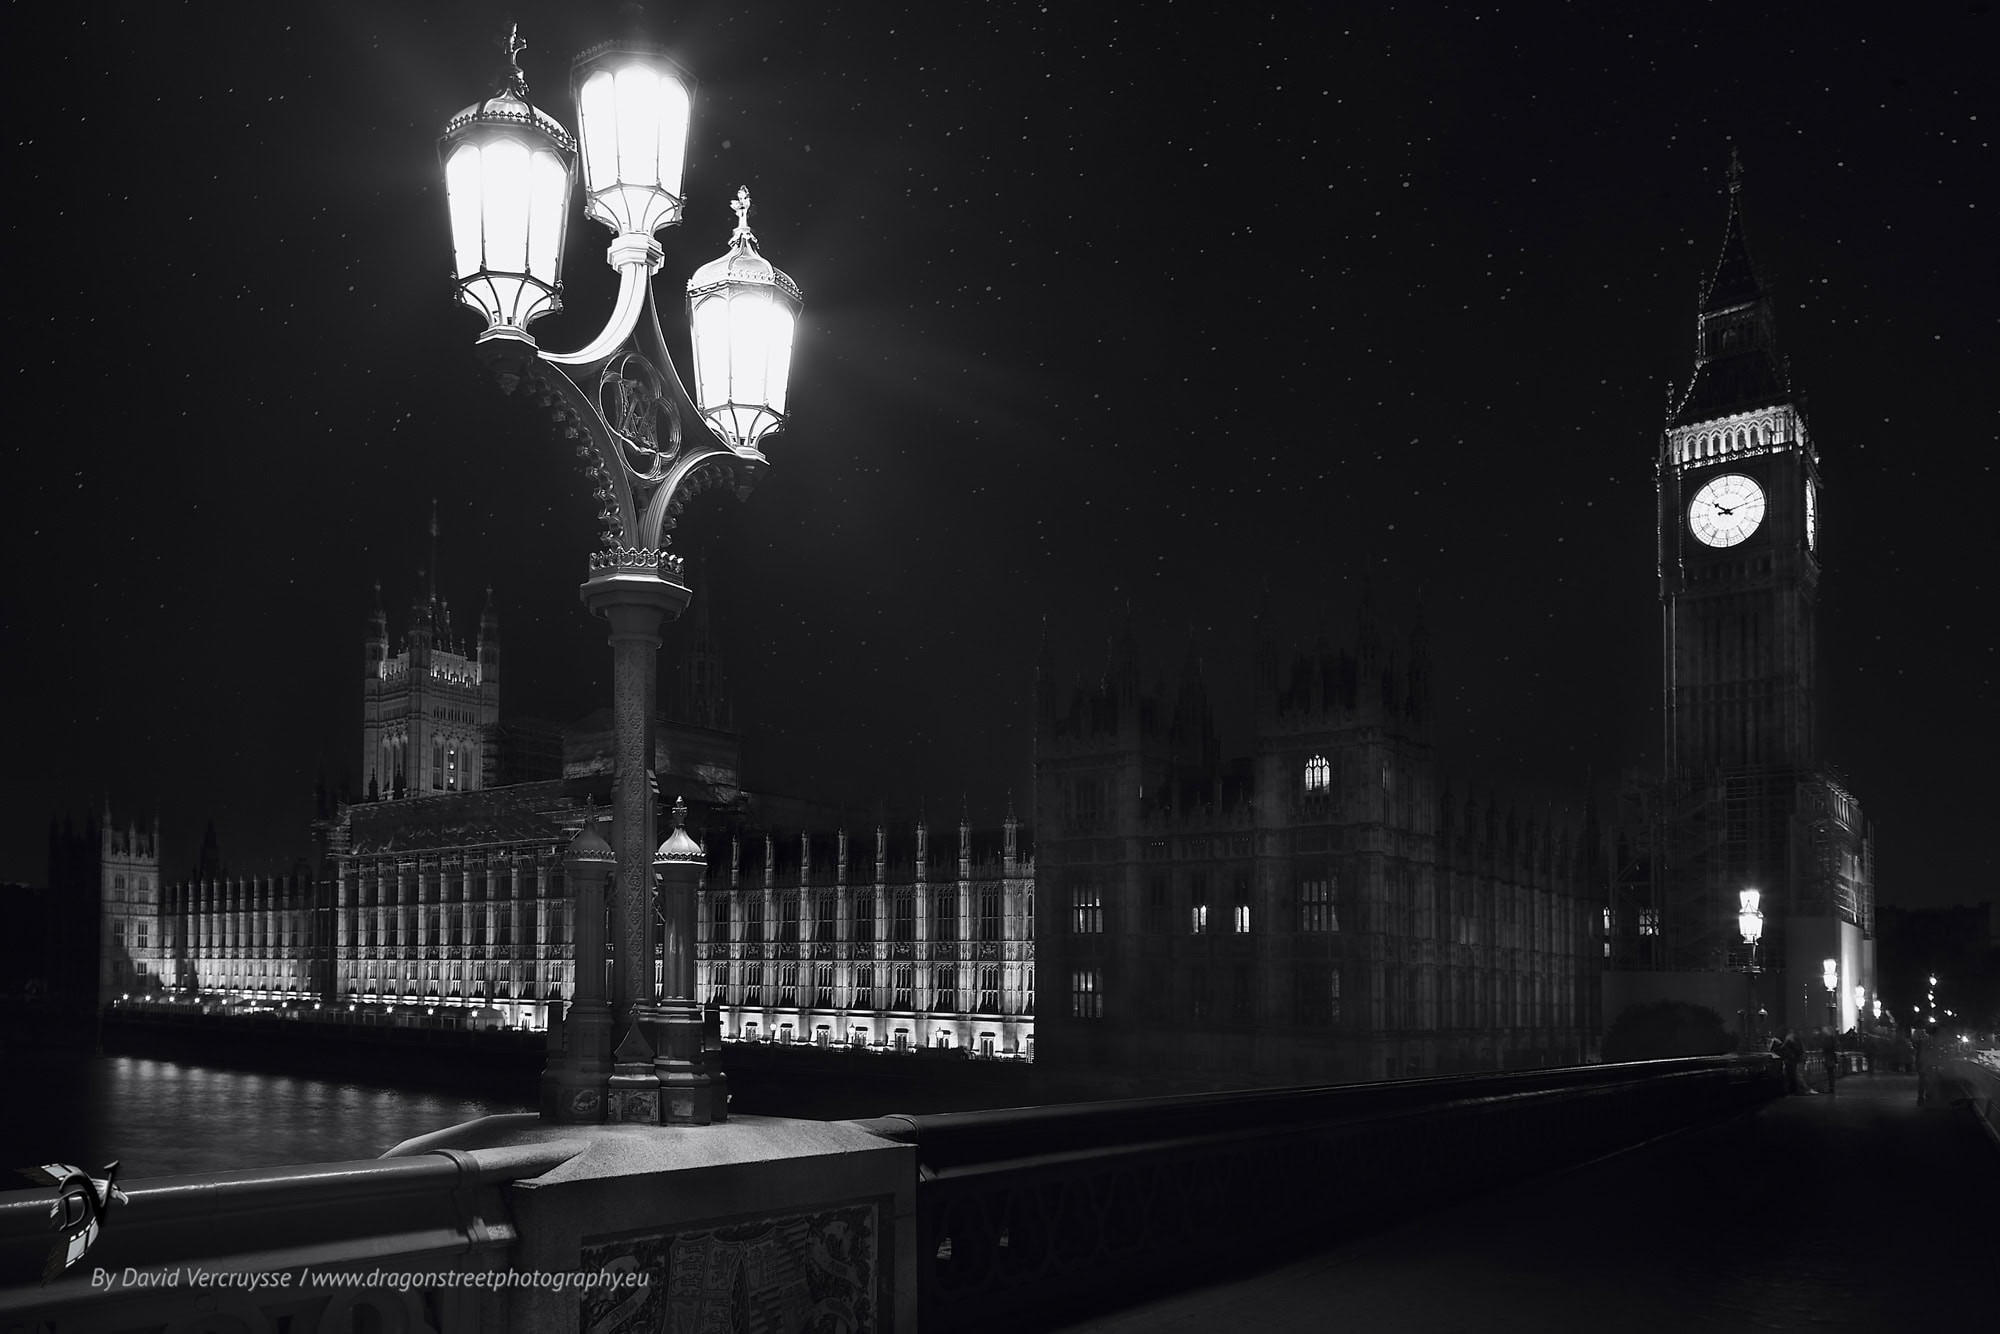
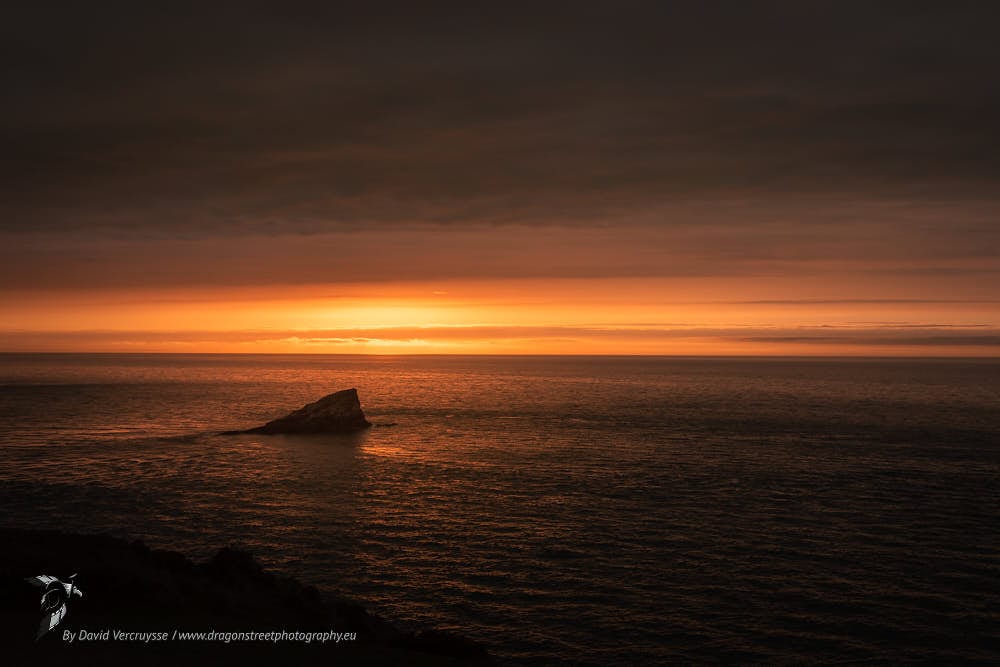
In conclusion, luminance masks are a way of creating masks Photoshop to adjust both tones and colours. But they can also be used to create effects, facilitate editing and easily filter all your complex image processing (sharpness, noise, clarity, etc.). Luminance masks give a very natural and powerful result thanks to their precision. They can be used on all types of photos, but although they are best known for landscape photography, they can also be very useful for portraits, for example, where gradients and colour adjustments are very tricky to manage.
5. How can luminance masks improve my photos?
Luminance masks can be useful whenever you need to make a selection in Photoshop. They are even more useful when you need to make complex selections.
6. How do I create my luminance masks?
To create your own luminance masks, you need Adobe Photoshop. This powerful photo editing software lets you create your own luminance masks.
Adobe Photoshop is available as a photographer's subscription with Adobe Photoshop lightroom RAW converter and cataloguer, to provide you with an efficient workflow. This pack is available here.
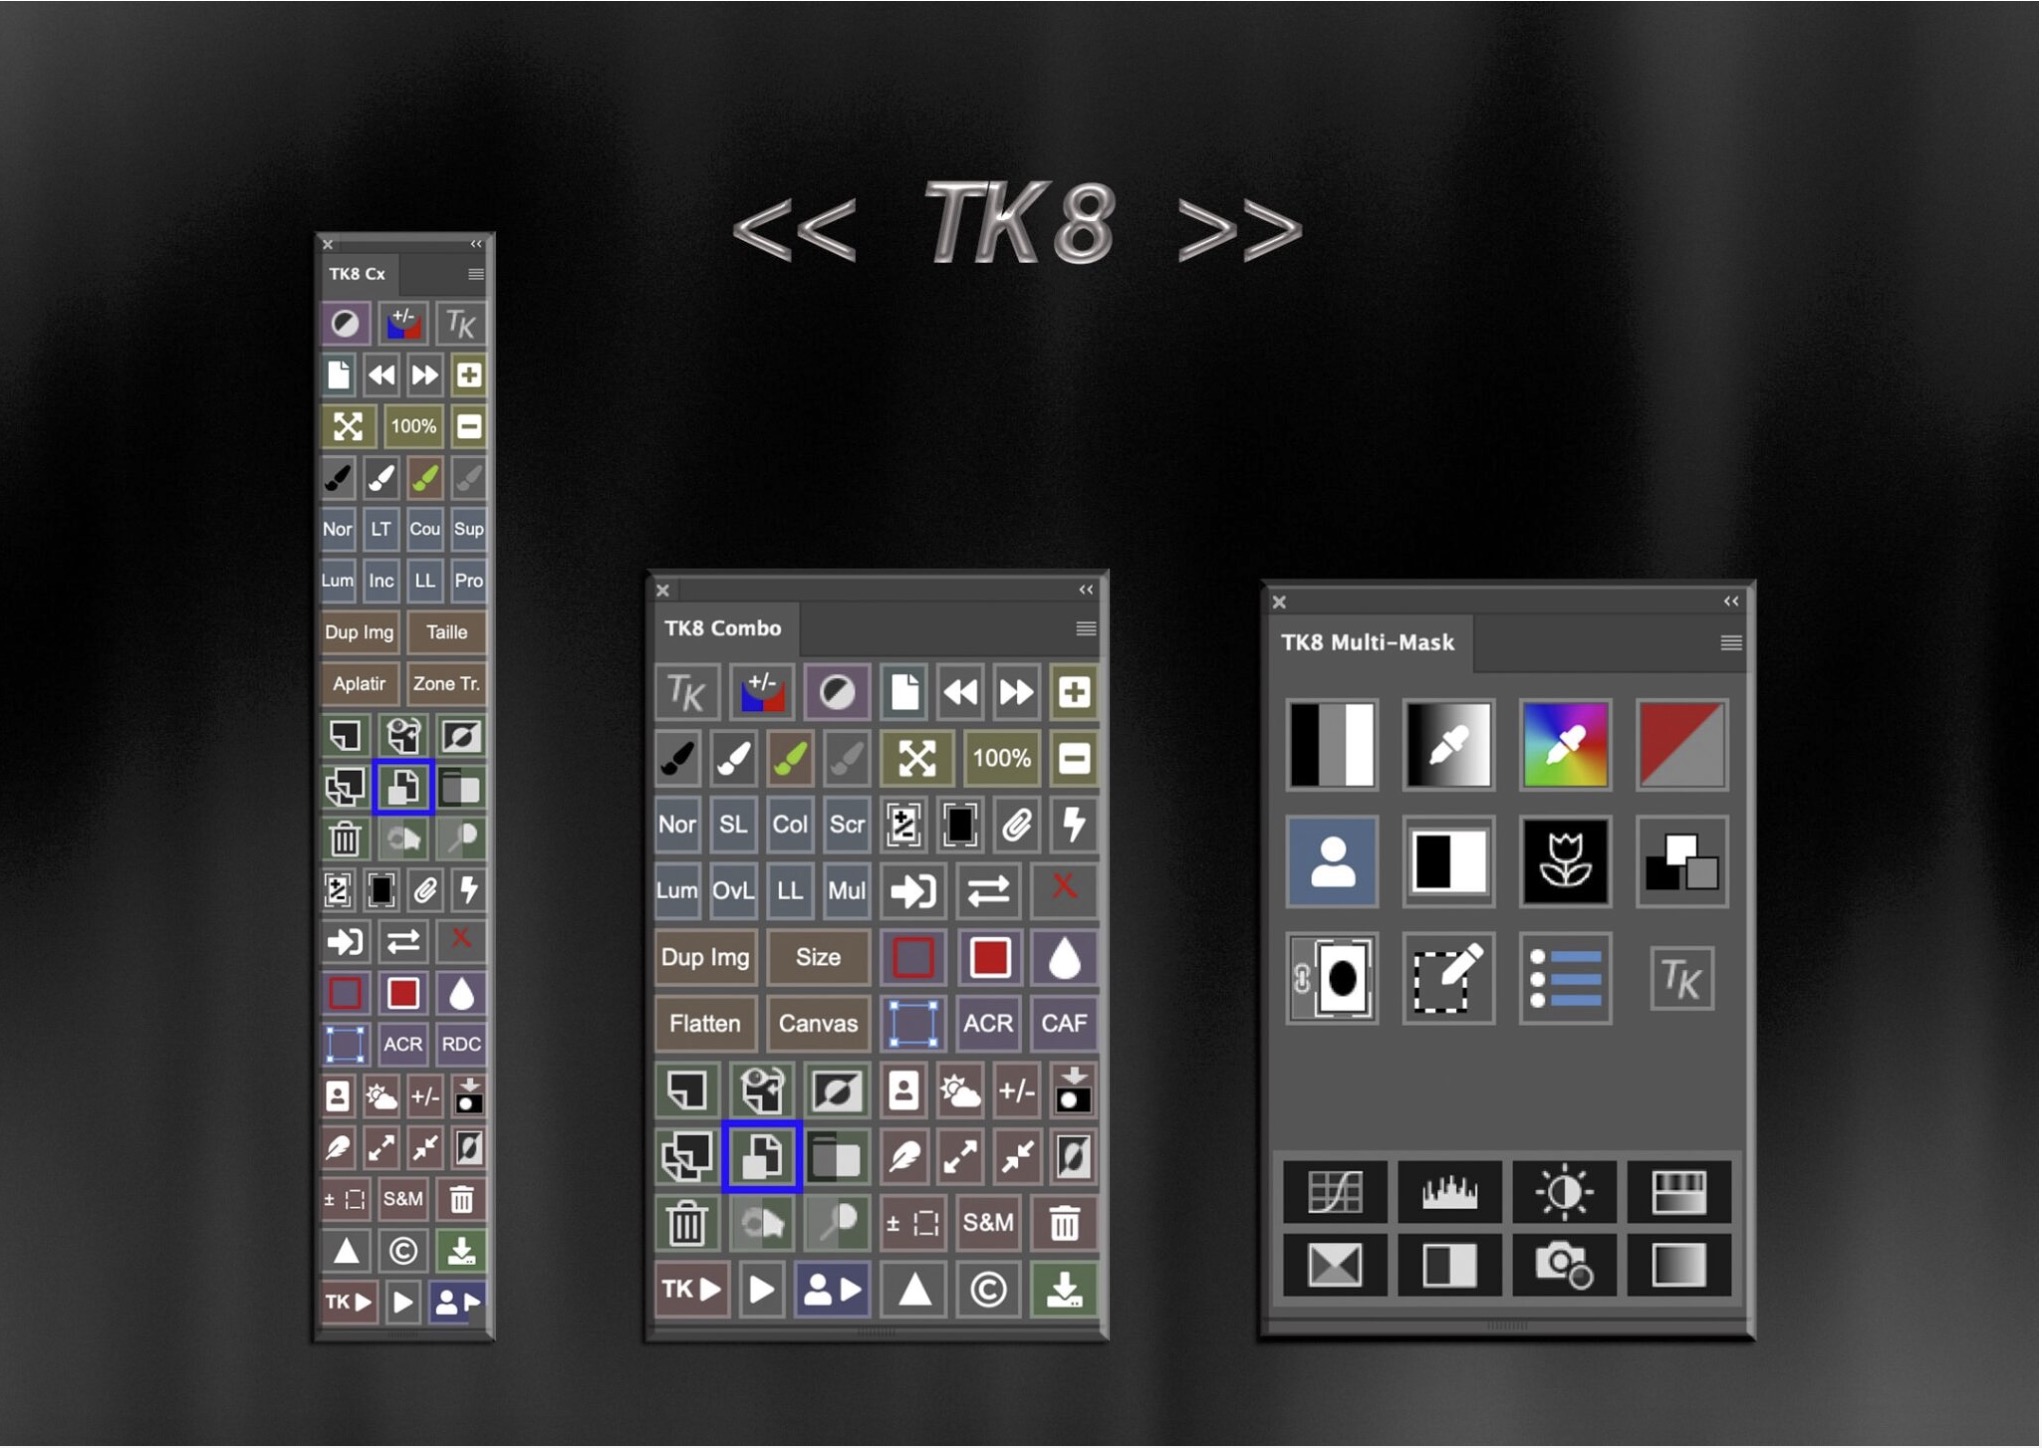
You can also create your luminance masks automatically using Photoshop actions. To do this a free, downloadable Photoshop panel TK Lum Mask by Tony Kuyper is available on this page. This panel will allow you to get started using luminance masks simply and effectively.
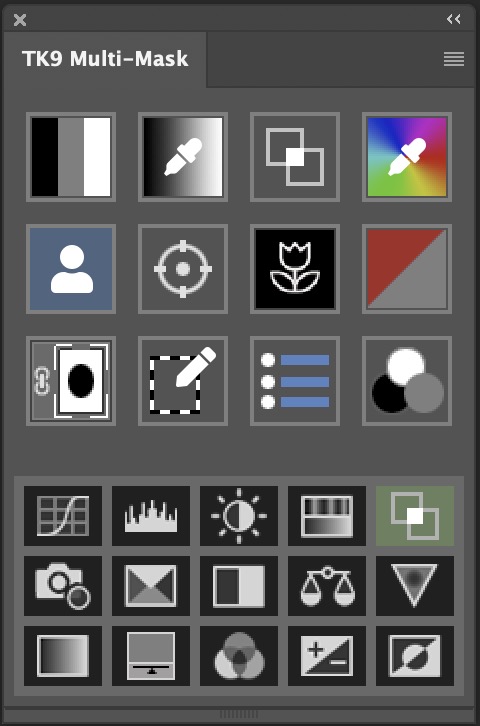
This panel for Photoshop is the little brother of the TK8 Multi Mask and Combo available here and much more powerful in terms of retouching possibilities.
7. How do I use or apply my luminance masks?
Because a video is always more explanatory than 1000 words, I suggest you watch this video from my YouTube channel. (This assumes that you have a minimum knowledge of how to manage layers and masks in Photoshop).
You will see in this quick demonstration, with the RapidMask2: (the predecessor of the TK 8 Multi Mask)
8. How do I merge several exposures using luminance masks?
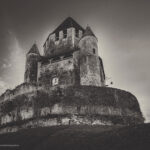
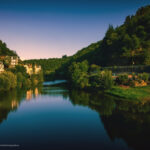
Here are 2 video examples of the use of luminance masks to merge the exposure of 2 images into a single one, in order to increase the dynamic range. One example in landscape photography and another in interior design.

When it comes to merging exposures, it can take a bit of practice to get started. Here are some general tips:
- Start by making simple show mergers.
- Use 2 exposures initially and more later (if necessary).
- Use exposures with a maximum of 1 stop difference. If you have more than this, balance the exposures in your RAW converter before going into Photoshop. (This will avoid washed-out effects that lack contrast).
- Don't expect to get a perfect result just by using luminance masks! Very often, you need to adjust the mask a little when you apply it, and the photo as a whole afterwards in terms of tonality, colour, contrast, clarity, and so on.
- Always organise your layers in Photoshop in the same way, dark exposure on top, light exposure underneath or vice versa, or use a neutral exposure to generate your luminance masks. The key here is to remain consistent in your workflow.
To find out more about luminance masks and the TK8 Multi Mask video.
Have fun!
David