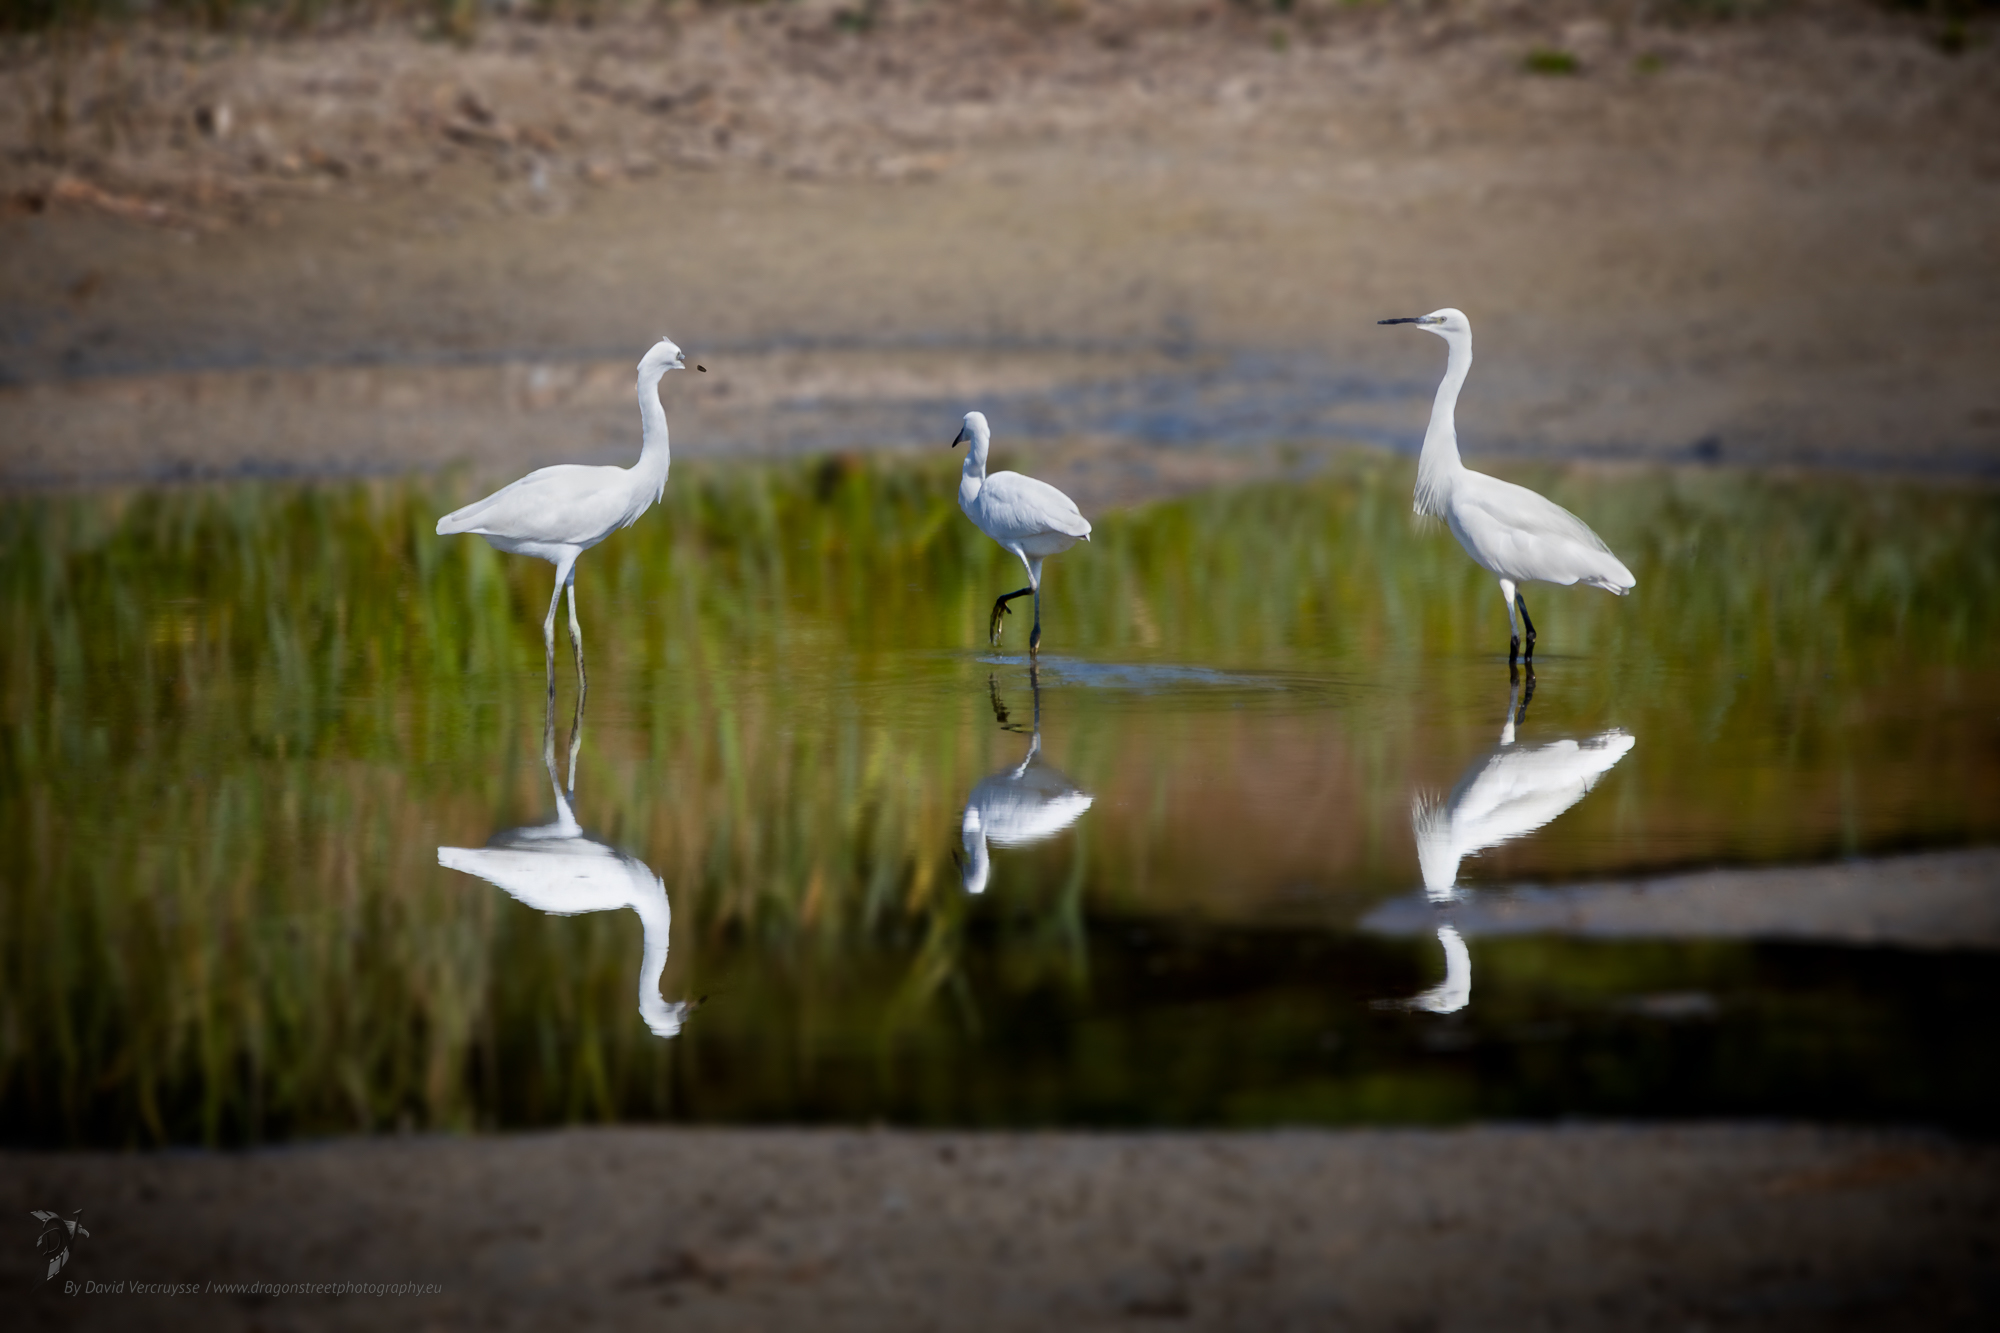
Difficult to get good exposure of white animals, isn't it? ? Depending on the intensity and angle at which the light is diffused, it is sometimes difficult to obtain a correctly exposed plumage or coat.
White animals are very easily over-exposed and often even burnt out. However, it is quite possible to capture a great deal of detail in these white coats or feathers. Here are a few tips to avoid "burning" this wildlife in white dresses.
1. Choose the right exposure meter
Standard measurement mode Most manufacturers use evaluative metering. It is used by default on many cameras, from SLRs to compacts.
This measurement mode is rather intelligent and analyses the whole image. The camera tries to determine the best exposure with all the elements making up your image.
However, there are a number of reasons for this, evaluative exposure metering will not be suitable for capturing these white animals. Depending on the intensity and angle at which the light is diffused, the whole image will be relatively well exposed, but our white-feathered bird or our white-haired animal will be sacrificed and will come out toasted.
As you can see, we have to force our camera to give priority to our subject.. We generally have 3 other exposure measurement modes available on our cameras.
I advise you to choose the mode: spot measurement or selective measurement
Selective measurement
Selective measurement allows the photographer to control exposure with greater finesse, as the camera will use only a small area to measure exposure rather than the whole image.
As a Canon user, on my 5D Mark IV, selective metering uses the central zone of my viewfinder, i.e. around 6%.
Spot measurement
Spot measurement works in the same way, but the central measurement zone is even smaller, at 1.3%. Choosing spot metering will therefore give more predictable and consistent results.
Use the spot metering area on the white of your subject and adjust the camera settings until the exposure scale in the viewfinder shows +1 or +2. Lock your exposure with the ✽ button and you can then crop and shoot.
This should be very close to the ideal exposure, without losing highlight detail.. You can now shoot with these settings locked regardless of the background or subject size until the light changes.
If you change position or orientation, measure the target area again using spot measurement. (on white plumage, for example) and adjust the camera's exposure compensation to return to a correct exposure scale as explained above.
2. Using your camera in manual mode for white animals
Use your camera in manual exposure mode. This mode lets you control all the parameters of your camera.
Always use the exposure metering scale in your viewfinder.
Other automatic exposure modes, such as aperture priority, can make it difficult to achieve the precise exposure that is essential for correct exposure of bright white subjects.
This is particularly true if your subject is in a dynamic environment or if the frame changes frequently. In addition to manual mode and spot metering, there is one more tool that will help us optimise exposure: highlight alert.
3. Using the highlight alert
Activate the highlight alert on your camera. All areas that have lost detail, burnt whites will flash when your photo is displayed on the back of your camera.
For white subjects, these alerts are both accurate and reliable and can be used to your advantage.
Take test photos (in manual mode) with increasing exposure levels until you see the flashes on the subject, then reduce the exposure by one third or two thirds.
You can now use these locked settings to get the optimum exposure whatever the background of the subject in the frame, as long as the amount of light hitting the subject remains constant.
When the light changes, take test photos again to find the new settings. This method is not the most effective or the most elegant, but it is simple and very effective. As we're in the digital age, let's make the most of this free trial!
4. Juggling exposure compensation
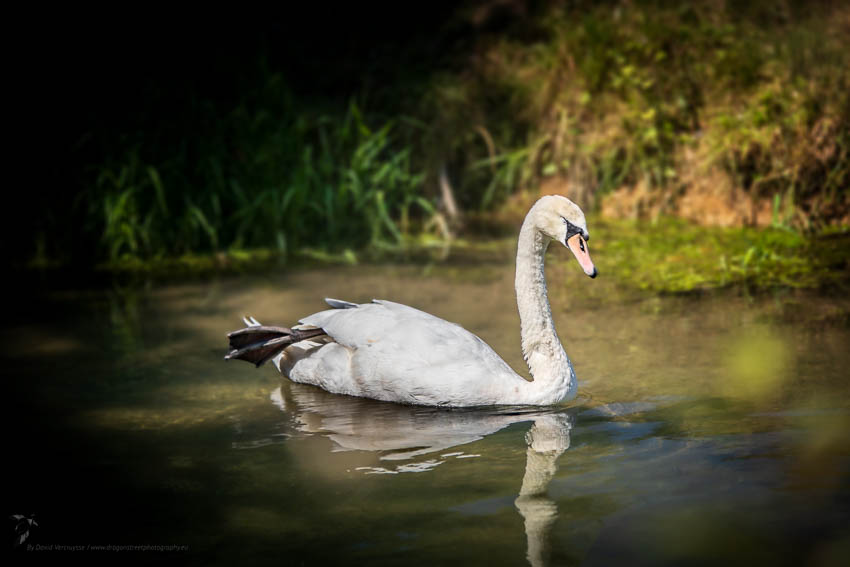
For even more details on our white animals, don't hesitate to try and juggle your camera's exposure compensation on the fly. That's what it's there for. Generally reduce or Darkening by 1/3 or 2/3 stop will allow you to recover all the details of a plumage or coat.
5. Avoid photographing on a sunny day
I've saved the simplest for lastAt dawn or dusk, or on an overcast day, the light is balanced and diffused, so it's very easy (and pretty) to take images with this kind of light.
Bright sunny days have harsh lights and shadows and make photographing white animals perilous!!! 😫
6. Use a polarising filter
If you can, invest in a polarising filter. Depending on the angle at which the light rays arrive, a polarising filter on your lens will make reflections on white feathers or fur disappear completely or almost completely. It's simple, practical and effective.
There are probably other tips I've overlooked, so don't hesitate to share how you did it in the comments below.
So, technically speaking, these few photographic tips will help you to optimise your captures of white animals, whether feathers or fur. 😅 To find out more about animal photographyI also invite you to visit my galleries on animals: Limited editions and unrestricted
See you soon on Dragonstreet Photography
David

