Spring and autumn are periods of transition, with days that are neither too short nor too long, that it's easiest to get good sunset shots at low light. In fact, low-angled or just-hidden sunlight is a great opportunity to seize!
The colours are warm, varying from yellow, gold, orange and red, with long shadows on the ground to create depth and a natural atmosphere.
1. First you need to define your objective
What image do you want to achieve?
You've just found the right place, the right composition and you want to catch the sun from the front with magnificent sunrays... But at the moment M, it turns out that everything is there except that the general atmosphere is not as golden red flamboyant as you would have liked!
But 3 minutes later, as the sun touches the horizon, you lose the sun's rays, but you still have "golden hour", that famous hour when the atmosphere is on fire! You're on the ground, undecided about the moment, there's a choice to be made... It's not quite the ideal sunset you'd planned, not all the elements you wanted are there at the same time, but you know you've got a sunset...
Here, I suggest that you stay well positioned, and shoot each stage regularly, so that you have a choice once you're in post-production. (Mind you, sometimes this time passes very quickly). The result on the big screen or in print once you're back is not the same as it was in the field. A few days later, with a bit of hindsight, the photo with the sun rays isn't so good (it could certainly be improved with a bit of post-production) but the one with the sun hidden and the 'Golden Hour' atmosphere really looks better.
The moral is: don't pack anything away until it's dark. The 5 minutes after sunset can be the best! And don't be too rigid in the photo you want to take. Sometimes events and a little spontaneity go a long way.
2. How to show a sunset
As described above, your aim is to photograph the sunset. So it's the sunset that you need to expose properly. It is your message. I advise you to aim just above or just beside the sun by pressing the shutter release halfway. Keep the shutter release pressed halfway and crop your image according to the desired composition.
In fact, holding the shutter release halfway down locks the exposure. Once you're happy with the framing, shoot. Normally, your twilight exposure should be perfect.
NB: some digital cameras have a special button that locks the exposure for several seconds. This makes it possible to focus on a subject using another area of the image for exposure.
3. Find the best quality of light
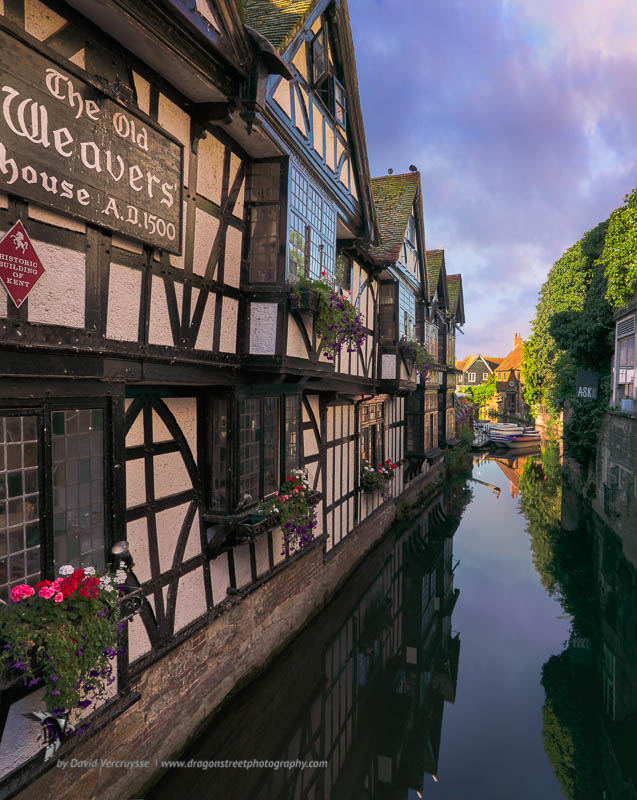
It's not easy at all, especially in landscape photography, where the photographer is subject to the light and can't control it like in a studio. You have to work with it. But it's our duty as photographers to seek out the best possible quality of light. Then comes the subject to be photographed. Good light means relatively even, diffused light, like under an overcast sky or just after sunset.
In fact, in these moments, the transitions between shadows and highlights are not violent but soft and gradated, and it is these gradations that create that warm, romantic atmosphere.
You can also play hide-and-seek with the clouds, to modulate the shadows, the contrast of the sunlight etc... What's more, a moderately cloudy sky at sunset lends a great deal of character and depth to an image.
NB: some photographers (myself included) prefer to photograph a sunset with a minimum azimuth, in order to obtain long shadows and the sun's rays still present. The aim is to achieve depth and a natural three-dimensional effect. A simple, fast and practical smartphone application such as Photopills (on which I wrote an article) can help you enormously and save you time in setting the right times.
4. Choose a subject
Just because you choose to photograph a sunset doesn't mean you can't have an interesting subject. Quite the contrary. The sunset and the sky will set the mood of the image, but the subject will provide the story, the message to the viewer. The viewers of your image need to be able to identify the subject, and therefore your message, in an instant. The whole picture communicates emotion.
Also, whenever possible, try to find a foreground, especially if you are photographing wide-angle shots of large spaces. A point of interest in the foreground will catch the eye of the viewer, who will then wander around your image.
5. Where to focus in landscape photography
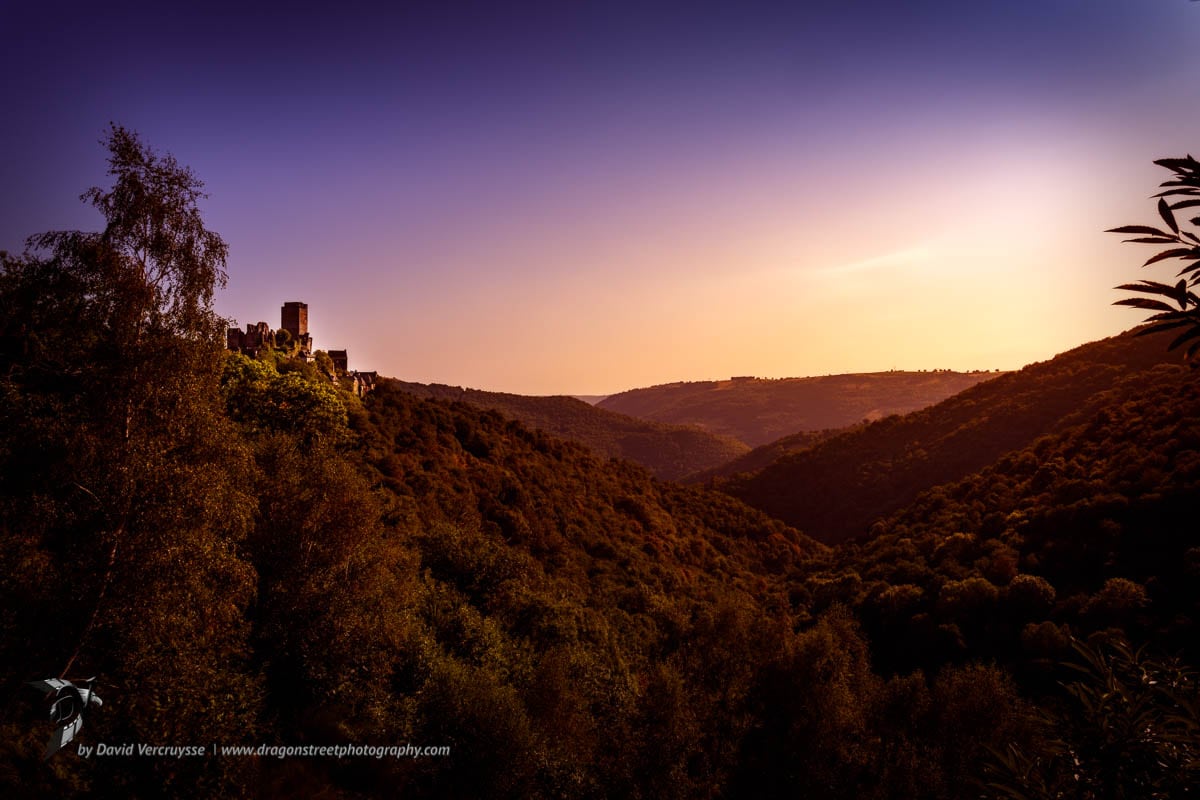
Here I would advise you to focus on the subject you want to communicate with and, as far as possible, place this subject 1/3 of the way into your photo. To obtain good sharpness throughout your photo, a simple trick (to avoid calculating the hyperfocal length, etc.) is to close your aperture to f/16 or even f/22 if you have a very good lens. Then focus to 1/3 of the depth of your image. This will give a sharp image 1/3 before focusing and 2/3 after focusing, in other words over the whole of your image.
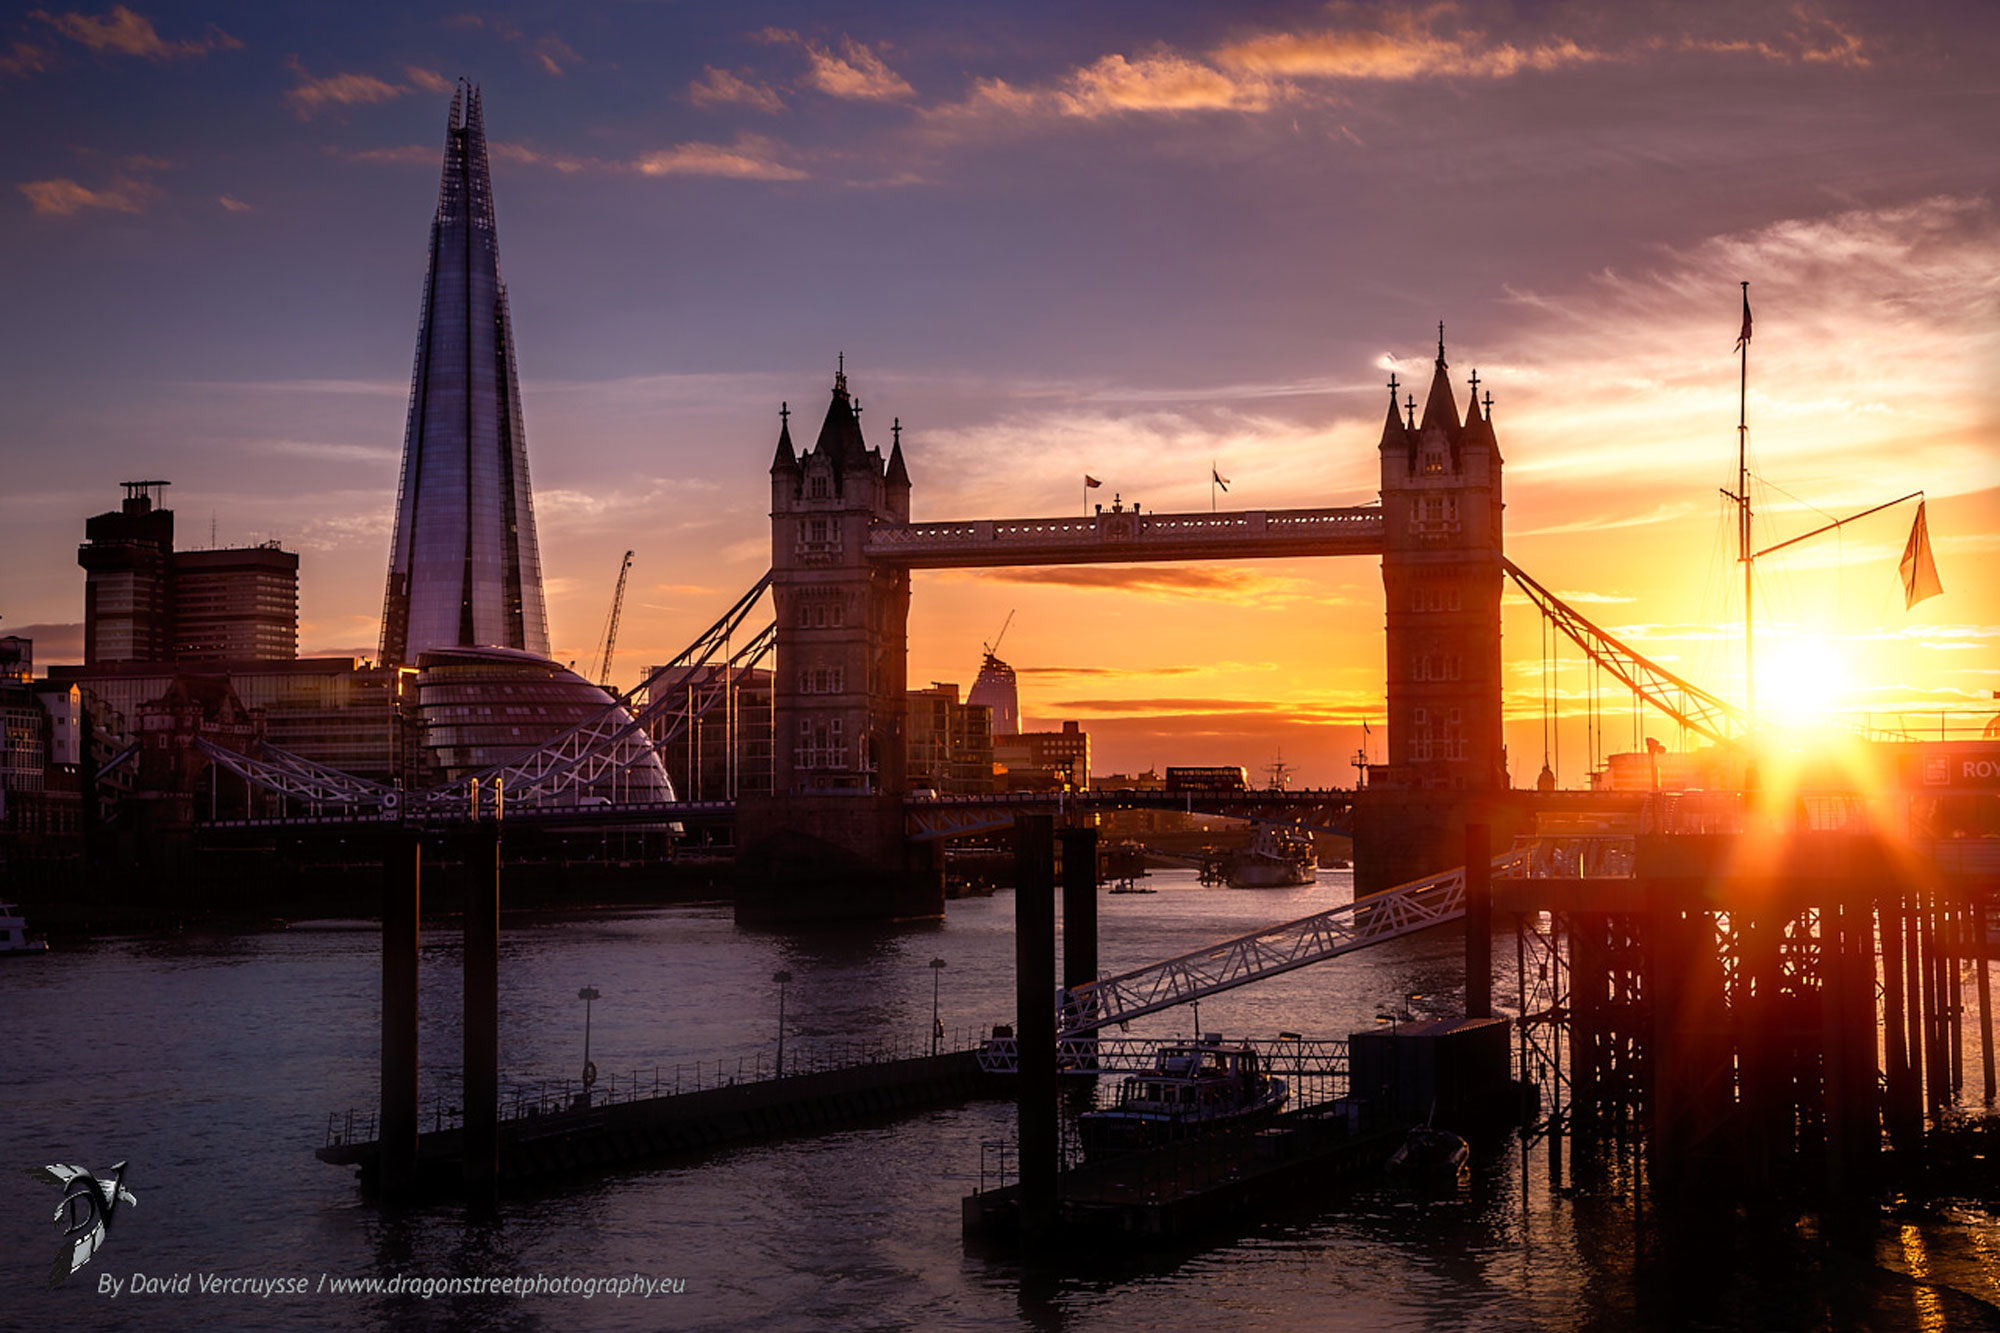
The bonus here is that with this aperture, the optical effect will create a radiant effect (the famous star effect) whether on the sun or any other light source.
I hope that these few tips for successful sunset photos will help you to take beautiful sunset photos and immortalise some holiday memories ...
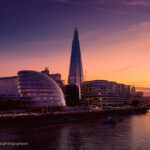
I'd like to take this opportunity to invite you to visit my image gallery on England here,
See you soon on Dragonstreet Photography,
David


slt and nice article!
I totally agree with you; to take a good sunset photo, you need to look for the best quality of light and that means the right angle and the right settings. My settings are as follows: iso: 100 for maximum quality; aperture: 16 for more depth and field; shutter speed 1/400 s for more colour.
Thank you very much!