In this new article I'd like to give you 10 tips for improving your travel photos. Some of these tips could be developed at much greater length, but the article would never end! But, I promise, they will be covered in greater depth in the future, either in the form of related articles or tutorial videos.
1. Prepare yourself well!
It may seem silly at first, but to improve your travel photos you need to be well prepared!
I suggest you ask yourself the following key question:
What photos would you like to bring back from your trip?
Depending on the photos you want to take, the memories you want to bring back with you and the destination of your trip (cold and snowy? arid and dry? hot and humid?), the preparations will be completely different! This may seem obvious when it comes to clothing, but it's exactly the same when it comes to photography!
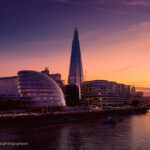
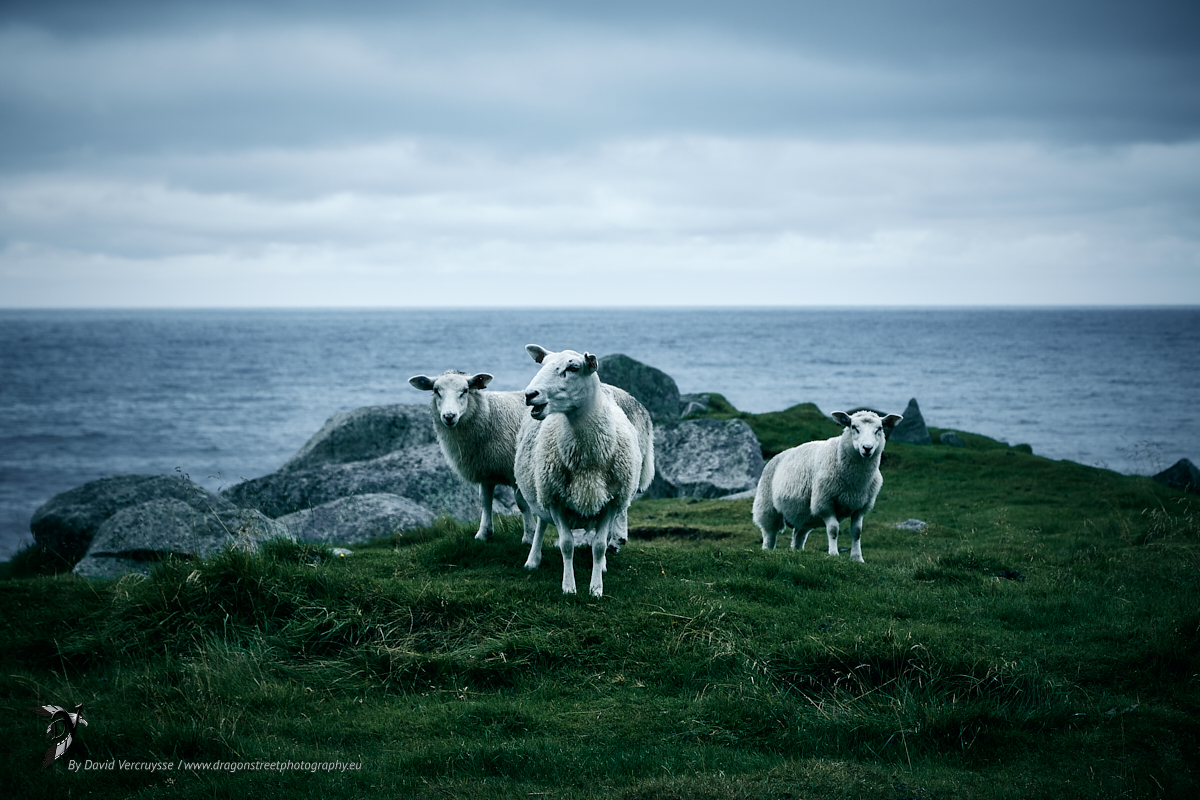
And what's more, if you're going hiking in the Norwegian Fjords, in the forest, or on a trip to London, the equipment may be even different! If the weather conditions are really bad, this could be an opportunity to take some extraordinary photos, but you'll need good protection for both the photographer and the equipment!
To find inspiration and help you decide what type of photo you want to bring home, visit google photos or 500px by searching for your destination. This will give you information and details that will help you at least in your choice of equipment, times and places of capture!
Please note! Don't forget your medical kit! Whether in terms of the first-aid kit you need to take with you, or the checks you need to carry out before setting off.
2. Determining your photo project
What does it mean to determine your project? It's very simple: whether you're an amateur, an expert or a professional photographer, I think the first thing to do when you go somewhere is to at least have an idea of what you want to capture. What's the point? Why not leave a little room for improvisation? A little room for improvisation perhaps, always being ready to capture, of course, you can always have good opportunities. But for 80% about time, planning is essential.
Timetable
Planning a shooting schedule is essential if you want to shoot at dawn or dusk, and you can't improvise depending on the season or country! Taking advantage of the golden hour or the blue hour to get a hot or cold temperature on your photos. Sometimes you can be indecisive? Here's the solution: take photos at golden hour, blue hour, dawn or sunset (and yes, you need to be motivated 😏 ).
Sometimes, even more so at these times, you can be lucky enough to enjoy a little mist, the morning dew, the diffraction of light, which may offer you rays of light coming through the mist... A nice bonus! Better still, during these hours, you won't have many people in the field!
Reminder: The blue hour is before the golden hour at dawn and vice versa at dusk, the golden hour is before the blue hour.
The location
And yes, the location is the second major parameter! It's a good idea to have scouted the location beforehand, either in real life or on a topographical map. This allows you to take advantage of the direction of the light. Low-angled light, backlighting, shadows stretched across the ground to act as a guideline, the height of the sun or moon to define their positions in your photos are all interesting possibilities...
As you can see, it's crucial to be able to answer these first 2 points, which open up so many possibilities. Hence the importance of determining what you want! Obviously a choice has to be made in all this, according to your artistic tastes or, your photographic style.
Smartphone applications :
Sometimes technology can be very practical and useful. There are a whole host of must-have applications for photographers! From applications for calculating various focal lengths to calculating times, places and azimuths to determine the location and height of the sun or moon at a given position!
And of course you'll get both golden and blue time as a result! One of my key applications is PhotoPills! If you're unfamiliar with this app, you'll have the pleasure of discovering it for yourself!
3. Travel photography equipment
Once this first question has been asked and answered, the next step is to choose the right photographic equipment!
Depending on the means of transport and destination :
If you're going by plane, you'll need to pack as lightly and compactly as possible. If you're going by car, you'll be less restricted by weight and space, so you'll be able to indulge yourself! And if your destination is cold ( I invite you to read this article ), you'll need more batteries, or at least enough to recharge all your batteries in a short space of time (if possible)! If your destination is rainy or sandy, make sure you have protection for your lenses and camera.
So if you're visiting London, to use my example above, a standard lens and/or a wide-angle lens will be useful and sufficient. If you're travelling through the Norwegian Fjords, depending on where you're shooting and your answer to the question at the start, you'll need a wide-angle lens, a tele-zoom or even a trans-standard lens!
Don't forget your tripod! Your tripod will be indispensable in low-light conditions. It will enable you to keep the ISO at a minimum and take sharp long exposures! (We'll see below that it's useful for another reason). I've just mentioned long exposures, which means you need to take your ND filters with you!
As well as photographic equipmentDon't forget your batteries and sufficient memory cards, your card reader, your laptop and its back-up hard drive (and yes, you should always have at least 2 copies of your images). This will allow you to do some pre-sorting, to prepare a few images or stories for your social networks, and so on. You could even do a bit of work on the plane before returning to the office!
4. Looking at, observing and analysing the terrain
When you go somewhere, I advise you to arrive fairly early in relation to your planned schedule. This allows you to inspect and test the planned locations, to have time to modify your shooting spot if necessary, to set up your tripod, etc. The golden hour, the blue hour, can sometimes pass very quickly! Depending on the country, the season and the day, you won't even have time to set up because these times are so quick, whereas in other places or periods you'll have all the time you need!
In terms of improvisation, once you're there, taking the time to look around will allow you to determine the best angles for capturing the image, to place your guidelines, your horizon, to find your foreground, etc. In field photography, many things are already very difficult to predict, so you'll have to adapt!
Composition isn't always easy in landscape photography because you can't change the terrain as you can in the studio! Not to mention the weather conditions!
5. Always be prepared
It's a no-brainer for an experienced photographer, but as important as it is to plan ahead in terms of time, location and weather conditions, you also have to be ready at all times to capture the opportunities that present themselves! Personally, I've got a second small pro compact camera to hand!
Make sure you're equipped for rapid weather changes! In some countries or regions, the sky can change very quickly, bringing torrential rain!
So the days as a field photographer are pretty long, very long, from dawn to sunset at the very least! Even longer if you enjoy shooting starry skies at night!
6. Make tourists disappear from your travel photos
A few tourists can add presence and narration to a photo, but when there are too many, it's too much and disrupts the photo! But the good thing about travel photography is that the tourists are always on the move! So we're going to make the most of it!
There are 3 ways of limiting the number of tourists,
- either have a lot of patience and wait for the right moment (which is far from easy, I agree)
- or take a series of photos (which you can superimpose and merge in Photoshop or Photoshop Element)
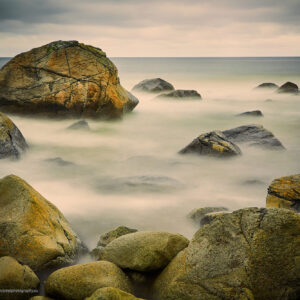
- or take one or more long exposures
Long exposure in 2 words
To create an anti-tourist long exposure, you need :
- Set up your camera on your tripod.
- Set the ISO to the minimum setting, to get as little noise as possible in your image.
- Close your diaphragm to minimise the amount of light entering, which will lengthen the exposure time! (Hence the tripod to get a sharp image)
- Take a test photo (in general, if there is a lot of light, the exposure won't be long enough).
- Extend the exposure time by adding a grey filter of 2, 3 or more stops if necessary, until enough tourists have disappeared.
As you've realised, the longer the exposure time, the more the tourists will disappear from your photo, because they're moving 😁 ! (Read more about long exposure)
7. Capturing details (especially in urban areas)
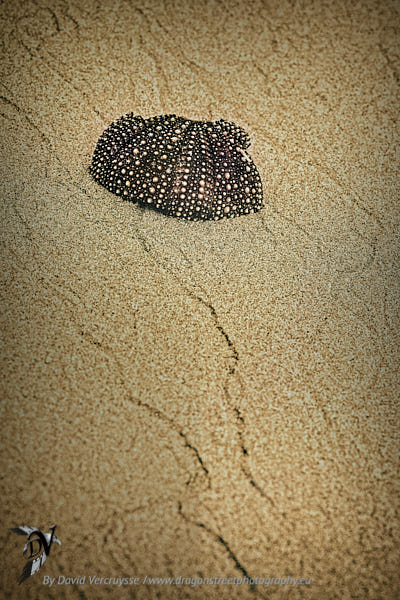
In cities (and sometimes even in landscapes), there are too many details in the photos, which ultimately inhibits the message or story of the photo. To improve your travel photos, one tip is to take mainly details: windows, doors, sculptures, monuments, flowers, etc. Our eyes and brains will end up staging what the details suggest!
Then there's nothing to stop you producing a series of photos, a diptych or a triptych to tell your story if a single image isn't enough.
8. Travel photos in bad weather
Bad weather, grey skies, a problem we all face at one time or another! When you're on a trip and you can't come back to the same place 3 times, you still need to get the best possible photo! What can you do if the sky is grey, white, without nuance, or a sad, flat colour?
A very simple tip is to capture as little of the sky as possible ! Take your landscape, with as little sky as possible! Your attention will be drawn to the landscape and the sky will be forgotten! An additional tip is to use a frame or a coloured or black border on the outer edges of your photo in post-production. !
9. Where to focus
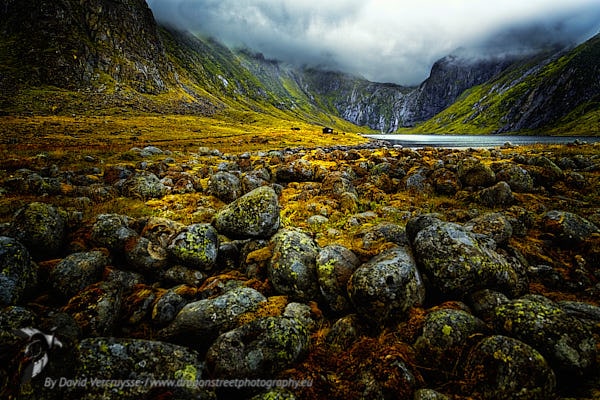
Without going into the details of complex optical calculations, we can simply note that focus on the 1st 1/3 of the photo. And in order to obtain a good depth of field (correct sharpness throughout the photo) close your diaphragm to f/16more if possible without altering the image.
Depending on the lens and its quality, you can go all the way to f/18 or f/22 (without any diffraction of the light) without altering the image. (Otherwise, artefacts and a loss of sharpness appear in the images). Read this article to find out more about landscape photography settings.
10. Oversize your travel photos
Personally, I really like photos with lots of space! Well, I've moderated a bit, because when I started out I used to put in so much space and depth that I couldn't see the bottom of the photo! 😂 So be careful, too much space is also a trap! The landscape will be far too big in a small photo!
Use a wide angleTo do this, mount your camera on the tripod, and set it low enough near the ground. Then find a nice foreground that you will place in the first 1/3 of your photo, on which you will also focus as explained in paragraph 9!
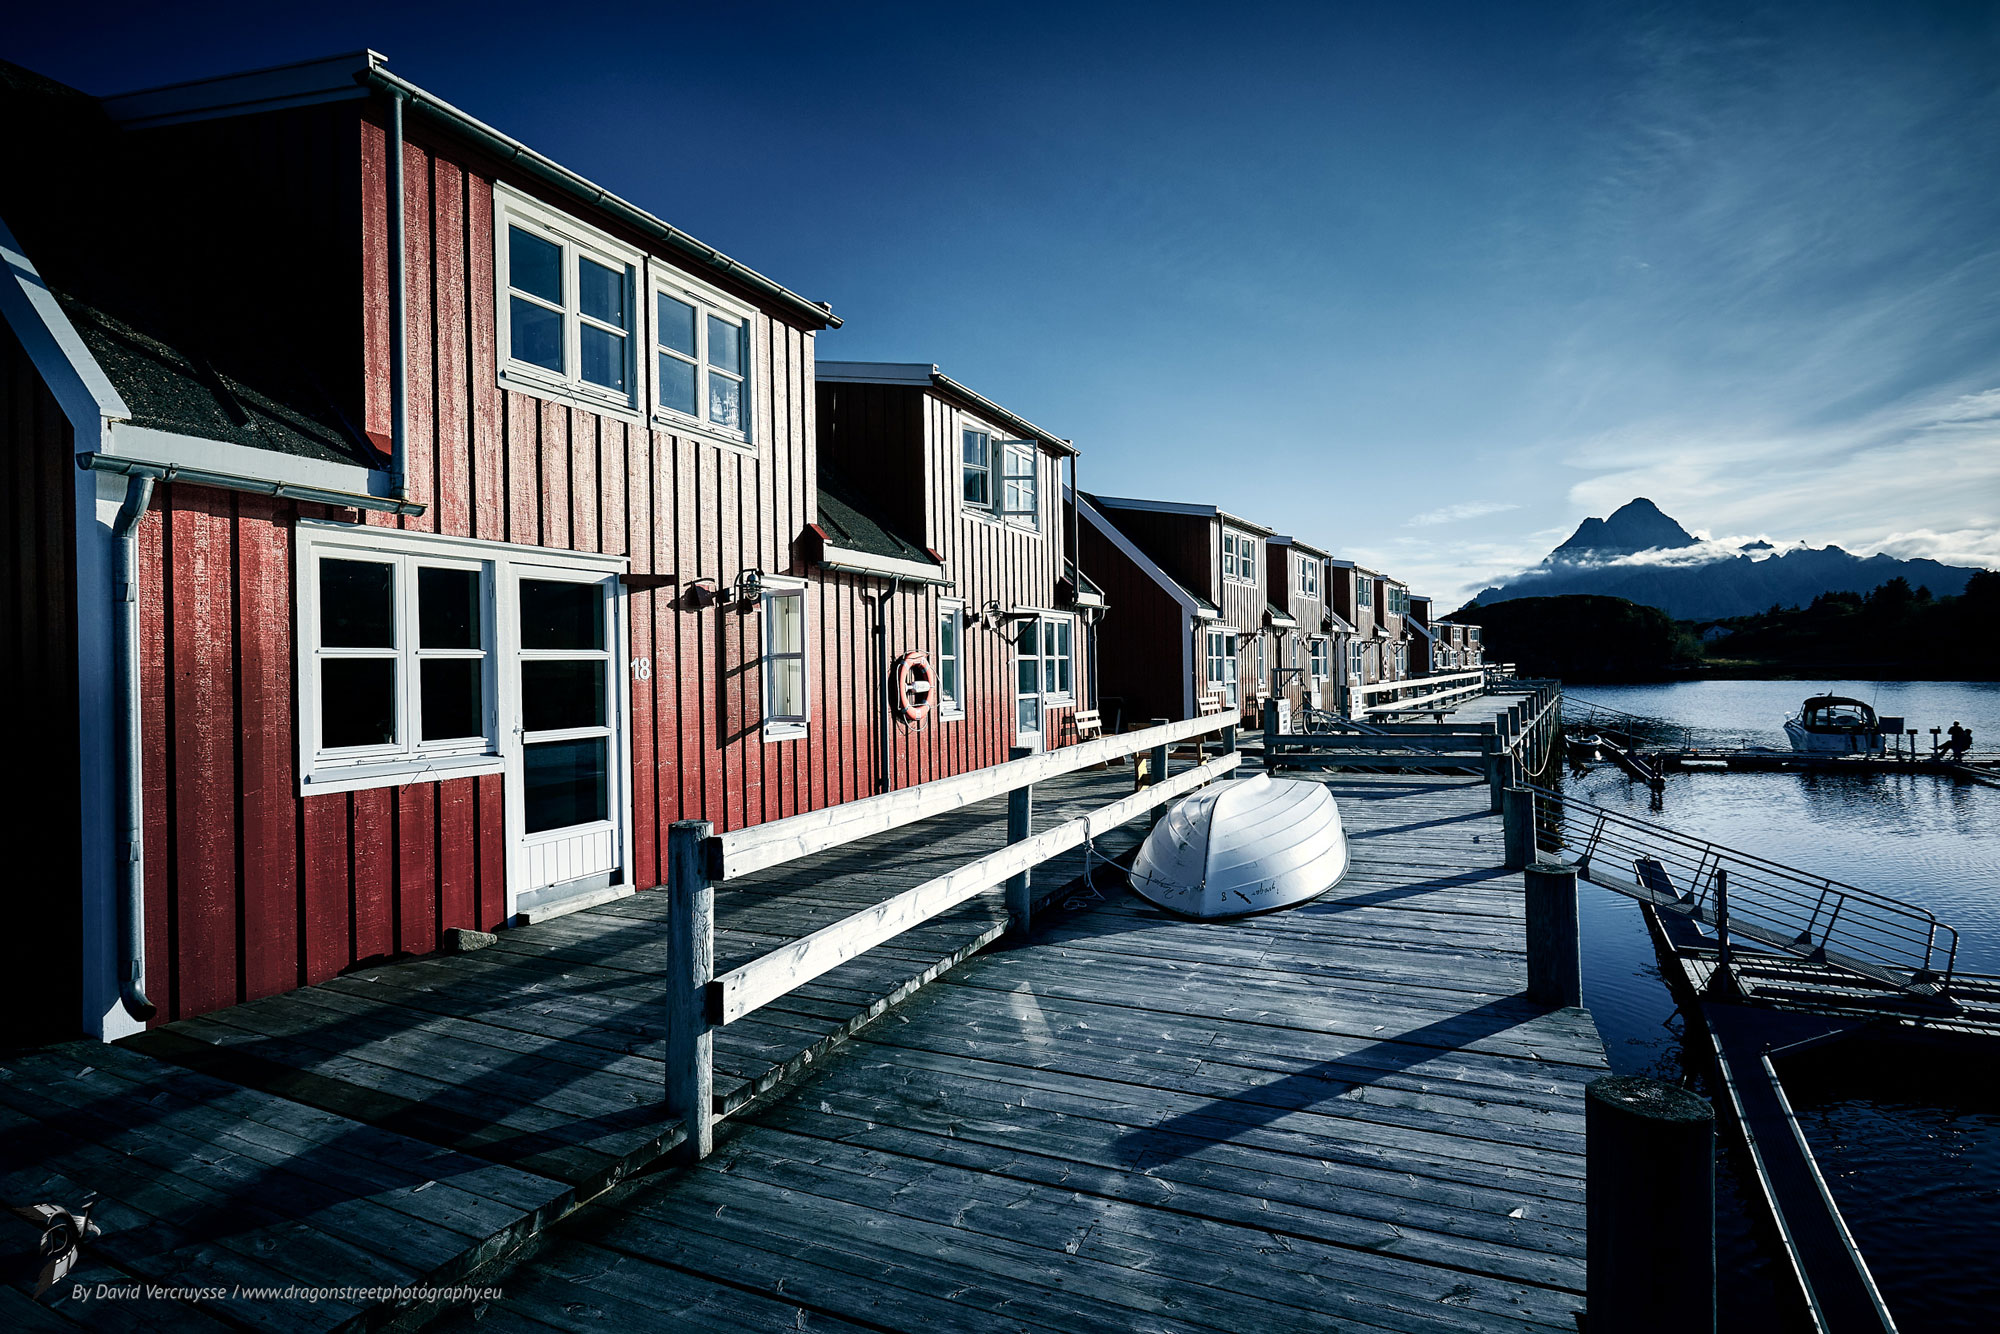
And that's it! Your photos will take on extra-ordinary depth and dimension! But be careful, do a few tests and check on your computer screen that it's not too oversized!
That's it, we've covered the 10 tips I think are the most important for improving your travel photos! Of course there are lots more, which I'll be writing about in future!
Don't hesitate to share yours - we're always learning!
Photographically yours,
David


