Rather mild in recent years, winter is an opportunity to take some different and original landscape photos. Photographing in winter allows you to capture icy ambiences in cold colours ! In our temperate regions, winter is one of the 4 seasons! It's up to us photographers to make it as interesting as each of the other seasons, each of which has its own charm!
Winter is no reason to put your camera away and wait for spring! There are plenty of things to do in nature and landscape photography in winter. First of all, I'd like to take a look at the simple precautions to take when photographing in winter. Both for the photographer and for our precious equipment!
1. Precautions for winter photography
Of course, you'll need to cover up! To be able to concentrate on your shots, you need to avoid getting cold, and be as relaxed as possible, otherwise it's going to be pretty difficult! Protect your hands, feet and head too!
- If your feet are too cold, you won't be able to go very far, and you won't be able to sit still and steady your frame either! You'll need good socks and shoes with effective ground insulation! But don't make your shoes too tight, as your feet need to breathe and circulation needs to remain efficient. Otherwise you'll have the opposite effect! You may want to wear 2 pairs of socks, a thin one and then a thick one, but don't make them too tight in your shoes!
- But the worst thing will be to have cold hands! With your hands stiff from the cold, it's going to be really complicated to change and adjust your settings! I advise you to use mittens, gloves with the fingers cut off at the ends! Your hands stay warm and your fingertips are free to operate the controls. Another solution is to have real warm gloves with silk under-gloves, like bikers! This way, you always wear the silk gloves when handling your digital camera, and the rest of the time you can wear the "big" gloves again!
- Wear several layers of clothing! In general, 3 layers give you good insulation, with a layer of air between each layer! Ideally, the first layer, just next to your skin, should be breathable so that you don't accumulate moisture from perspiration! (You sweat quickly with a rucksack, tripod, uneven terrain etc... and you don't always know how long you'll be away for!! do you? 😊 ) If your body comes into contact with moisture, you'll get cold! At worst, take a change of clothes for that first layer!
- Oops, I almost forgot, don't forget to take water, because we dry out everything even in cold weather, and an "energy" snack!
That's it, I think we've covered all the preparations for the winter photographer!
2. Material preparations for winter photography
- To prevent your hands getting too cold when handling your carbon or metal tripod, wrap it in foam For use in plumbing! Pipe insulation is ugly 😂 but super practical! Secure these insulators with single-use plastic self-locking ties that you'll cut when spring arrives.
- The batteries in our cameras are cold, very cold! and lose capacity much more quickly in the cold! Take 2 or 3 batteries and keep them close to your body, as warm as possible!
- As well as your smartphoneKeep it warm and close to you if you're not using an app to take your photos!
- Watch out for condensation! You know those water droplets that are everywhere around and in the camera or lens! So you need to avoid thermal shock and let the camera warm up as slowly as possible! This will be done via the car, which should not be overheated. When you get home, leave it in the cool bag so that it gradually reaches room temperature.
3. How do you photograph in winter?
Beware of exposure
The first trap in which our cameras fall in front of a snow-covered landscape is often underexposure. Because the overall luminosity is so high on the sensor surface, the camera will tend to underexpose to compensate! In this situation, one way to proceed is to take a test photo, then adjust the exposure compensation. A correction of up to 1 stop may be necessary. The snow will then be white rather than greyish. You can use the histogram on your camera as a guide and expose as far to the right as possible. Make sure that the histogram doesn't go outside the frame, of course, otherwise your whites will 'burn' and won't be recoverable, even in post-processing on a RAW file (there are limits to what our cameras/software can achieve!).
Colour temperature
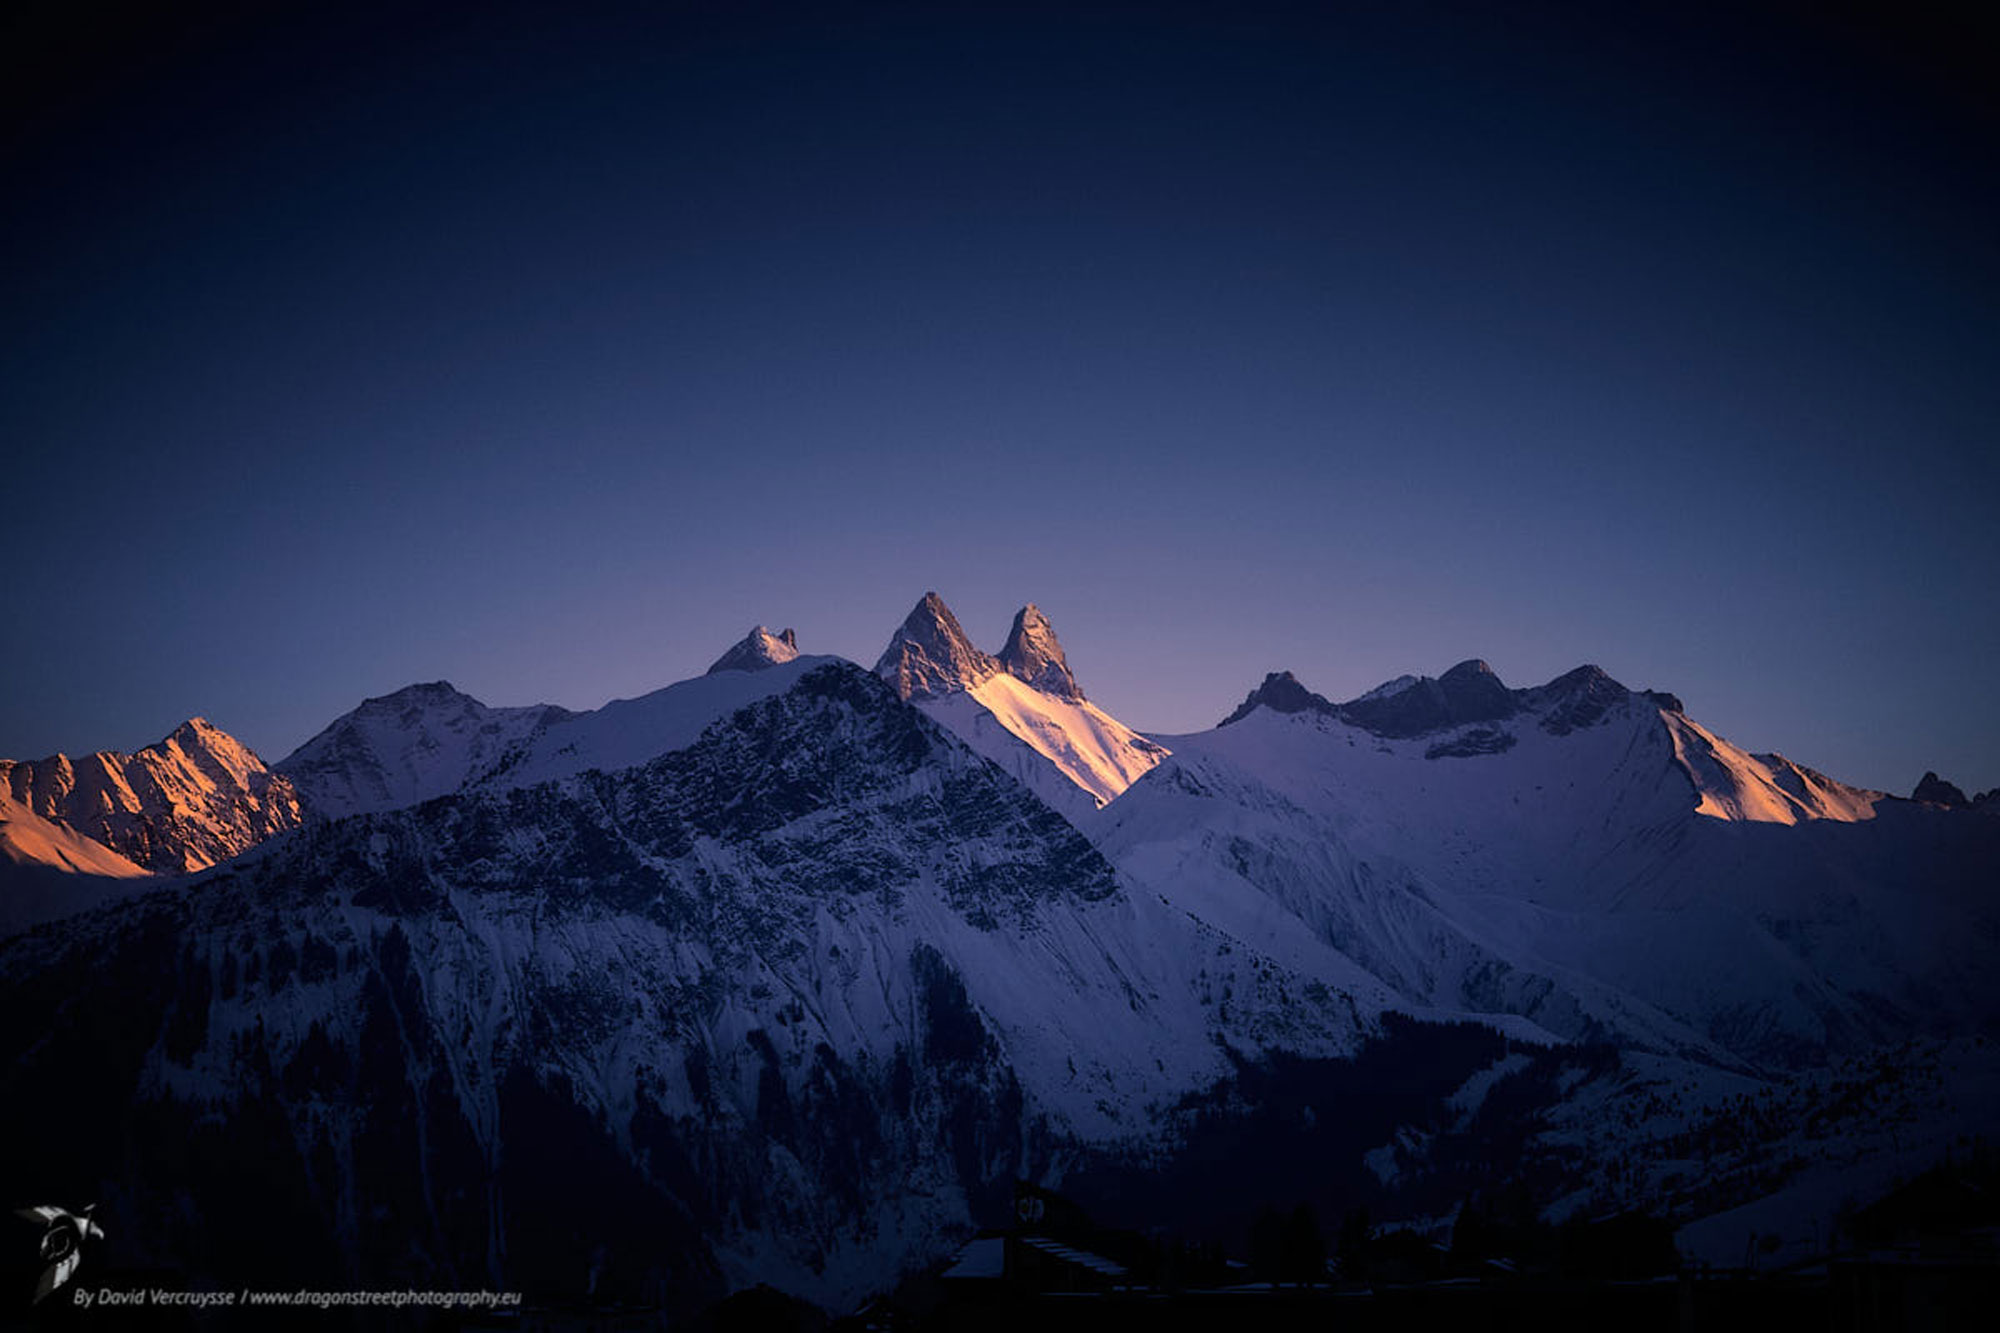
The next step, another trap may be the colour temperature which drifts. Now, this also depends on the final result you want, but I would obviously advise you to capture your images in RAW format. This way, you can adjust the temperature as you wish once you're in front of your screen! (and sometimes you change your mind). We'll go for blue to give a more 'icy' effect (with a touch of green too?). And / or a touch of magenta (I love it) with the blue for a cold, wintry twilight effect!
Winter light
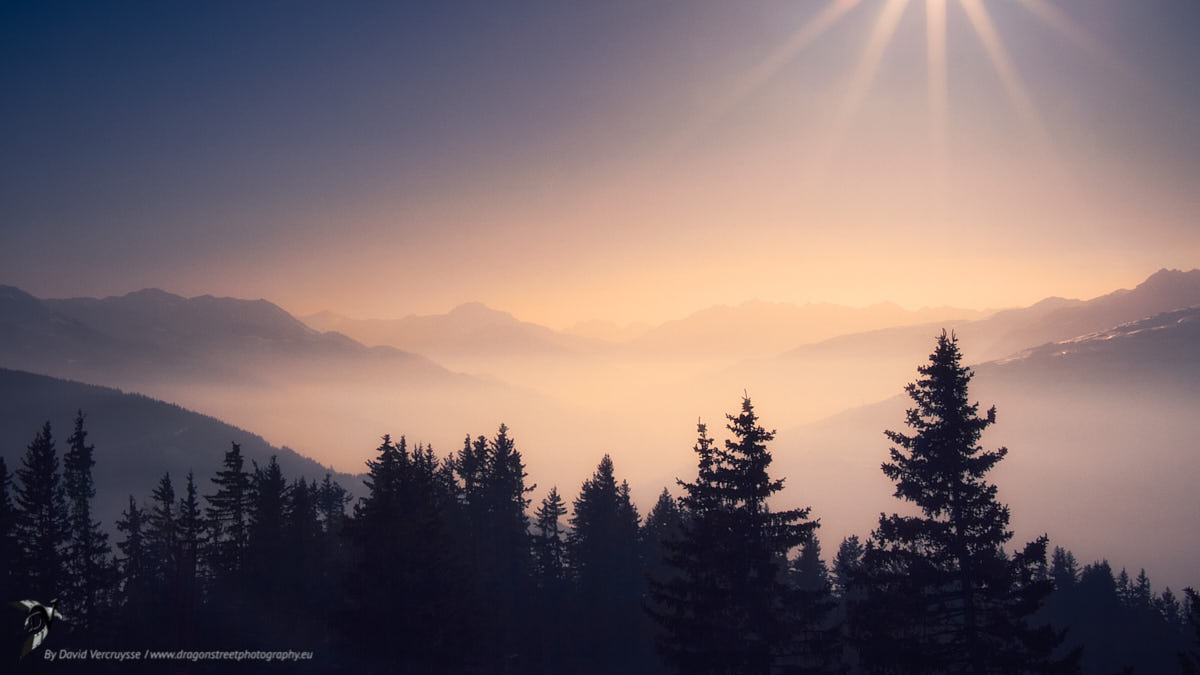
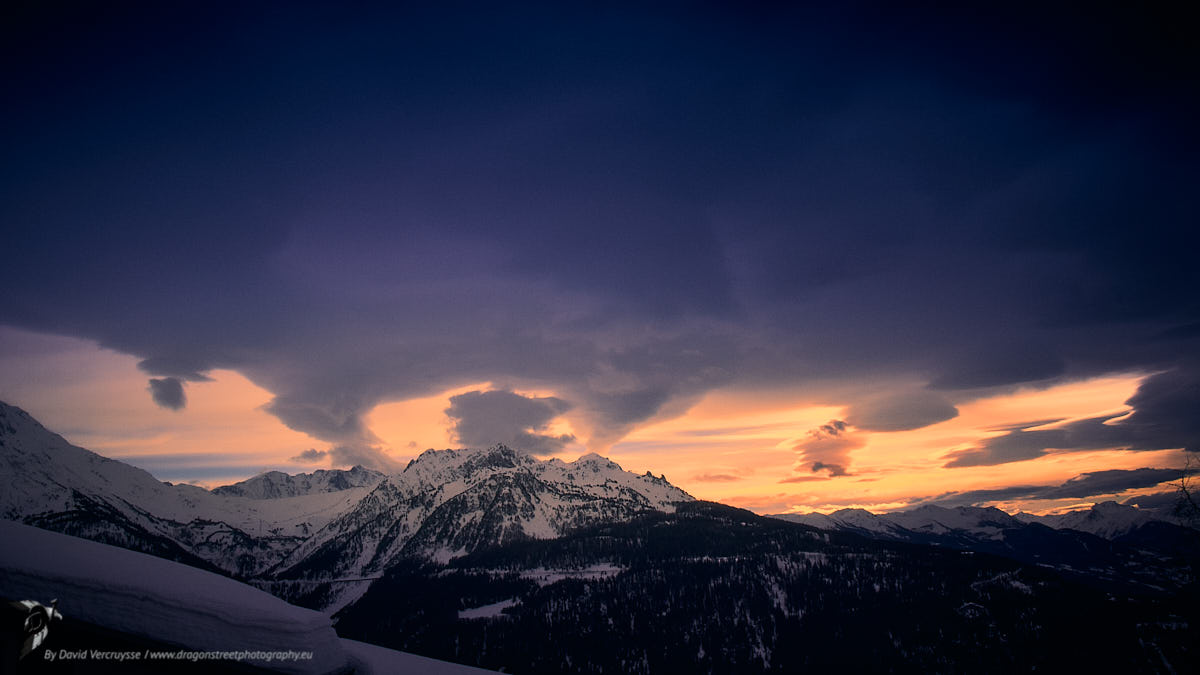
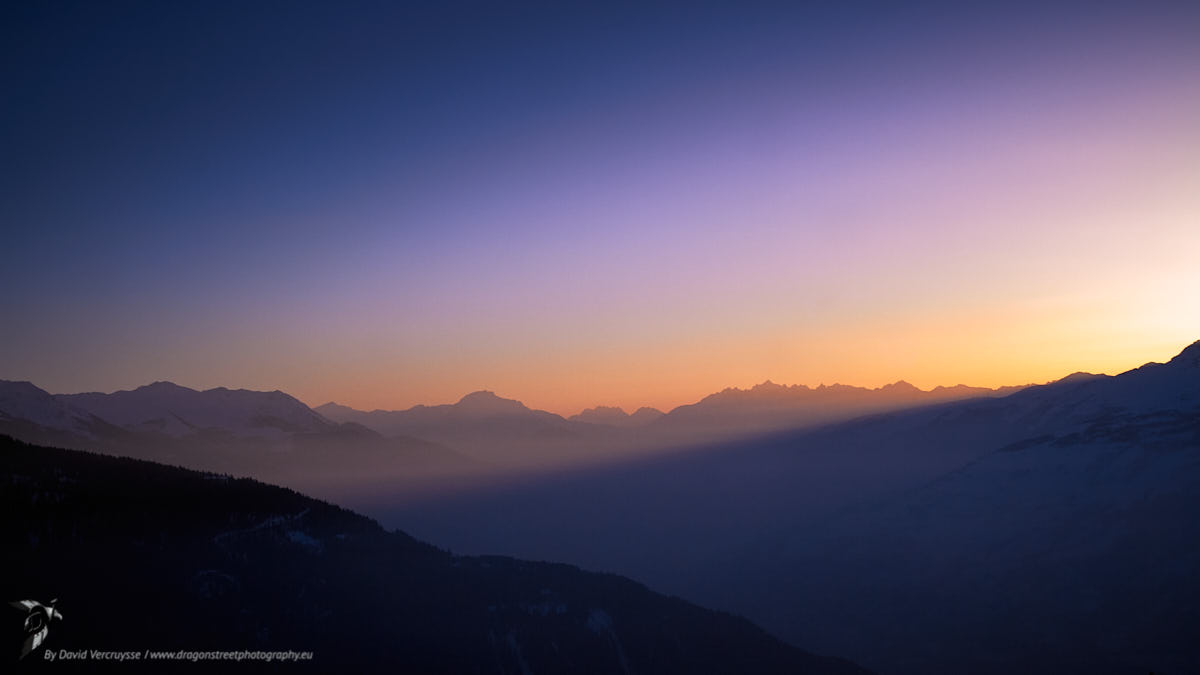
In winter, the days are shorter, the sunrises and sunsets can be extra-ordinary. It is then possible to create a warm/cool contrast on the different planes of an image. The complementary colours of golden yellow and blue add depth to the image, creating an enchanting effect... depending on your imagination!
Contrast in winter photography
The cold, snowy winter can be very bright under the snow, and the photographer can turn this to his advantage by using contrast to make whites really white ! or better still play with backlighting and create cool effectsfog, flares and silhouettes!
Why not try your hand at macro or close-up photography if you haven't already? Frost and the low light of the morning, the bright light of the afternoon or the soft light of the evening offer some of the prettiest structures for macro or close-up photography! Some fellow photographers have achieved fascinating results on ice, frozen puddles or lakes, or even vegetation!

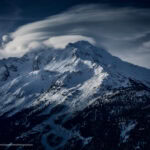
Les Aiguilles d'Arves, Maurienne, France
A little macro
Why not try your hand at macro or close-up photography if you haven't already? Frost and the low light of the morning, the bright light of the afternoon or the soft light of the evening offer some of the prettiest structures for macro or close-up photography! Some fellow photographers have achieved fascinating results on ice, frozen puddles or lakes, or even vegetation!


4. Your imagination is the only limit
As you can see from this article, there's plenty to experiment with in winter photography! Admittedly, it's not the most practical season, but the results can be superb! And as always in photography, imagination and light are the key words!
To find out more about photography settings, I invite you to read this articleor visit my galleries.
Enjoy your winter photos! Share your tips and tricks if you have any, it's always useful!
Photographically yours,
David

